100% Original Factory Aluminium Alloy Set Screw Grub Screws Export to New York
Short Description:
Aluminium Alloy 6063 Set Screws Grub Screws Aluminium Alloy 6063 Set Screws Grub Screws Aluminium Alloy 6101 Set Screws Grub Screws Metric Size: M1.4-M52, Inch Size: 0# – 2″ Various Drive and Point Types Various Surface Finishes Other Material Grades are available Please feel free to contact us for more details
Product Detail
Product Tags
100% Original Factory Aluminium Alloy Set Screw Grub Screws Export to New York Detail:
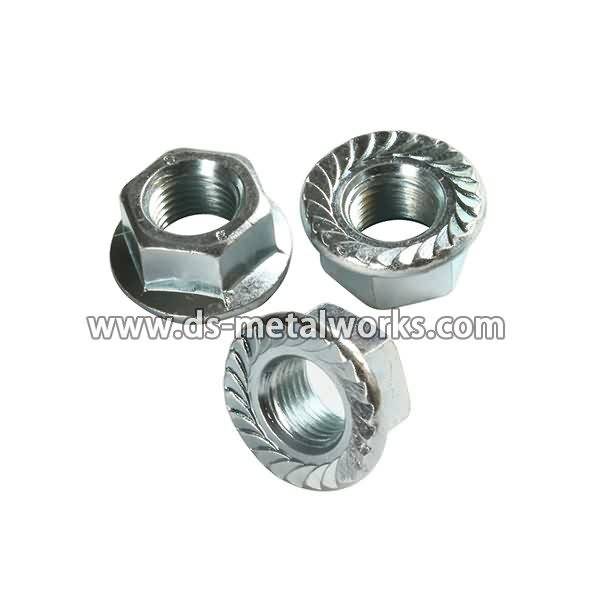
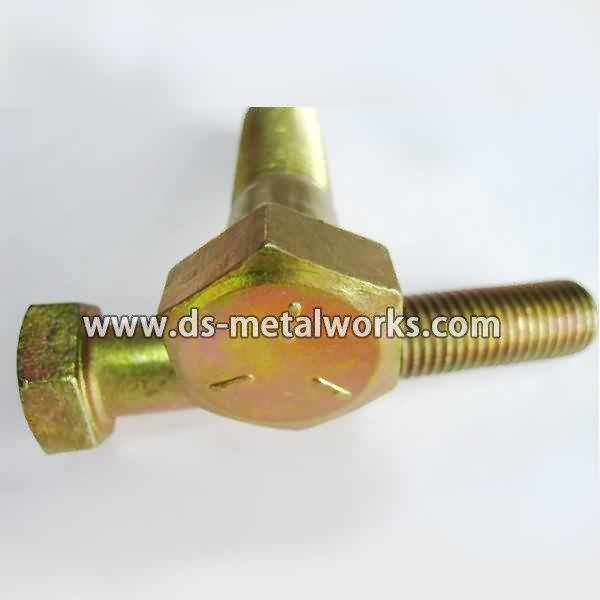
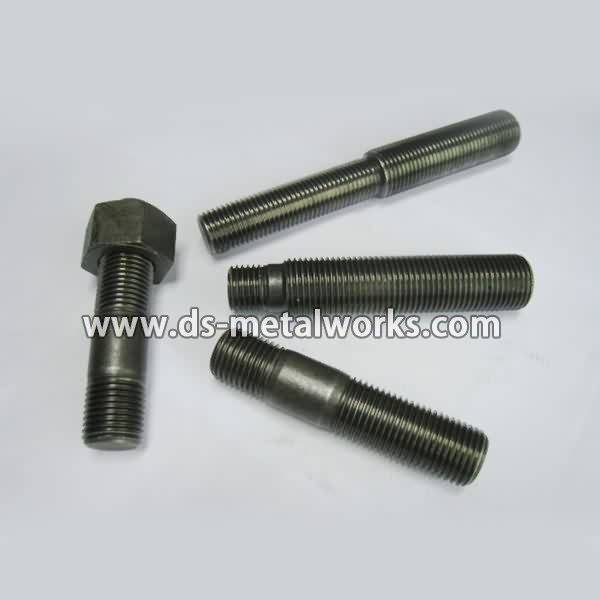
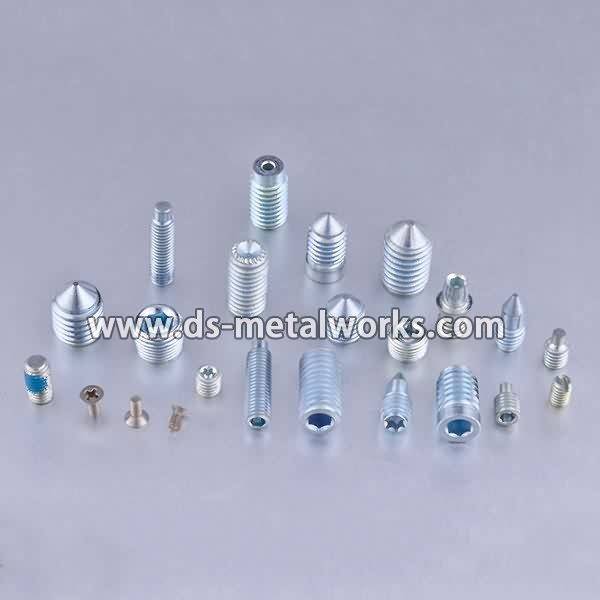
Aluminium Alloy 6063 Set Screws Grub Screws
Aluminium Alloy 6063 Set Screws Grub Screws
Aluminium Alloy 6101 Set Screws Grub Screws
Metric Size: M1.4-M52, Inch Size: 0# – 2″
Various Drive and Point Types
Various Surface Finishes
Other Material Grades are available
Please feel free to contact us for more details
Product detail pictures:

We offer great strength in quality and development,merchandising,sales and marketing and operation for 100% Original Factory Aluminium Alloy Set Screw Grub Screws Export to New York, The product will supply to all over the world, such as: Montreal, Algeria, Pretoria, Many years of work experience, we have realized the importance of providing good quality products and the best before-sales and after-sales services. Most problems between suppliers and clients are due to poor communication. Culturally, suppliers can be reluctant to question things they do not understand. We break down those barriers to ensure you get what you want to the level you expect, when you want it. faster delivery time and the product you want is our Criterion .
***! TRY THIS AT YOUR OWN RISK !****(still awaiting a period of “field testing” for these).
Energy Suspension bushing and inner sleeve installation without the use of a hydraulic press; just some hardware, a wrench, a socket and an air-powered impact gun.
Borrowed the idea and gained some more confidence for this installation process after watching GallowayChicago’s bushing install video; thanks man.
I tried to install the bushings using the bolt-press method, but the bushing would not quite fit– it would just compress and then when a little bit of the leading edge would go in, it would slip out and go crooked within the bolt-press jig.
I added relief cuts along the edge (one at a time across from each other; 6 was the min # that worked) after taking a cue from what appeared to be a relief spot in all of the bushings on the leading side (side that goes into the link or arm socket first; this side also appeared to have a tiny bit more taper than the other side as well). I started by making this relief deeper, then started adding slots, just as deep as the edge, being careful not to cut into the main cylindrical part of the bushing.
Materials:
1x- threaded rod (want this to be very close to the inner diameter of the metal sleeve insert of the bushings; length just needs to be long enough to fit the whole bolt-press-jig assembly together- so length of bushing + length of link/suspension arm socket + all other hardware thickness)
2x- grade 8 hex nuts
2x- large washers (want these to be able to cover and be a little larger than the largest diameter of the bushing, so the edge of the washer doesn’t cut into the bushing and the washer will help distribute the force exerted by tightening the nuts on the “bolt press jig”
2x-washers appropriately sized for the hex nuts being used (mentioned above)
*multiple washers between the sizes (2 of each, one for each side of the bolt press jig); just used to properly transition between the two other washer sizes used (large against bushing and hex-bolt-sized against the hex nut
- lots of appropriate type of grease, depending on what the bushings are made of (thankfully most Energy Suspension bushings come with just the right amount of “polyurethane-safe” grease.
Tools:
-compressed air source
-impact gun
-sockets for hex nuts
-adjustable or crescent wrench for hex nuts
- small saw or dremel with rotary cutting wheel
Steps:
1. using the small saw or dremel with cutting wheel make cuts perpendicular to the apex of the bushing surface, ONLY on the outer edge, being careful not to cut into the main cylinder body of the bushing; again just on the edge- this is only to provide enough “flex” for this larger outer edge to tuck and go through the link/ suspension arm’s socket.
2. put a hex nut on the threaded rod so that the nut fully threads on it, but only protrudes a slight amount if any, then the multiple sizes of washers small to large (consider space restrictions; may have to put rod through the link/suspension arm socket first and then start assembly of the jig; may have to thread the rod even further than just “fully seated” on the hex nut on the one side).
3. Put the threaded rod through the bushing on the opposite side of the link/ suspension arm socket, then stack the washers on top from large to small, followed by the hex nut
4. Grease EVERYTHING- lots of grease: inside link/ suspension arm socket, on leading face (slotted side) of bushing and the bushings exterior surfaces
5. Using impact gun (bushing side) and using wrench on opposite side, drive the hex nut down on the bushing side. May have to go slow at first to get the edges aligned and then just fully drive it in. The bushing will not go fully in, but just drive the hex nut tighter until no more forward progress is made.
6. Disassemble the jig and repeat the process for the inner sleeve (remember grease everything!). This time the inner sleeve should push the leading edge of the bushing fully through the link/suspension arm’s socket as long as there was plenty of grease available; if not, one can gently pry out the other side with an appropriate tool
*Tip: found the grease included with these is best removed from tools with a two step process: first WD-40, then Brake cleaner to remove the WD-40
Hope this helps. If anyone has any questions, please free to ask.