2 Years’ Warranty for ASTM A194 8M Heavy Hex Nuts for Italy Manufacturer
Short Description:
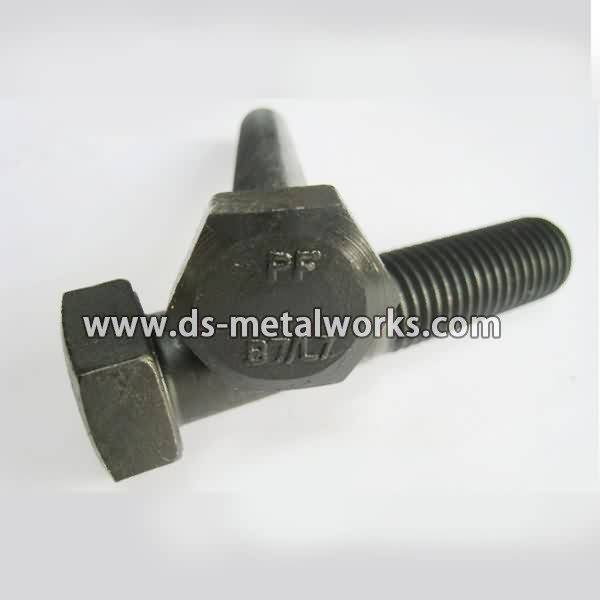
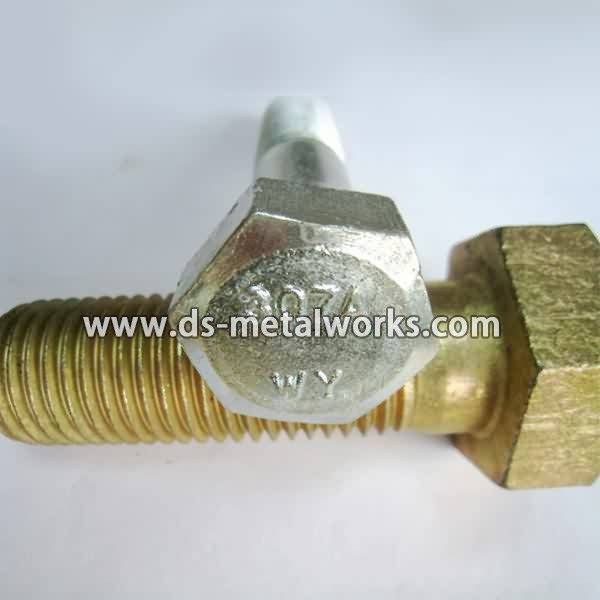
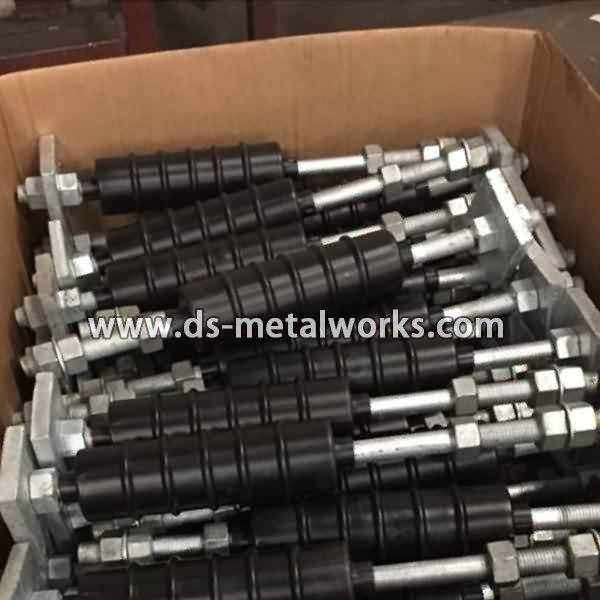
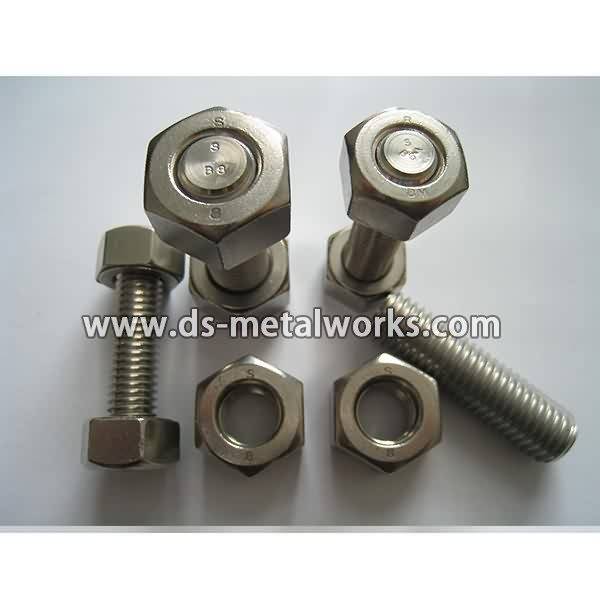
ASTM A194/A194M Grade 8M Heavy Hex Nuts Stainless Steel Nuts API 6A Flange Valve Wellhead Heavy Hex Nuts Dimension Standard: ASME B18.2.2, ASME B18.2.4.6M, ISO 4033, Din934 H=D Inch Size: 1/4”-4” with various lengths Metric Size: M6-M100 with various lengths Other Available Grade: ASTM A194/A194M 2H, 2HM, 4, 4L, 7, 7L, 7M, 8, 8M, 16 and so on. Finish: Plain, Black Oxide, Zinc Plated, Zinc Nickel Plated, Cadmium Plated, PTFE etc. Packing: Bulk about 25 kgs each carton, 36 cartons each pallet A...
Product Detail
Product Tags
2 Years’ Warranty for ASTM A194 8M Heavy Hex Nuts for Italy Manufacturer Detail:
ASTM A194/A194M Grade 8M Heavy Hex Nuts Stainless Steel Nuts
API 6A Flange Valve Wellhead Heavy Hex Nuts
Dimension Standard: ASME B18.2.2, ASME B18.2.4.6M, ISO 4033, Din934 H=D
Inch Size: 1/4”-4” with various lengths
Metric Size: M6-M100 with various lengths
Other Available Grade:
ASTM A194/A194M 2H, 2HM, 4, 4L, 7, 7L, 7M, 8, 8M, 16 and so on.
Finish: Plain, Black Oxide, Zinc Plated, Zinc Nickel Plated, Cadmium Plated, PTFE etc.
Packing: Bulk about 25 kgs each carton, 36 cartons each pallet
Advantage: High Quality, Competitive Price, Timely Delivery,Technical Support, Supply Test Reports
Please feel free to contact us for more details.
Product detail pictures:
The consumer fulfillment is our primary goal. We uphold a consistent level of professionalism, top quality, credibility and service for 2 Years’ Warranty for ASTM A194 8M Heavy Hex Nuts for Italy Manufacturer, The product will supply to all over the world, such as: Kenya, Leicester, Morocco, Our product quality is one of the major concerns and has been produced to meet the customer's standards. Customer services and relationship is another important area which we understand good communication and relationships with our customers is the most significant power to run it as a long term business.
Monster Transmission Presents Curt’s Corner as Curt goes over how to exchange the lever arms for the Detent or TV Cable Rod
This process and principle will apply for the Ford AOD Transmission, Ford AODE Transmission, or the Ford 4R70W transmission.
In order to change the linkage you’ll have to change it from the inside of the pan. There are 16 different linkage arms offered for an AOD Ford Transmission. So there are a lot of variables, such as 2 wheel drive, or if it’s a truck, or a Mustang, etc…
If your transmission is built by Monster Transmission we will provide the specific linkage system that you request.
To start the process you’ll remove the pan, and for a little more room to work with the transmission filter as well. Then the transmission valve body is exposed and you’ll be able to access your internal shift linkage system. In the linkage Monster Transmission during a rebuild will add an extra component to prevent the shaft from going behind the TV rod. Once inside you’ll first remove the rooster tail which has an 8mm bolt. Then under the rod there is a 13/16″ nut that you will loosen that will release the tension off of the shaft.
Then a roll pin that fits inside of the casting of the case. This prevents the rod from sliding out of the case. You can use cutting dice or needle nose pliers to remove it.
Once that pin is removed the linkage will pull out after removing that 13/16 nut that was previously loosened. Then you can slide the linkage out of the case. The new linkage will then slide over the TV shaft, and line the rooster tail up with the linkage. The 2 flat lands are equal on both sides so it could be placed up or down. Then tighten the 13/16 nut on the new shaft. Before tightening all the way, make sure the linkage is all lined up. If you miss the valve you won’t have any movement at all. So make sure its lined up correctly. Make sure the valve and that the TV system is correctly attached. Then install the roll pin and tap it into place, not too far down though so you can remove at a later time if needed. Then there is a spring back behind the TV valve rod you can pull it around and rest it against a shift place on the valve body. Then reinstall the rooster tail tensioner.
Then its re-install it and test to make sure all linkage works properly.
Also verify the TV Bracket is attached correctly and springs back, then reinstall the transmission filter and filter gasket. Then last but not least the pan gasket and transmission pan.
If you still have further questions then give us a call at 800-708-0087
Check out our site https://MonsterTransmission.com
https://www.etrailer.com/tv-demo_thule_snug_tight_lock_STL2.aspx
Videos are provided as a guide only. Refer to manufacturer
installation instructions and specs for complete information.
This lock is for carrier to receiver security. We’ll show you how it assembles first, then we’ll show you the lock applied to a bicycle rack. Before we can install the lock, there is a little bit of assembly required. First you have to open the hatch so we can insert the core, then you take off the back plug, and then we take our core and put our pass key in. After the core is secure, test the lock with the other set of keys. Now we’ll try it on the pin. Since we have a bike rack installed on our two inch receiver, we’ll show you how this works. Basically there’s a lock washer that goes on first, then the flat washer. This is just like a regular nut and bolt assembly. Go ahead and install it to your bicycle rack. The kit provides you with a tool to snug it down with. Then we install the lock on the other side. There you have it, even if they unthread the bolt, they still have to get through the lock and they can not get the rack off. There you have it for part # STL2, the snug tite lock from Thule.