2017 High quality DIN125A Flat Washers to Morocco Importers
Short Description:
DIN125A Flat Washers Size: M4-M160 Various Material Steel and Grade are available. Finish: Black Oxide, Zinc Plated, Hot Dip Galvanized, Dacromet, and so on Packing: Bulk about 25 kgs each carton, 36 cartons each pallet Advantage: High Quality and Strict Quality Control, Competitive price,Timely delivery; Technical support, Supply Test Reports Please feel free to contact us for more details.
Product Detail
Product Tags
2017 High quality DIN125A Flat Washers to Morocco Importers Detail:
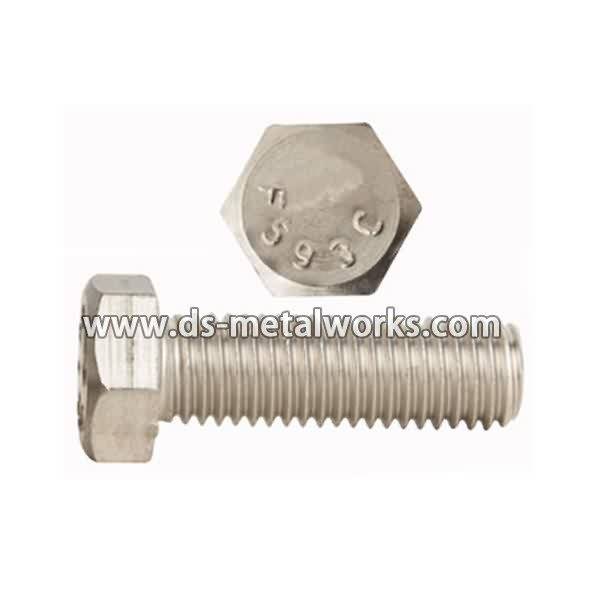
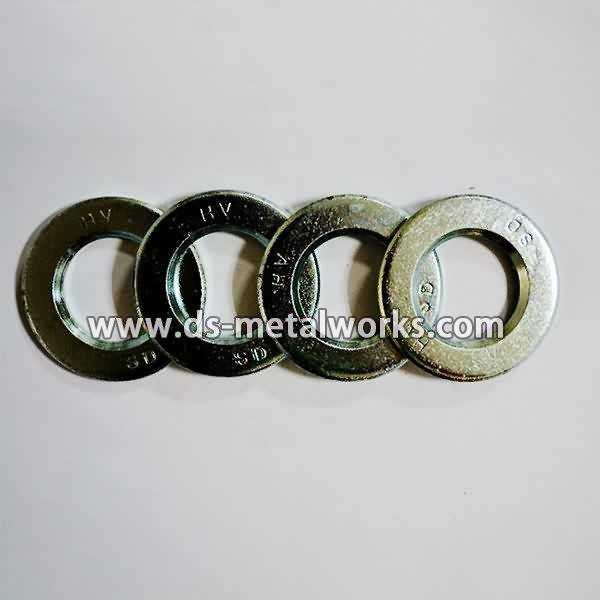
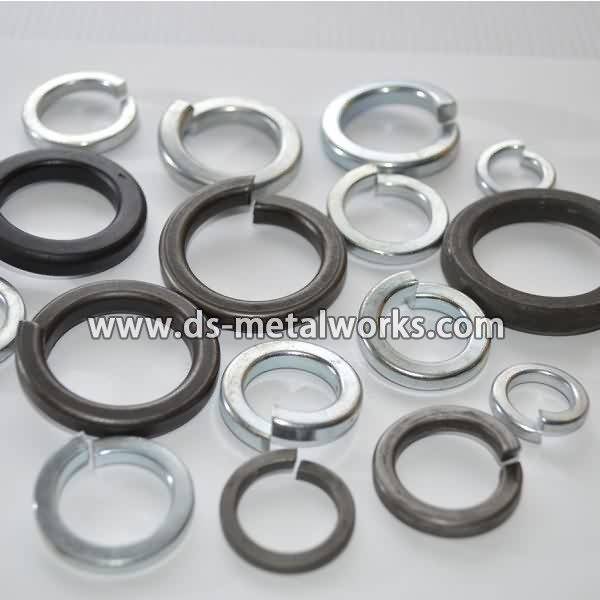
DIN125A Flat Washers
Size: M4-M160
Various Material Steel and Grade are available.
Finish: Black Oxide, Zinc Plated, Hot Dip Galvanized, Dacromet, and so on
Packing: Bulk about 25 kgs each carton, 36 cartons each pallet
Advantage: High Quality and Strict Quality Control, Competitive price,Timely delivery; Technical support, Supply Test Reports
Please feel free to contact us for more details.
Product detail pictures:

We attempt for excellence, provider the customers, hopes to be the most beneficial cooperation team and dominator enterprise for staff, suppliers and shoppers, realizes value share and continuous advertising for 2017 High quality DIN125A Flat Washers to Morocco Importers, The product will supply to all over the world, such as: Croatia, Azerbaijan, Curacao, Now we have a dedicated and aggressive sales team, and many branches, catering to our main customers. We have been looking for long-term business partnerships, and ensure our suppliers that they will undoubtedly benefit in both short and long run.
www.deltastorage.com
The installation of your new toolbox will require two people, a tape measure and a ½ inch deep socket and ratchet with an extension.
Begin with the toolbox on the ground behind the vehicle. The lid latches should face away from the truck.
Open the lid, remove the tray and check for the following:
Installation instructions
Keys
Two adhesive mounting pads
Two “J” bolts
Two metal washers
Two plastic retaining washers
Two nuts
Read the instructions prior to beginning installation.
Lift the box and place about halfway across the truck bed.
Turning the box upside-down will make re-positioning easier.
Position the mounting pad to align with the inside edge of the side wall, and approximately four inches from the front bed wall.
Press down to ensure firm, even contact of the adhesive.
Repeat for the other side.
Roll the toolbox right side up onto the mounting pads. Test that there is sufficient clearance for the lid to open.
At the front of the box, use your tape measure to ensure the gap between the inner wall of the truck bed and the inner sidewall of the toolbox are the same on each side. The box is now centered.
Lift the toolbox lid.
Locate the center mounting slot.
Next, place the retaining washer onto the “J” bolt, about ½ inch from the top.
This will keep the bolt from dropping through the mounting slot.
Slightly raise the toolbox and insert the “J” bolt into the mounting slot with the hook facing the bed wall.
Turn the bolt 90 degrees, lower the toolbox and slide the “J” bolt toward the lip of the bed wall.
Rotate the “J” bolt back to its original position and pull up.
The “J” bolt should catch on the underside of the bed wall lip.
Push down on the retaining washer to hold in place and attach the flat washer and nut.
With a ½ inch deep socket, ratchet until snug. Do not yet fully tighten.
Repeat for the other side.
Double-check all measurements to ensure the box hasn’t moved off-center during installation. Readjust if needed.
Now, firmly tighten both “J” bolts.
Place the tray back inside the box.
Retain your keys and close the lid.
The installation is complete.
www.deltastorage.com