8 Year Exporter A2-70 A4-70 ASTM F594 Stainless Steel Hex Nuts for Algeria Factories
Short Description:
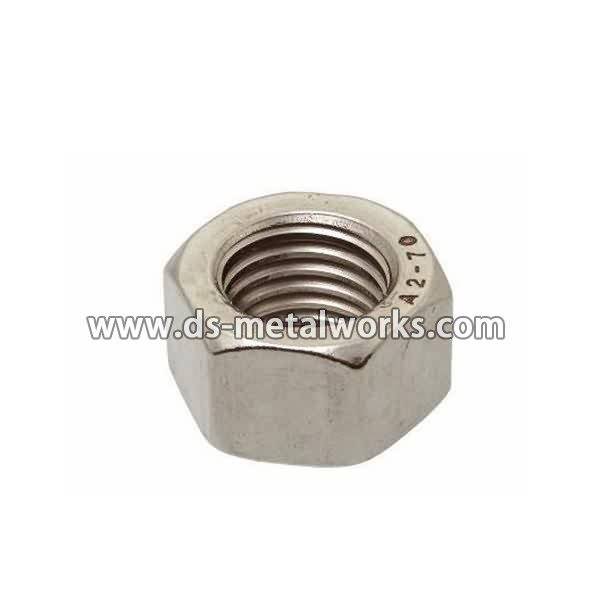
Stainless Steel Hexagon Nuts Standard: ASME B18.2.2, DIN934 Various configurations are also available Inch Size: 1/4”-1.1/2” with various lengths Metric Szie: M6-M39 with various lengths Material Grade: ASTM F594 A, B, C, D, E, F, G, H; ISO 3506 A2-70, A2-80, A4-70, A4-80 Finish: Black Oxide, Zinc Plated, Hot Dip Galvanized, Dacromet, and so on Packing: Bulk about 25 kgs each carton, 36 cartons each pallet Advantage: High Quality and Strict Quality Control, Competitive Price,Timely Delivery;...
Product Detail
Product Tags
8 Year Exporter A2-70 A4-70 ASTM F594 Stainless Steel Hex Nuts for Algeria Factories Detail:
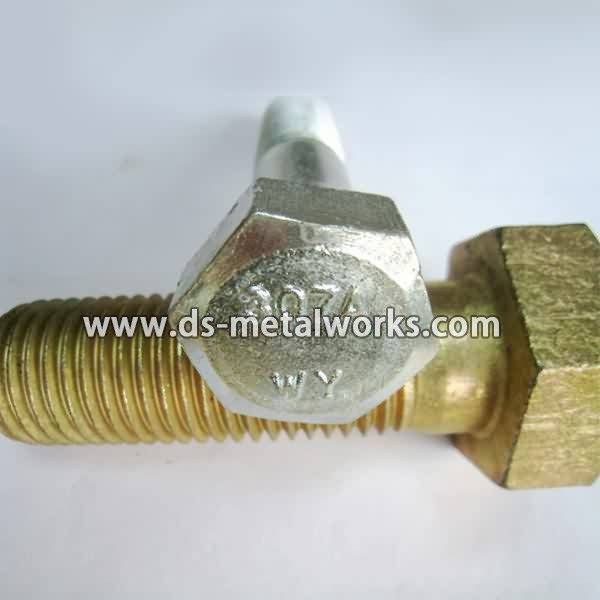
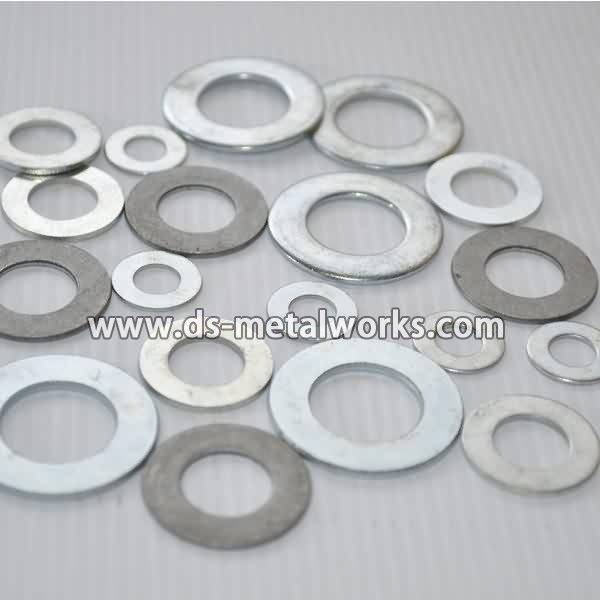
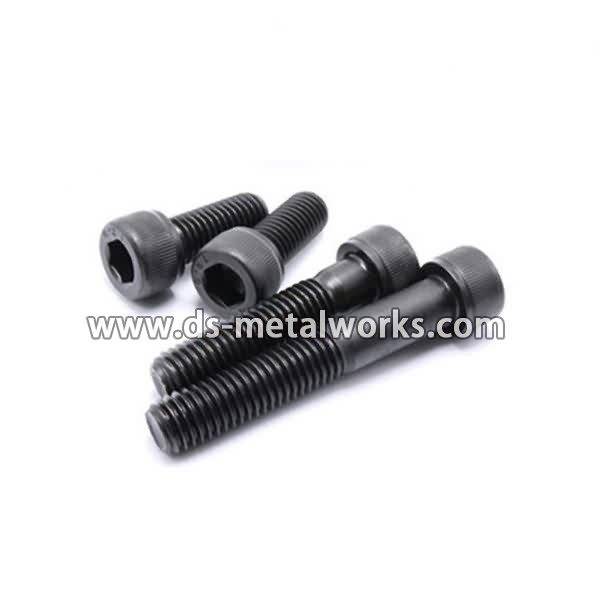
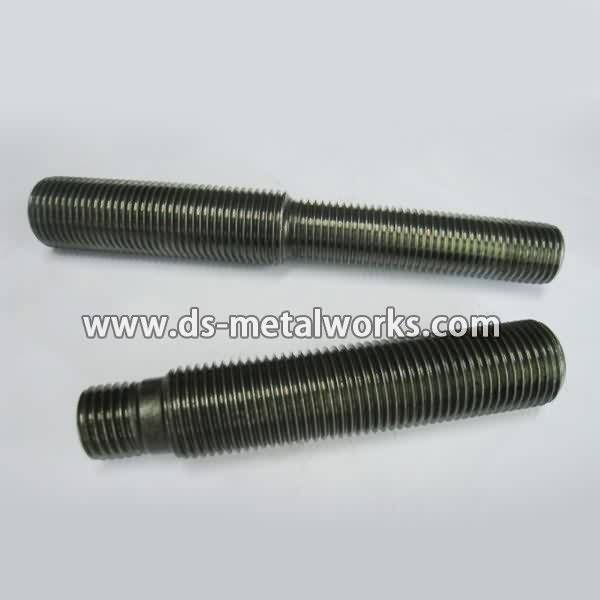
Stainless Steel Hexagon Nuts
Standard: ASME B18.2.2, DIN934 Various configurations are also available
Inch Size: 1/4”-1.1/2” with various lengths
Metric Szie: M6-M39 with various lengths
Material Grade: ASTM F594 A, B, C, D, E, F, G, H; ISO 3506 A2-70, A2-80, A4-70, A4-80
Finish: Black Oxide, Zinc Plated, Hot Dip Galvanized, Dacromet, and so on
Packing: Bulk about 25 kgs each carton, 36 cartons each pallet
Advantage: High Quality and Strict Quality Control, Competitive Price,Timely Delivery; Technical Support, Supply Test Reports
Please feel free to contact us for more details.
Product detail pictures:

Our well-equipped facilities and great excellent command throughout all stages of generation enables us to guarantee total customer fulfillment for 8 Year Exporter A2-70 A4-70 ASTM F594 Stainless Steel Hex Nuts for Algeria Factories, The product will supply to all over the world, such as: Sao Paulo, Nicaragua, Kenya, Insisting on the high quality generation line management and customers expert assistance, we now have designed our resolution to offer our buyers using the to start with amount getting and just after services practical experience. Maintaining the prevailing friendly relations with our buyers, we however innovate our solution lists all of the time to satisfy the brand new demands and adhere to the most up-to-date development of the market in Malta. We are ready to face the worries and make the improve to understand all the possibilities in international trade.
This video demonstrates the anchor bolt design within Tedds. You can choose from ACI 318R-08 and ACI 318R-05. For more information, visit our website at https://www.tekla.com/us/getting-started-tekla-tedds.
Chapter 7 of The Original Equal-i-zer Sway Control Hitch product DVD. How to install, hook up and unhook, and maintain the Equal-i-zer hitch.
For more information visit our website: https://www.EqualizerHitch.com
INSTALLATION OVERVIEW
This overview of the installation and set up of the hitch is meant to help you understand how easy the hitch is to operate, and to be used as a reference when it is time to adjust the hitch.
For more detailed information, please refer to the owner’s manual that comes with each hitch. If you have misplaced the instructions, they can easily be downloaded from EqualizerHitch.com. https://www.equalizerhitch.com/Equal-i-zer%20Support/installinstructions.php
Before you begin installation, you will need to find a flat, level, area to work. Gather necessary tools, and prepare a safe working environment.
The tow vehicle and trailer should be loaded just as they would be for a typical camping trip, with full propane and water tanks, empty waste tanks, and all the gear you plan on taking both in the tow vehicle and trailer.
The tow vehicle and trailer should be weighed to make sure that maximum vehicle, trailer, and equipment ratings are not exceeded.
You should take initial tow vehicle measurements. The best spot is usually directly above the front and rear axles at the bottom lip of the wheel wells. These measurements will be used as a reference point to set up and adjust weight distribution.
The major parts of the hitch head include the adjustable shank, the forged hitch head, and the associated hardware.
Install the hitch ball. This can be done by temporarily attaching the forged hitch head to the adjustable shank inserted into the receiver.
Using a torque wrench, tighten the hitch ball nut to its recommended specifications. This usually requires a thin walled socket. If you do not have one of these sockets or an adequate torque wrench, your local Equal-i-zer hitch dealer will likely have one, and may help you for a small fee.
Level the trailer, and measure to the inside-top of the coupler.
This is the height where the top of the hitch ball should be set to start out. In some cases, a specialty shank that provides more rise or drop may need to be used to fit your tow vehicle and trailer combination.
Place washers on the spacer rivet, and insert the rivet into the forged hitch head. Five washers is a good starting point.
Hold the hitch head around the shank so the top of the ball is at or slightly below the coupler measurement, and insert the ¾” hardware. Sometimes the shank may need to be inverted to place the ball at this height.
Tighten the angle set screw. Snug, but do not fully tighten the ¾” hardware yet. Make sure the hitch pin is secure.
Slide the L-bracket studs into the outside link-plates from the back.
To install the sway bracket assembly, the inside and outside link-plates are bolted around the frame at 32″ from the center of the coupler.
If there are obstacles on the frame such as a propane tank or battery mount, you can move the brackets forward slightly to avoid them.
Pinch the link-plates flat against the trailer frame as you snug down the nuts and bolts. Tighten them evenly, alternating between top and bottom about a quarter turn at a time.
Place the L-bracket so that the mounting studs come through the two center holes, and the spring arm plate faces outward. Tighten down the Nylock jam nuts.
The final adjustment of the hitch begins by coupling the trailer and placing the spring arms into the hitch head, and onto the L-brackets.
Secure each with a socket pin and clip, and with an L-pin and clip. If you can’t get the arms high enough using the jack, use the included snap-up lever to lift the bars into place.
Retract the tongue jack so that the weight of the trailer is being carried by the Equal-i-zer hitch.
Re-tighten the angle set screw at the base of the hitch head.
Re-measure the front and rear of the tow vehicle, and compare these measurements to the ones you took earlier. Follow the owner’s manual carefully to check and adjust the weight distribution setup.
The best performance from weight distribution usually comes from a setup where the loaded measurement on the front is about the same as it was when unloaded, and the measurement on the back is a little lower than the unloaded measurement. The rear measurement should never be higher when it’s loaded than it was unloaded.
Adjustments are easily made by adding or removing spacer washers, and raising or lowering the L-bracket.
Remember, you are responsible for the safety of your passengers. Take the time to make adjustments before each trip if necessary. Changes to cargo and vehicle loading may require changes to your hitch setup.
Good weight distribution is a vital part of having the safest and most comfortable towing experience, and with the Equal-i-zer hitch, making those adjustments is easy…