Big discounting ASTM F880 F880M Stainless Steel Socket Set Screws to Sierra Leone Factory
Short Description:
Stainless Steel Set Screws Grub Screws Metric Size: M1.4 – M52, Inch Size: 0# – 2″ Hexagon Socket(Allen), Torx Star, Square, Slotted Drive Types Flat Point, Cup Point, Cone Point, Dog Point Other Drive and Point Type are also available acc. to customer requirement Various Surface Finishes Various Material Grades are available Please feel free to contact us for more details
Product Detail
Product Tags
Big discounting ASTM F880 F880M Stainless Steel Socket Set Screws to Sierra Leone Factory Detail:
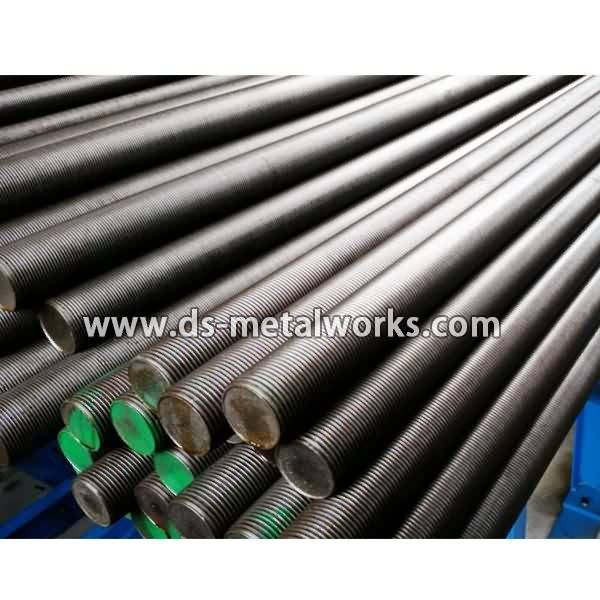
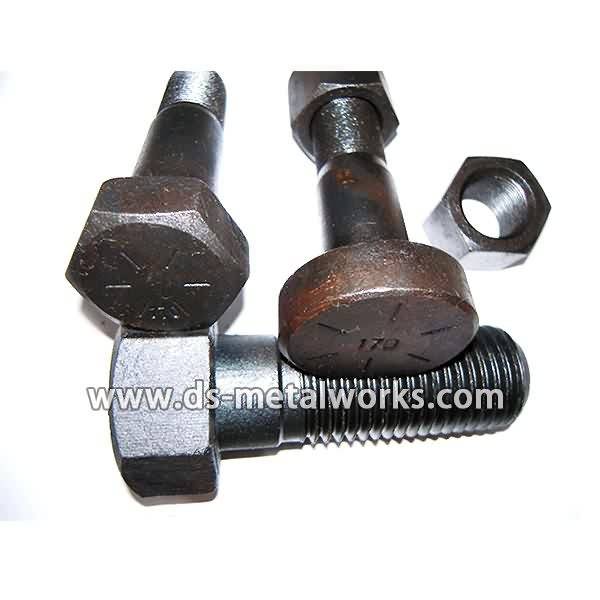
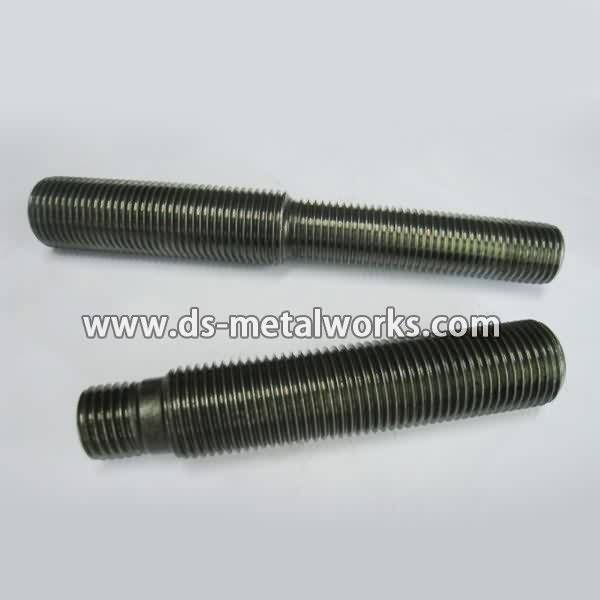
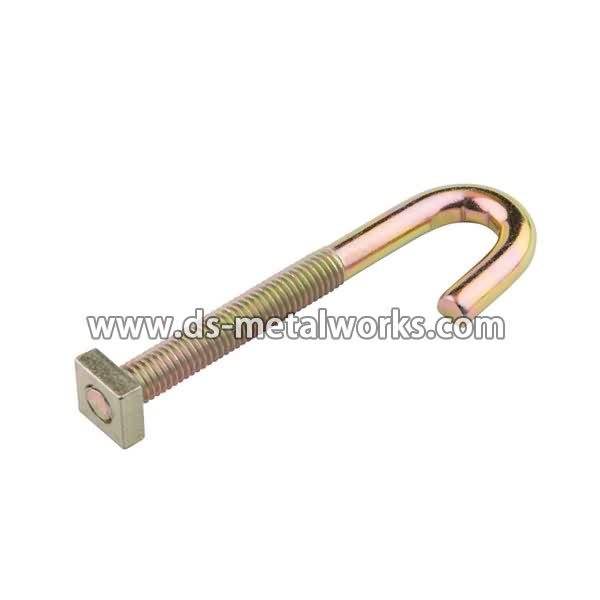
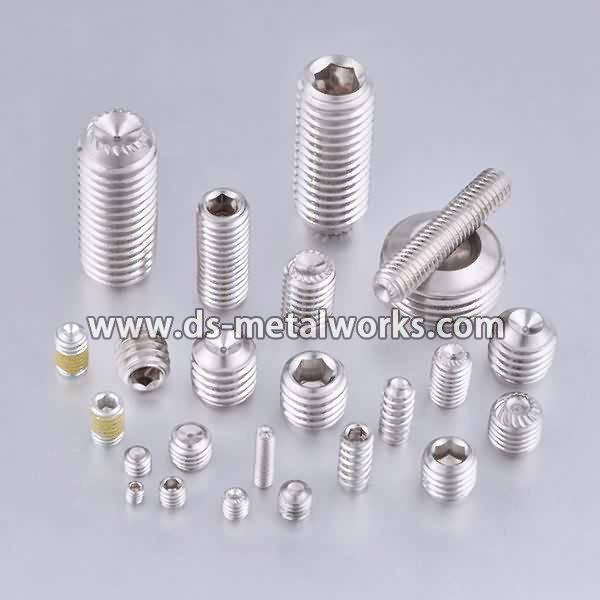
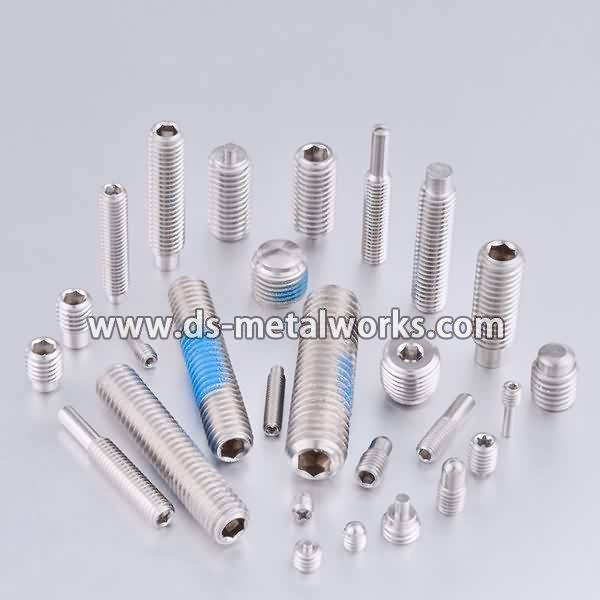
Stainless Steel Set Screws Grub Screws
Metric Size: M1.4 – M52, Inch Size: 0# – 2″
Hexagon Socket(Allen), Torx Star, Square, Slotted Drive Types
Flat Point, Cup Point, Cone Point, Dog Point
Other Drive and Point Type are also available acc. to customer requirement
Various Surface Finishes
Various Material Grades are available
Please feel free to contact us for more details
Product detail pictures:

Our enhancement depends around the sophisticated devices ,exceptional talents and repeatedly strengthened technology forces for Big discounting ASTM F880 F880M Stainless Steel Socket Set Screws to Sierra Leone Factory, The product will supply to all over the world, such as: Washington, Mali, Lebanon, After years of development, we have formed strong ability in new product development and strict quality control system to ensure excellent quality and service. With the support of many long term cooperated customers, our products are welcomed all over the world.
I’ve done this video before. Not in HD, but this time I’m leaving you without an audio track to drown out what I’m doing. In previous videos I removed the transmission separately. Not this time. This is how you pick it out in one piece. No subtitles to read or block the view. Those of you looking for granular info about this video will find it here.
In order to remove a 4g63 AWD drivetrain, you’ll need to disconnect the following components… not necessarily in this order… and my car isn’t exactly stock, but this is what you’re after. Some things you can leave connected, especially if they’re stock, but I removed them for safety reasons and because I routed some modified items differently. The timeline is listed here for your convenience.
[off-camera] Remove the battery and support the car on jackstands.
1:14 Drain oil
1:20 Drain gear oil, ATF if you’re an automatic.
1:28 remove radiator cap
1:31 Drain coolant
1:34 Remove radiator brackets, and coolant overflow system
1:40 Remove breather hoses.
1:42 Remove intake pipe
1:44 Remove throttle linkage bracket from intake manifold
1:50 Disconnect the fuel rail
1:54 Remove upper intercooler pipe
1:58 Remove upper and lower radiator hoses
2:02 Remove coil-on-plug plate [if equipped] to prevent damage.
2:07 Remove cruise control motor [if equipped] for clearance
2:13 Remove catch can
2:15 Remove throttle linkage from throttle body
2:18 Remove the hood
2:25 un-bolt cruise control linkage box [if equipped]
2:29 un-bolt AC hose from fender
2:31 Remove power steering bracket (5 bolts and it free’s up the pump*)
*leave the pump connected.
2:40 Remove Dynatek ARC-2 ignition amplifier box [if equipped]
2:46 Un-plug injectors, cam angle sensor, crank angle sensor, AC harness, transistor pack, knock sensor, coil pack harness, TPS sensor, idle switch [if equipped], MAP sensor harness, o2 sensor harness, alternator connector, charge wire, oil pressure sensors, power steering switch and radiator fans
2:54 Remove power steering cooler brackets if they’re in your way.
2:57 Remove radiator
3:00 Remove lowest coolant hose [in my case the turbo fitting] so the rest of the coolant will drain.
3:03 Remove coolant sensor wires and fan switch
3:06 Remove external oil cooler lines [if equipped]
3:16 Remove turbo oil feed line at lowest point so the rest of the oil drains.
3:20 Remove transmission linkage
3:25 Remove shifter cables from bracket
3:29 Remove clutch slave and zip-tie it so it doesn’t come apart and leak.
3:36 Remove downpipe flange bolts and gasket
3:42 Remove wheels, and axles*.
* Watch my transmission series for detailed info on this process if you get stuck.
** Put all the suspension stuff back together so you can put the car down.
*** Put the washer and axle nuts back on the axles after removing them.
5:00 Loosen the alternator belt [and AC belt if equipped]
5:04 Remove the crank pulley for clearance
5:09 Remove the transfer case
5:27 Remove the starter bolts and stuff the starter out of your way*.
*note the ground wire.
5:37 Remove the heater hoses
5:48 Attach your engine hoist brackets… DON’T LOSE THESE THINGS if you remove them like I do.
6:19 Protect your valve cover from damage with the chains and hoist.
6:31 Remove the three lower bracket bolts from the rear roll-stop mount
6:49 Remove all the bolts from the front roll-stop mount
6:54 Remove the lower crossmember and torque plate
7:06 Put the wheels back on and put the car on the ground.
7:25 Connect the hoist and put tension on it to support the engine’s weight.
7:35 Remove the transmission mount
7:43 Remove the transmission mount bracket
7:46 Remove the reverse switch to prevent damaging it
7:52 Remove the timing-side engine mount.
8:03 Slightly lower the engine and remove the vacuum lines and brake booster hose from the back of the intake manifold
8:12 Remove the ground wire from the back of the motor
8:17 Remove the last thing you overlooked.
8:30 Remove the engine and transmission in one piece.
The crank pulley, transmission mount bracket, and reverse switch removal allows you more wiggle room without damaging either those parts or scratching up the chassis. The trans mount bracket loves to get caught on the passenger-side brake lines. The speed sensor is protected by the rear motor mount bracket, so you can leave it in place.
I replaced my AC compressor during the transmission replacement, but never charged the system. If you have working AC, un-bolt the compressor and hang it from a bolt on the firewall using heavy-gauge wire. That way you don’t have to evacuate the refrigerant and drive up the cost of repairing your car with an AC service, filter-drier and expansion tube. Don’t let it hang from the lines because they can leak or even break.