Cheap PriceList for DIN580 ASME B18.15 Lifting Forged Eye Bolts Export to Spain
Short Description:
Lifting Forged Eye Bolts Eye Bolt Steel Hooks Bolts Standard: DIN580, ANSI/ASME B18.15 Metric Size: M6-M80 with various lengths Inch Size: 1/4-3” with various lengths Material Grade: ISO 898-1 class 4.8, 5.8, 6.8, 8.8, 10.9, 12.9, ISO 3056-1 A2-70, A4-70 SAE J429 2, 5, 8; ASTM A193/A320 B7, B8, L7; ASTM A489 Finish: Black Oxide, Zinc Plated, Hot Dip Galvanized, Dacromet, and so on Packing: Bulk about 25 kgs each carton, 36 cartons each pallet Advantage: High Quality and Strict Quality Control...
Product Detail
Product Tags
Cheap PriceList for DIN580 ASME B18.15 Lifting Forged Eye Bolts Export to Spain Detail:
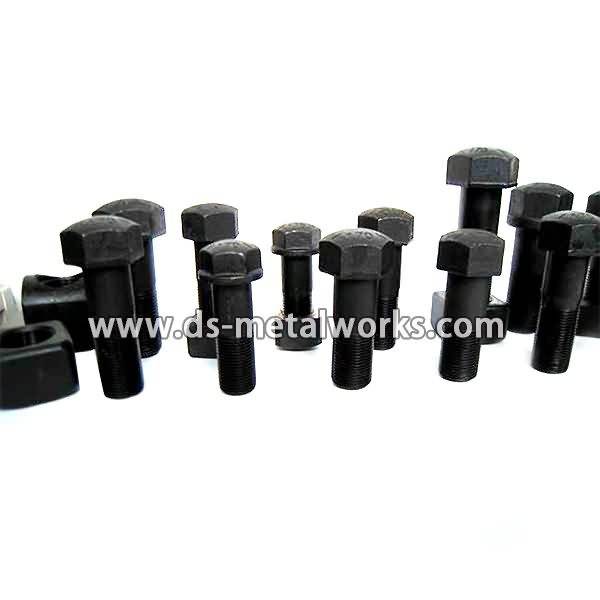
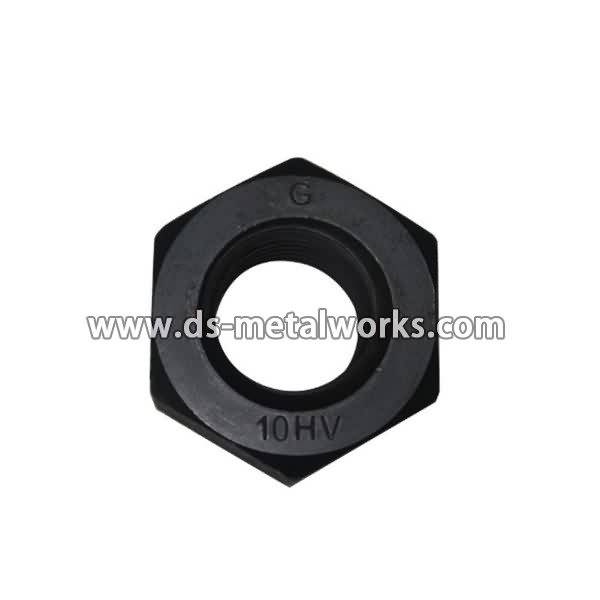
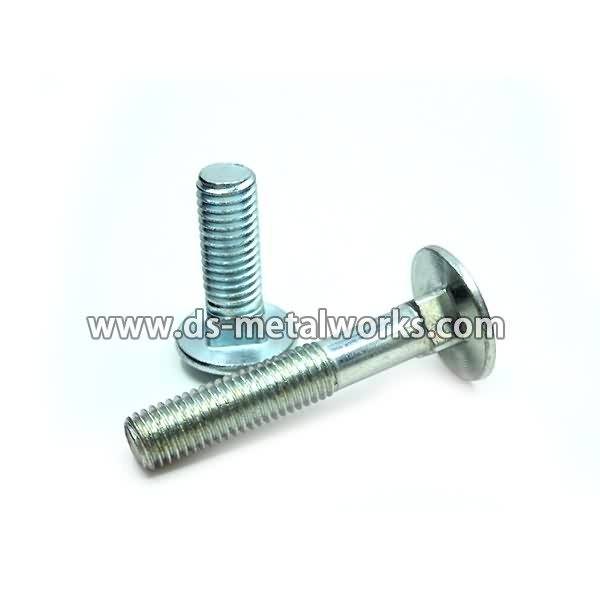
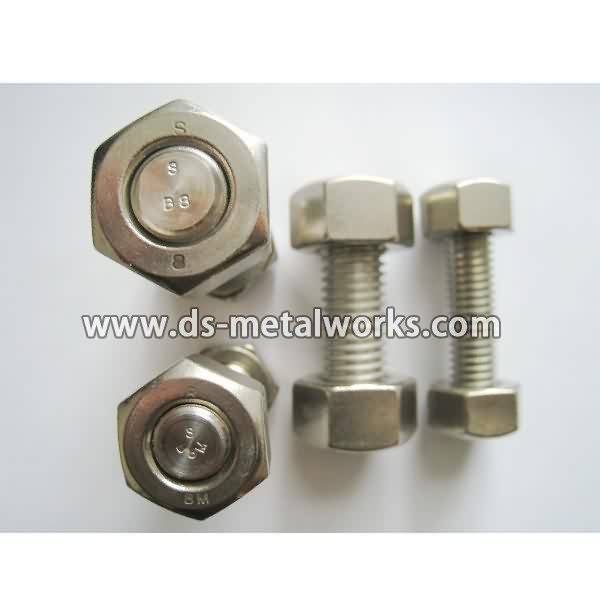
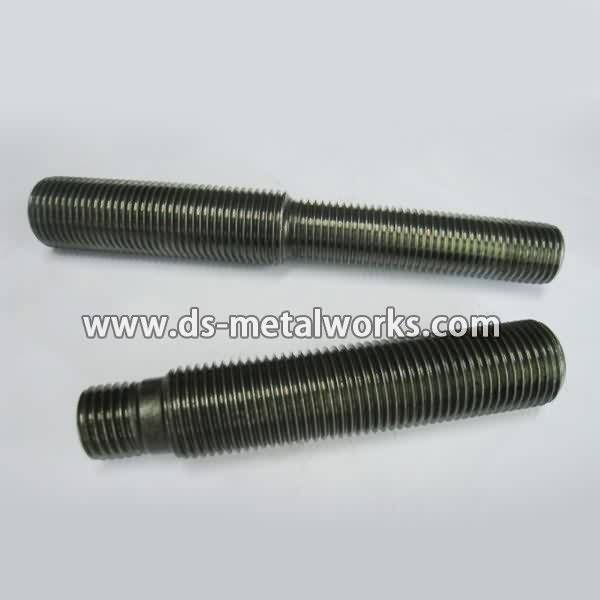
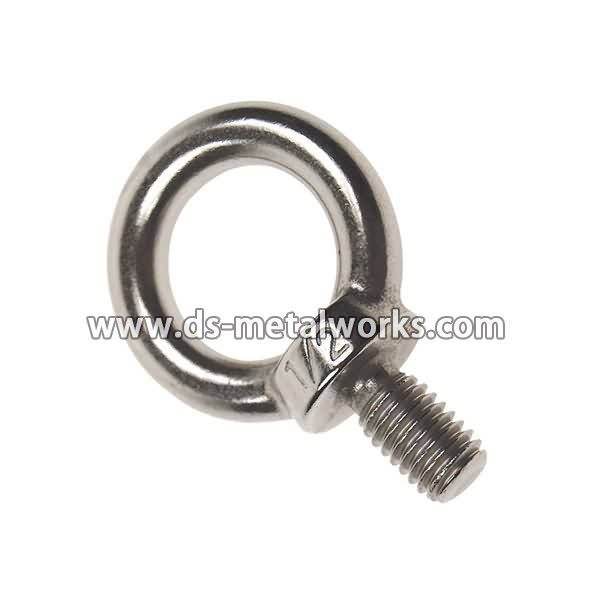
Lifting Forged Eye Bolts Eye Bolt Steel Hooks Bolts
Standard: DIN580, ANSI/ASME B18.15
Metric Size: M6-M80 with various lengths
Inch Size: 1/4-3” with various lengths
Material Grade: ISO 898-1 class 4.8, 5.8, 6.8, 8.8, 10.9, 12.9, ISO 3056-1 A2-70, A4-70
SAE J429 2, 5, 8; ASTM A193/A320 B7, B8, L7; ASTM A489
Finish: Black Oxide, Zinc Plated, Hot Dip Galvanized, Dacromet, and so on
Packing: Bulk about 25 kgs each carton, 36 cartons each pallet
Advantage: High Quality and Strict Quality Control, Competitive price,Timely delivery; Technical support, Supply Test Reports
Please feel free to contact us for more details.
Product detail pictures:

With dependable high-quality method, fantastic standing and ideal purchaser assistance, the series of products produced by our firm are exported to many countries and regions for Cheap PriceList for DIN580 ASME B18.15 Lifting Forged Eye Bolts Export to Spain, The product will supply to all over the world, such as: Armenia, Curacao, Costa Rica, If you need to have any of our merchandise, or have other items to be produced, make sure you send us your inquiries, samples or in depth drawings. Meanwhile, aiming to develop into an international enterprise group, we look forward to receiving offers for joint ventures and other cooperative projects.
Take a look at what it takes to install a Snow Sport 180 Snow Plow. Once it’s on your truck, winter will be easier to manage! Go to https://www.realtruck.com/snowsport-180-utility-snow-plow/ for more information or to order yours today.
877-216-5446
https://www.RealTruck.com
Video Transcript:
This video is to be used in conjunction with your owner’s manual, to assist you in the assembly and mounting of your new SnowSport 180 plow. You will need a 2″ rear receiver hitch installed on your vehicle. For best results, the receiver hitch should be eight to sixteen inches above grade.
Next you will want to gather the tools shown on the list: Ratchet with 9/16″ socket, drill with 5/16″ drill bits, 3/4″ box wrench, 7/16″ open end wrench, 3/16″ Allen wrench and protective eyewear.
Step 1: Each end of the rubber cutting edge has 2 factory marks to match with holes in the skid bracket. Drill them out with a 5/16″ drill bit. Place a skid bracket at these locations and tighten carriage bolts until their heads sink flush with the rubber surface. Repeat this procedure at the other end. The skid bracket should align flush with or slightly above the bottom of the rubber cutting edge.
Step 2: Align the groove on the rubber cutting edge with the channel in the blade so the skid brackets face the back of the blade. Slide the rubber cutting edge into the channel and center it on the blade.
Step 3: Place the slide hinges on the blade and align the lower holes with the factory marks on the blade. When mounted, the slide hinges should measure about 14-1/2″ apart.
Step 4: Insert 2 square nuts into the channel at the end of the blade and slide them over to line up with the holes of the top of the slide hinges. Insert bolts through holes in slide hinge and thread onto the nuts inside the channel. Make sure both lower holes in the slide hinge are still in line with the factory marks on the blade, and tighten the top 2 bolts. Repeat at the other end.
Step 5: With the rubber cutting-edge centered on the blade, use the 2 lower holes in each of the slide hinges as a guide to drill a 5/16″ hole through the first layer of aluminum and partially into the rubber. Turn the 3/8″ thread cutting bolt into each hole and tighten to secure each hinge. At the factory mark near each end of the blade, drill a 5/16″ hole through the first layer of aluminum and partially into the rubber. Turn a 3/8″ thread cutting bolt into each hole and tighten.
Step 6: Insert the interceptor into the 2″ receiver with the leg turned up. Now insert the hitch pin through the mount and hole in the interceptor and secure with the hair pin. Hold the push frame up in line with the pair of holes on the interceptor that when bolted will hold the push frame 6″ to 8″ above grade. Place a ½” x 4″ bolt with a flat washer through each hole and turn on and tighten the lock nuts.
Step 7: Now hang the blade on the push frame in the transport position, and insert the key hole pins. Push the set collar up against the receiver, hold in place and tighten the set screw with a 3/16″ Allen wrench.
Step 8: Insert a square nut, flat side up, into the channel at the top of the blade. Now align the blade marker with the edge of the blade. Turn the base fully into the square nut and tighten the jam nut. Repeat this procedure for the blade marker on the opposite end.
The installation of the plow is now complete and your plow is ready for the winter season.