Discount Price Zinc Aluminum Alloy Die Casting Parts to New York Manufacturer
Short Description:
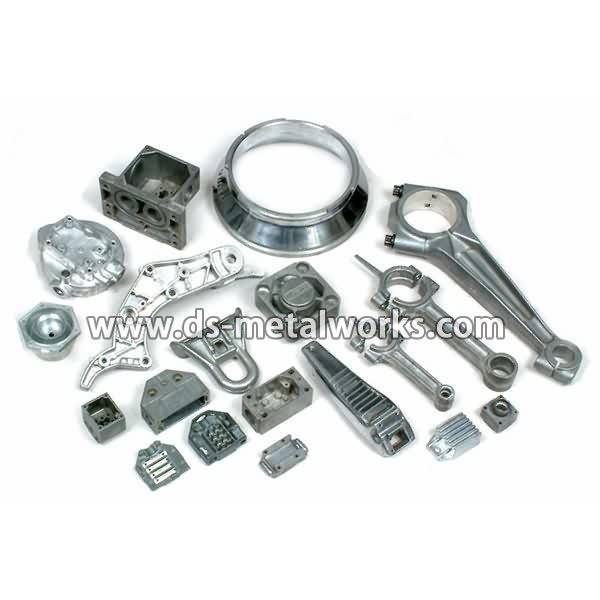
Zinc Aluminum Alloy Die Casting Parts Applications: 1.Automobile and motorcycle parts: engine cover, cylinder head, brake pad, shraft, clutch, etc. 2. Lights & lamps parts: heatsink, lamp cup, light housing, LED/street/ down lamp spares, etc. 3. Doors and windows parts: door(window)handle/hinge/lock, door stop, glass clamp, etc. 4. Electrical appliance parts: connector, telephone junction box , waterproof terminal box, etc. 5. Furniture hardware fittings: sofa legs, furniture brackets...
Product Detail
Product Tags
Discount Price Zinc Aluminum Alloy Die Casting Parts to New York Manufacturer Detail:
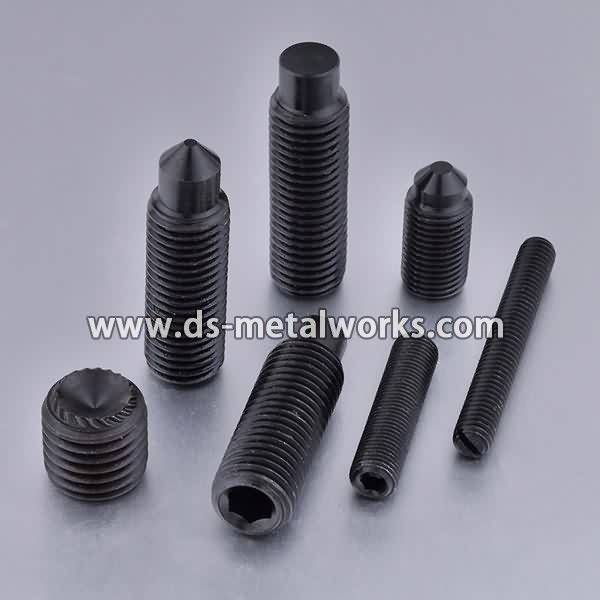
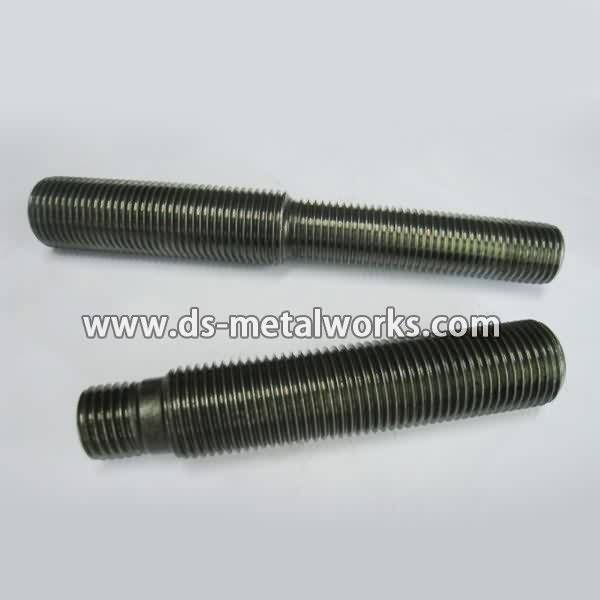
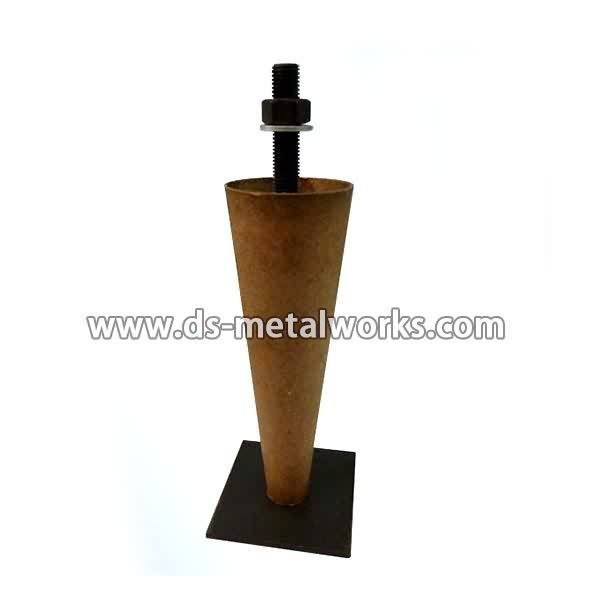
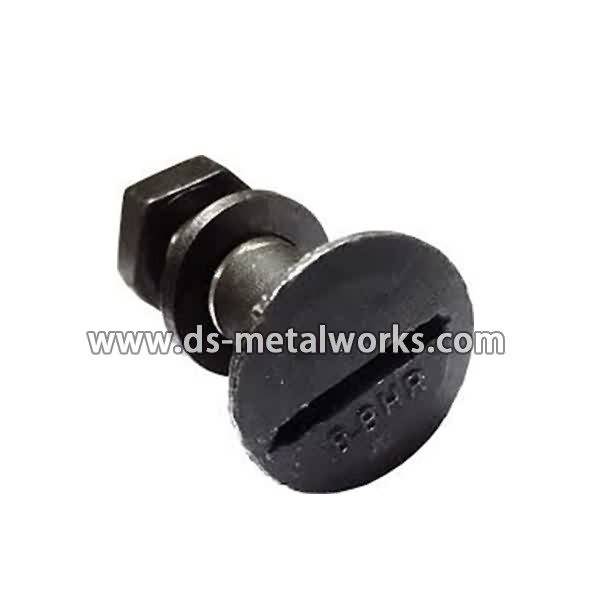
Zinc Aluminum Alloy Die Casting Parts
Applications:
1.Automobile and motorcycle parts: engine cover, cylinder head, brake pad, shraft, clutch, etc.
2. Lights & lamps parts: heatsink, lamp cup, light housing, LED/street/ down lamp spares, etc.
3. Doors and windows parts: door(window)handle/hinge/lock, door stop, glass clamp, etc.
4. Electrical appliance parts: connector, telephone junction box , waterproof terminal box, etc.
5. Furniture hardware fittings: sofa legs, furniture brackets, staircase fitting, decorations, etc.
6. Industrial hardwares: control valve housing, air tools, engine cover, instrument parts, etc.
7. Machine spareparts: machine vavle, base plate, end plate, propeller parts, etc.
Dimension: According to Customer’s Drawing
Material:
1. Al alloy: A380, A360, ADC12, AlSi9Cu3(Fe), AlSi12(Cu), etc.
2. Zinc alloy: Zamak 3, Zamak 5, etc.
Surface Finish: Sand Blast, Powder Coating, Zinc Plated, and so on.
Packing: Bulk about 25 kgs each carton, 36 cartons each pallet
Advantage: Strict Quality Control, Competitive Price, Timely delivery,Technical support, Supply Test Report
Please feel free to contact us for more details.
Product detail pictures:
The business keeps to the operation concept scientific management, premium quality and efficiency primacy, customer supreme for Discount Price Zinc Aluminum Alloy Die Casting Parts to New York Manufacturer, The product will supply to all over the world, such as: Plymouth, Croatia, Mexico, Wide selection and fast delivery for you! Our philosophy: Good quality, great service, keep improving. We are looking forward that more and more oversea friends join in our family for further development near the future!
Video tutorial on how to remove the anti shudder valve (asv) on a VW Golf, Jetta, Bora, MK4 TDI PD BEW engine. Some other models that came equipped with a PD100 included some Skoda models, Audi models, and VW Passat. After a while of operation, the anti shudder valve does build up with dirt and debris which does need to be cleaned. Anti shudder valves can also malfunction over time either getting stuck open or closed, therefore not allowing the engine to start. The original function of the unit shudder valve is to prevent a “run-away diesel” and to allow for quieter engine shutdowns. This particular tutorial was done on a 2004 Volkswagen Golf TDI.
Website: https://4diyers.com
Facebook: https://www.facebook.com/4diyers
Google Plus: https://plus.google.com/+4DIYers
Twitter: https://twitter.com/4DIYers
Instagram: https://www.instagram.com/4diyers/
Tumblr: https://4diyers.tumblr.com
Pintrest: https://www.pinterest.com/4diyers/
Tools/Supplies Needed:
-interlocking pliers
-allen wrench
Procedure:
-first remove the engine cover by pulling straight up on the two front corners, once it’s release pull straight towards you
-next remove the boost hose from the plastic tube and then from the anti shudder valve
-remove the clamp on the plastic tube side using the interlocking pliers by squishing the tabs and moving it off the rubber hose
-pull straight out of the anti shudder valve, ensure that you disengage the snap ring
-remove the three allen head bolts, two are visible on top and the other is hidden underneath of the unit
-remove the anti shudder valve from the intake
-disconnect the electrical connector from the anti shudder valve motor unit, there is a tab on the side that needs to be pulled back to disengage it from the clip
-all allen head bolts are the same length
-when reinstalling, ensure the mounting faces are clean
-installation in reverse
Thank you to all those who watch my videos and support my content. Don’t forget to subscribe to my channel for future tutorial videos and like my video if you found it helpful. New videos are always being uploaded every week!
© 4DIYers 2013
All Rights Reserved
No part of this video or any of its contents may be reproduced, copied, modified or adapted, without the prior written consent of the author.