Factory Free sample Stainless Steel Set Screws to Doha Importers
Short Description:
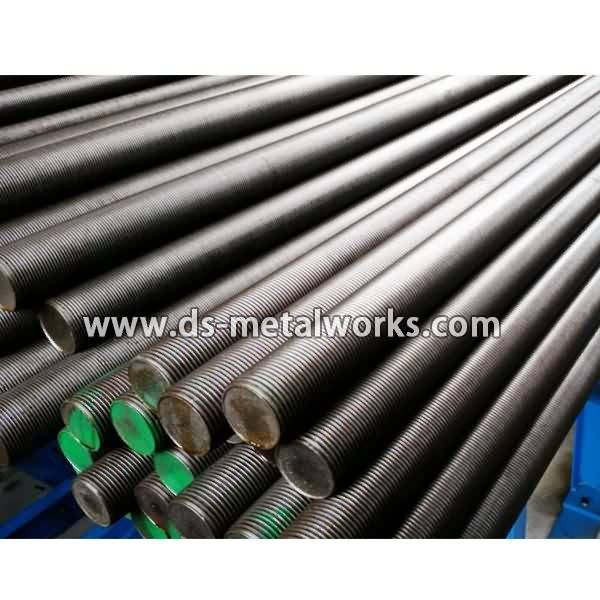
Stainless Steel Set Screws Grub Screws Metric Size: M1.4 – M52, Inch Size: 0# – 2″ Hexagon Socket(Allen), Torx Star, Square, Slotted Drive Types Flat Point, Cup Point, Cone Point, Dog Point Other Drive and Point Type are also available acc. to customer requirement Various Surface Finishes Various Material Grades are available Please feel free to contact us for more details
Product Detail
Product Tags
Factory Free sample Stainless Steel Set Screws to Doha Importers Detail:
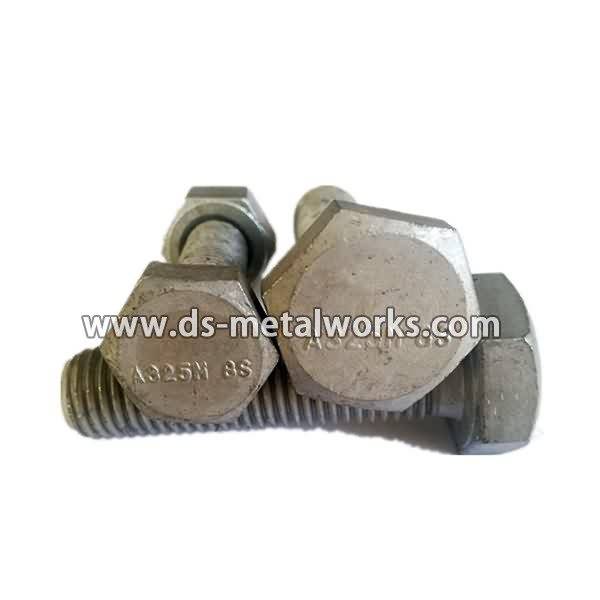
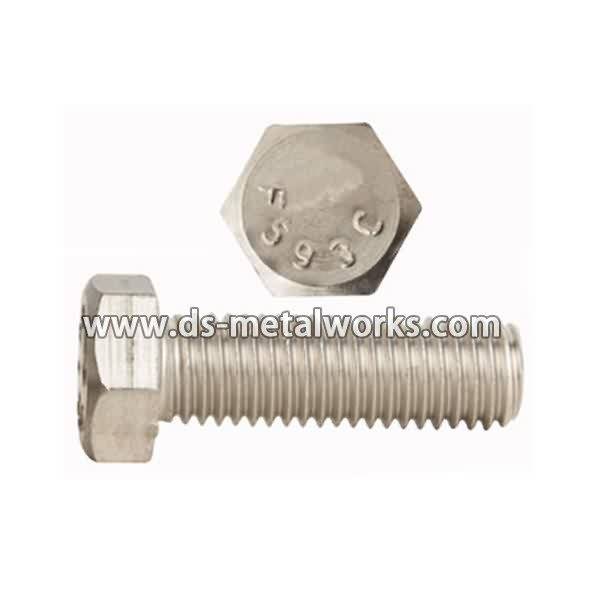
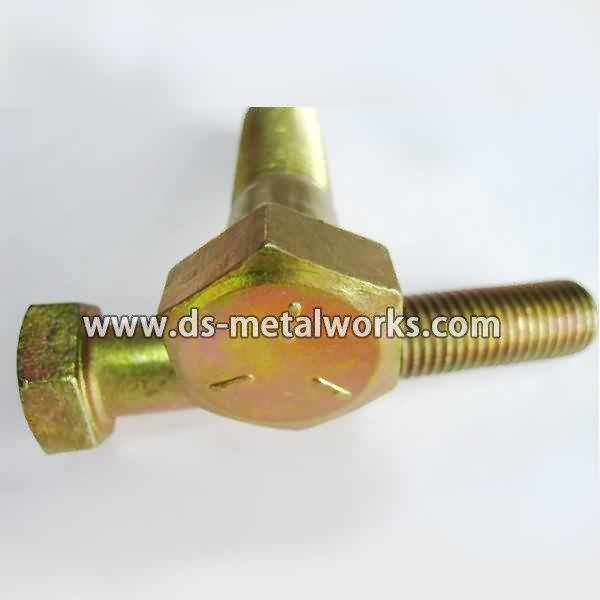
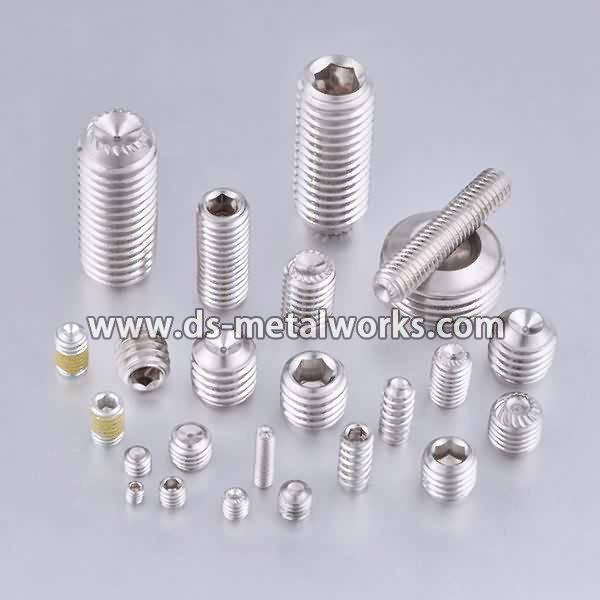
Stainless Steel Set Screws Grub Screws
Metric Size: M1.4 – M52, Inch Size: 0# – 2″
Hexagon Socket(Allen), Torx Star, Square, Slotted Drive Types
Flat Point, Cup Point, Cone Point, Dog Point
Other Drive and Point Type are also available acc. to customer requirement
Various Surface Finishes
Various Material Grades are available
Please feel free to contact us for more details
Product detail pictures:


We've been committed to offering easy,time-saving and money-saving one-stop purchasing service of consumer for Factory Free sample Stainless Steel Set Screws to Doha Importers, The product will supply to all over the world, such as: Azerbaijan, Palestine, California, Our company now has many department, and there have more than 20 employees in our company. We set up sales shop, show room, and product warehouse. In the meantime, we registered our own brand. We have tightened inspection for quality of product.
***VISIT OUR SPONSORS***
https://www.traderadiators.com | https://www.grahamplumbersmerchant.co.uk | https://www.buteline.com/uk | https://www.adey.com
***VISIT OUR FROM THE VAN CHANNEL***
https://www.youtube.com/user/plumberpartsFTV
***Facebook***
https://www.facebook.com/profile.php?id=100001119410854
***Twitter***
https://twitter.com/#!/plumberparts
This video covers the basics of fitting a thermostatic shower valve. Includes plumbing connections, fitting to the wall and testing operation.
Please subscribe and favourite!
Hi, and welcome to part one plumberparts.co.uk video. In part one today, I’m going to show you how to fit a Bristan artisan bar shower mixer. They’re a pretty common type. In the second video, I’m going to show you how to actually fit the shower head and riser rail nice and straight and neatly so it looks absolutely amazing. So let’s get going and have a wicked time.
So first things first, looking at the bar mixer itself, you’ve got your temperature control at this end. These are thermostatic shower mixers, so what they have is a probe on the inside that mixes the water automatically for you, according to the temperature that you want on the adjustment. The good thing about this particular make of shower is if the thermostatic control goes wrong, you can take this end off, whip out the thermostatic control and put a new one in. And Bristan are usually really good about sending new ones out. Looking at the bar mixer itself, you’ve got to take into account that you’ve got a cold and a hot coming into it. So make sure you get them the right way around. Fortunately, we’ve already our pipes come through. So they’re roughly about the same width away. This particular shower has 1500 centres. They’re all pretty much the same. Most bar shower mixers are 1500 centres, but always check. So before we start, we’ve got to turn the hot and cold off to the system, drain it all down, and make sure it’s all turned off. Next, just take five minutes to study the instructions and find out how these actually work. These are special wall brackets for this particular type of valve. And as I said, most other manufacturers do use this method as well, so it could help you out. Basically it is a wall plate that is also an integral compression fitting that will create a water-tight seal. What happens is, is your pipe sticks out of the wall, goes through this fitting here. Then your two screws screw that to the wall. You usually want to cut your pipe off so it’s about so far out, so about a centimetre sticking out. You have an olive that slips over that and goes in there. And then you have the other part of the compression fitting that you tighten up on there. You can see you’ve got some flats on there to tighten it up. Then the shower valve itself will actually connect to that part there and tighten up. So let’s have a look at how we do it.
The first thing I always try to do is make sure that the pipes you’ve got have still got a bit of move and play in them. So if they’re not exactly 1500 centres, you can wiggle them about so they are. Fortunately these are already. Now the next thing I’d do, is just measure your 1500 across and just mark that just above where the pipe comes out. Now you know exactly where your 1500s are. Next, push each one of these clamps on so they’re fully home and against the wall. Next, put a small strobe level on. Get each clamp on so it’s level, and then mark the holes. Once you’ve got your holes marked, you can drill the holes for the screws to go through that clamp, and then clamp the clamp up. We’re lucky here because the tiling here has been put onto a nice bit of hard wood. So we can just go through the tile and then screw into the hard wood itself. You might not be so lucky. You might have a cavity wall, in which case you’re going to need cavity plugs or something like that. Always look for an installation like this. Try to make sure that you know where the water pipes are so you don’t drill into them. All right, what I usually do now is just get some silicon, and fill that little hole up a bit. Just in case you have any water go down there, it can’t escape into the back cavity of the tiles and one day pull all the tiles off. So now, push up the actual clamp itself onto the pipe. And then push that up to your holes. And then screw two screws in there to clamp it in place. Excellent bond there. And do that to the other side. Now I always find the best way to do this bit is, to slide your olive on, and slide your other half of the compression on. And then tighten it up a little way. Get yourself a pencil and just mark as far down inside the pipe as you can and that’ll be where you cut the pipe off. You wouldn’t have to do this in copper but because it’s a plastic part, we have to put the inserts in. So make sure you’ve got the taper in going in, first. So that’ll push down on the olive. Screw it on, just with your hands. Then, I always recommend getting a big pair of grips.