Factory Price For Wheel Hub Stud Bolts and Nuts to Thailand Factories
Short Description:
Wheel Hub Studs Bolts and Nuts Dimension: As per the application or customer requirement Inch Size: 3/8”-1.1/2” with various lengths Metric Szie: M10-M36 with various lengths Material Grade: ISO 898-1 8.8, 10.9, 12.9, SAE J429 Grade 5, 8, 175KSI Finish: Plain, Black Oxide, Zinc Plated, Chrome Plated and so on Packing: Bulk about 25 kgs each carton, 36 cartons each pallet Advantage: High Quality and Strict Quality Control, Competitive Price,Timely Delivery; Technical Support, Supply Test Repor...
Product Detail
Product Tags
Factory Price For Wheel Hub Stud Bolts and Nuts to Thailand Factories Detail:
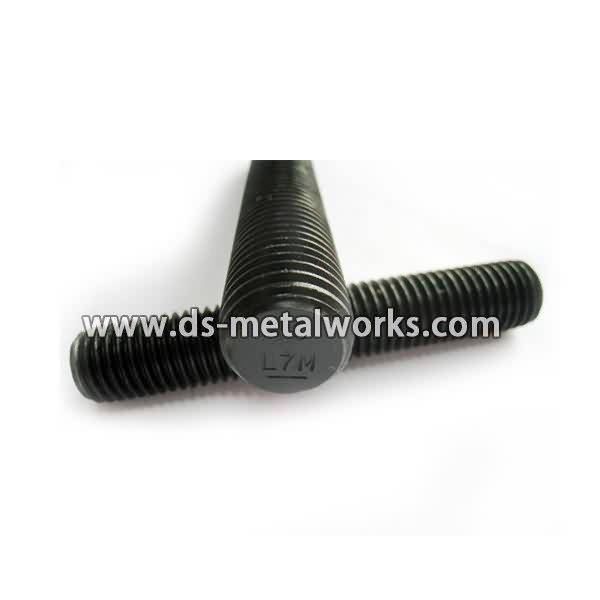
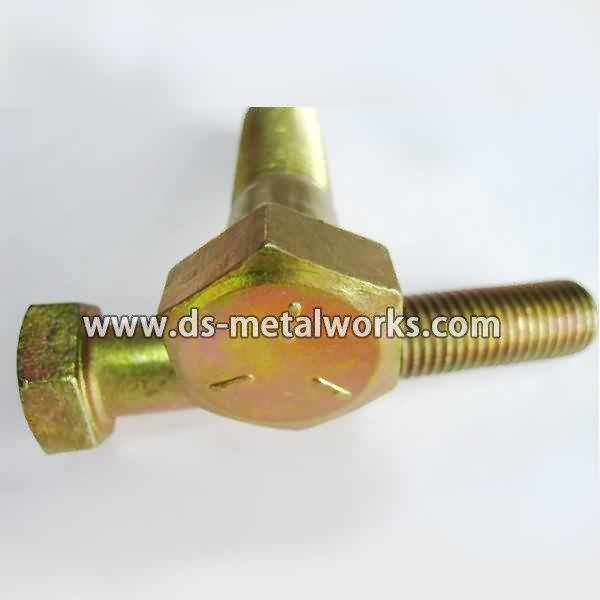
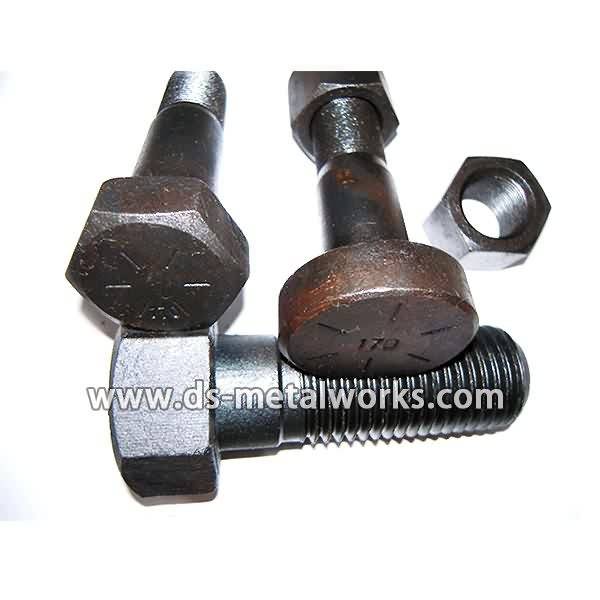
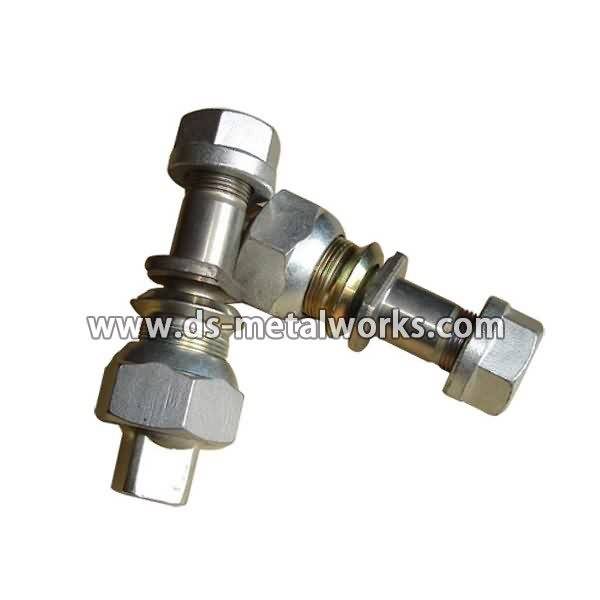
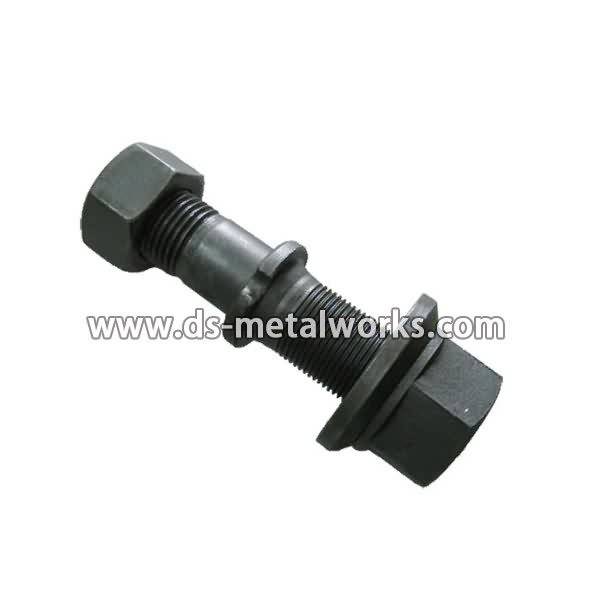
Wheel Hub Studs Bolts and Nuts
Dimension: As per the application or customer requirement
Inch Size: 3/8”-1.1/2” with various lengths
Metric Szie: M10-M36 with various lengths
Material Grade: ISO 898-1 8.8, 10.9, 12.9, SAE J429 Grade 5, 8, 175KSI
Finish: Plain, Black Oxide, Zinc Plated, Chrome Plated and so on
Packing: Bulk about 25 kgs each carton, 36 cartons each pallet
Advantage: High Quality and Strict Quality Control, Competitive Price,Timely Delivery; Technical Support, Supply Test Reports
Please feel free to contact us for more details.
Product detail pictures:

Our rewards are reduce selling prices,dynamic revenue team,specialized QC,sturdy factories,superior quality services for Factory Price For Wheel Hub Stud Bolts and Nuts to Thailand Factories, The product will supply to all over the world, such as: South Korea, Denver, Thailand, So that you can utilize the resource from the expanding info in international trade, we welcome shoppers from everywhere on-line and offline. In spite of the good quality solutions we provide, effective and satisfying consultation service is supplied by our professional after-sale service team. Product lists and detailed parameters and any other info weil be sent to you timely for your inquiries. So you should make contact with us by sending us emails or call us if you have any questions about our corporation. ou may also get our address info from our web page and come to our company to get a field survey of our merchandise. We've been confident that we have been going to share mutual achievement and create strong co-operation relations with our companions in this marketplace. We're searching forward for your inquiries.
https://free-review-tips.info/makemoneywelding ,how to weld.learn to weld.welding schools.welding school.welding training.learn how to weld,learn to weld
welding
mig welding
welding schools
beginner welding projects
welding certification
tig welding
What the difference between Arc, TIG, MIG, and Oxy Acetylene welding are so you can make sure you use the correct welding process where necessary
6 things you MUST know about which metals to buy, and where to buy them at the cheapest price
The 10 essential metal working tools you NEED so you can cut metal to length and finish metal projects with ease
What EVERY beginner welder must know about the safety gear you will need when you start welding… like proper eye protection, what to look for in a welding helmet, and what acceptable welding clothes are
welding supplies
underwater welding
welding jobs
welding school
welding classes
welder
arc welding
welding projects for beginners
welding training
tig welder
american welding society
underwater welding schools
learn how to weld
how to become a welder
welding careers
welding salary
welding machines
welding projects
how to weld aluminum
welding supply
welding apprenticeship
welding tips
welders
welding equipment
welding rods
welding class
how to tig weld
aluminum welding
what is welding
learn welding
welding information
lincoln welding school
welding aluminum
underwater welding salary
welding colleges
stick welding
welder jobs
how to mig weld
aluminum welding rods
welding certification test
certified welding inspector
mig welder
tig welding aluminum
welding programs
miller welders
beginner welding jobs
stick welder
welding certificate
welding caps
welding cast iron
welder training
lincoln welders
pipe welding
welding tools
learning how to weld
welding wire
welding helmets
welding certifications
how to weld steel
welding test
tig welders
welding companies
beginner welding kit
learning to tig weld
arc welder
certified welder
how to arc weld
welding technology
mig welders
welding torch
miller welding
types of welding
welding cable
6g welding test
welding courses
tig welding for beginners
welding certification classes
stud welder
spot welder
aluminum welder
lincoln welding
mig welding aluminum
welding schools in california
welding gas
learning to mig weld
welding rod
mig welding for beginners
welding gloves
mig welding gas
hobart welding school
welding videos for beginners
learning to weld at home
welding procedures
https://www.etrailer.com/tv-hitch-install-2002-honda-civic.aspx
Videos are provided as a guide only. Refer to manufacturer
installation instructions and specs for complete information.
Today on this 2002 Honda Civic, we are going to be installing part number 24706 from Draw-Tite. And this also applies to Hidden Hitch part number 60867. OK, the first thing that I am going to do is go ahead and show you the mounting locations for our hitch. It is going to be the existing hole right here and it is going to be the same on both sides. We are also going to mount here to the tow loop. Now, in order to put our hitch up, we are actually going to have to fish wire our carriage bolt and block through this existing hole here. But, it is not wide enough so we are actually going to have to make it a little wider so our parts can fit through. We are just going to use a hammer and a chisel. We are just going to check and see if our block fits through. And it seems like it does so that is a good sign. 0:41
Now, in order to take our carriage bolt and block and put it into position, we are actually going to have to use what we call a bolt leader. And we actually sell those. And it is part number 80101-1. Now all we are going to do is we are going to go ahead and stick it through the hole that we are putting our bolt and carriage block into. We are going to pull it through like that. Then we are going to go ahead and put our block on there and then thread our carriage bolt on there. It is just going to come out, pull it out of the hole just like that. We are also going to do that for the remaining hole on the passenger side. 1:18
Alright, now that we have our carriage bolts and blocks into position, we are going to go ahead and put our hitch up and tighten down our hitch using a conical tooth washer and nut for the passenger and driver sides. And then for the center attachment, we are going to go ahead and use this U-bolt. And then we are going to tighten it down with the lock washers and nuts that were provided in the kit. When tightening these down, you want to make sure you kind of keep the threads even on both sides. Then we are just going to tighten down the nuts on the outsides. And then we are going to torque them as specified in the instructions. OK, so we are going to take a couple measurements for you now. From the center of the hitch pin hole to the edge of the bumper is going to be approximately 3-1/4 inches. And then from the ground to the top of the receiver tube opening is going to be approximately 12-1/4 inches. That will conclude the installation for part number 24706 on this 2002 Honda Civic.