Free sample for ASTM A194 7M Heavy Hex Nuts Wholesale to Canada
Short Description:
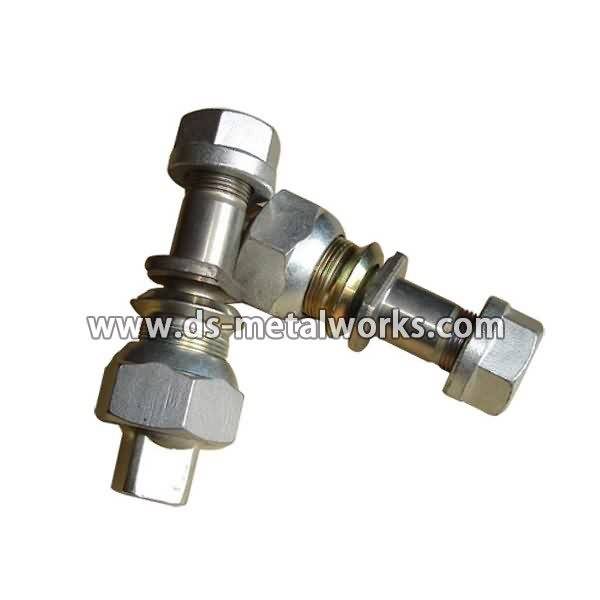
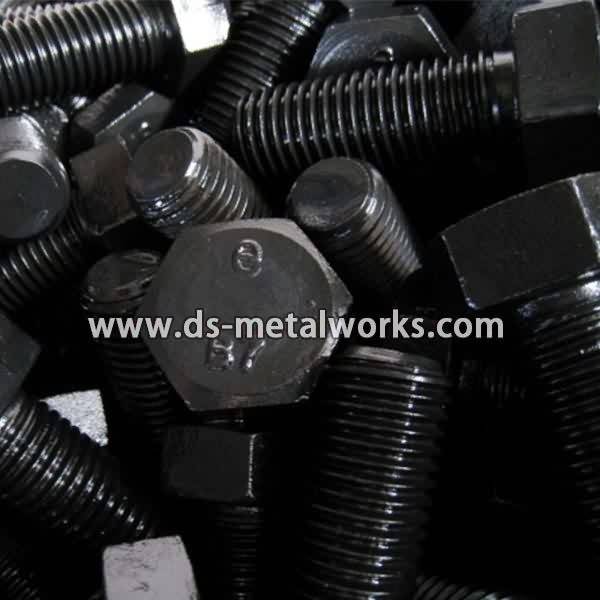
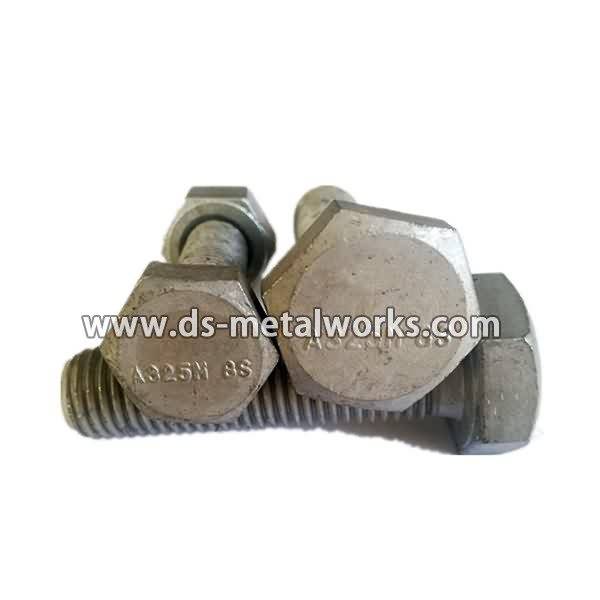
ASTM A194/A194M 7M Heavy Hex Nuts API 6A Flange Valve Wellhead Heavy Hex Nuts Dimension Standard: ASME B18.2.2, ASME B18.2.4.6M, ISO 4033, Din934 H=D Inch Size: 1/4”-4” with various lengths Metric Size: M6-M100 with various lengths Other Available Grade: ASTM A194/A194M 2H, 2HM, 4, 4L, 7, 7L, 7M, 8, 8M, 16 and so on. Finish: Plain, Black Oxide, Zinc Plated, Zinc Nickel Plated, Cadmium Plated, PTFE etc. Packing: Bulk about 25 kgs each carton, 36 cartons each pallet Advantage: High Quality, Com...
Product Detail
Product Tags
Free sample for ASTM A194 7M Heavy Hex Nuts Wholesale to Canada Detail:
ASTM A194/A194M 7M Heavy Hex Nuts
API 6A Flange Valve Wellhead Heavy Hex Nuts
Dimension Standard: ASME B18.2.2, ASME B18.2.4.6M, ISO 4033, Din934 H=D
Inch Size: 1/4”-4” with various lengths
Metric Size: M6-M100 with various lengths
Other Available Grade:
ASTM A194/A194M 2H, 2HM, 4, 4L, 7, 7L, 7M, 8, 8M, 16 and so on.
Finish: Plain, Black Oxide, Zinc Plated, Zinc Nickel Plated, Cadmium Plated, PTFE etc.
Packing: Bulk about 25 kgs each carton, 36 cartons each pallet
Advantage: High Quality, Competitive Price, Timely Delivery,Technical Support, Supply Test Reports
Please feel free to contact us for more details.
Product detail pictures:

We take pleasure in an extremely fantastic standing among the our prospects for our great product top quality, competitive cost and the finest support for Free sample for ASTM A194 7M Heavy Hex Nuts Wholesale to Canada, The product will supply to all over the world, such as: Jersey, Gambia, Moscow, Since always, we adhering to the open and fair, share to get, the pursuit of excellence, and creation of valuevalues, adhere to theintegrity and efficient, trade-oriented, best way , best valve business philosophy. Together with our all over the world have branches and partners to develop new business areas, maximum common values. We sincerely welcome and together we share in global resources, opening up new career together with the chapter.
How to make a PVC Camera Mount Rig and Stabilizer
This simple addition can make a world of difference for those who love to use their cameras.
Follow us on:
Facebook: https://www.facebook.com/specificlovefanpage
Twitter: https://twitter.com/Specific_Love
Instagram: https://www.instagram.com/specific_love_creations/
www.specificlove.com
The PVC mount will allow you to attach your camera to a bunch of homemade PVC designs. Here is a mini hand stabilizer that is balanced fairly well, but you can also add some weight to the bottom if needed.
Here is a two-handed stabilizer that also makes the camera easy to spin around a point.
You can also make a basic camera stand or a support rod for your filming needs.
The uses are endless.
I built this mount in two sizes; one for the smaller point and click cameras, and one for the larger DSLR cameras
To make the Smaller mount, you will need:
- 1/2 inch PVC Coupling
- 1/2 inch PVC Plug
- 1/4 inch (20 x 1-1/2 inch) Hex Head Bolt (or Machine screw)
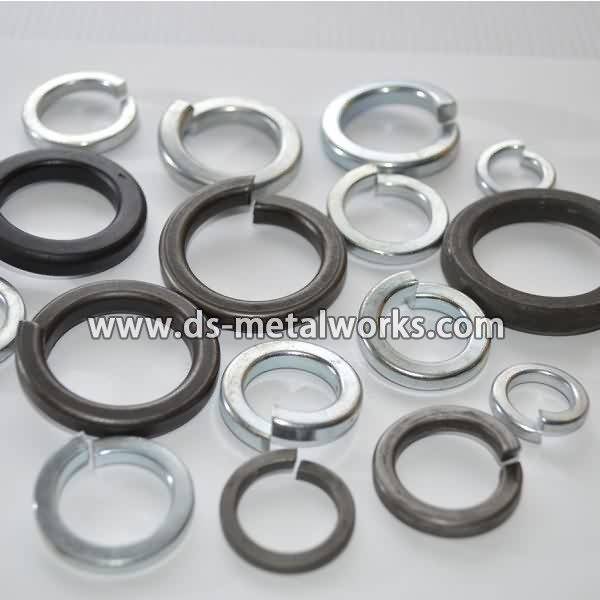
- 1/4 inch Lock Washer
- 1/4 inch Flat Washer
- 3/8 inch Flat Washer
- 3/16 Drill bit and drill
- 7/16 socket and ratchet (or Flat head screwdriver)
For this project, I used 1/4 inch bolts, but machine screws will work as long as the thread size is the same. The bolts are a little easier to set up but both work great once installed.
Let’s first construct the smaller mount.
First carefully mark the center of the 1/2-inch plug and drill a hole with the 3/16-inch bit.
The hole will be a little smaller than the bolt, but this is needed to secure everything in place. I then pushed the plug into the coupling until it seated firmly.
Next slide the lock washer, 1/4 inch washer, and 3/8 inch washer onto the bolt in that order. Then place the bolt into the coupling. The largest washer should come to rest on the inner ridge of the coupling.
Then screw the bolt into the previously drilled hole. This will not be easy because you are making new threads in the PVC. If for any reason the bolt is easy to insert, the hole is too big and will not keep a camera secure. The bolt needs to be straight up from the surface of the plug or the camera will not sit flat on the mount.
Once the bolt breaks the surface of the plug, it should have about 3 threads visible before it tightens up. The bolt needs to be tight but over tightening can cause the PVC to break.
The mount is now ready to use.
For the Larger Mount, you will need:
- 1 inch PVC Coupling
- 1 inch PVC Plug
- 1/4 inch (20 x 3/4 inch) Hex Head Bolt (or Machine screw)
- 1/4 inch Lock Washer
- 1/4 Nut
- 3/16 Drill bit and drill
- 7/16 socket and ratchet (or Flat head screwdriver)
The larger mount uses the same basic concept but the construction is a little different.
First drill a centered hole like we did in the first mount.
Next place the nut onto the bolt and spin it up the threads until it bottoms out on the head of the bolt. It needs to be tight. Then slide a lock washer onto the bolt.
With the nut and washer on the bolt, carefully screwed it straight into the hole on the plug. Remember, this will be a very tight fit.
The bolt should bottom out with about 3 threads showing.
Now slide the plug fully into the coupling and you are ready to film.
If you would like, you can always add some glue or epoxy to the bolt for added support.
If you enjoyed this project, please click the like button and tell us what you think about it in the comments.
We try to make a video every week, so make sure you subscribe so you won’t miss out.
Have fun building.
Matthew 7:24-27
NOTE: Use of the video content is at your own risk. Your results may vary depending on type of materials, your craftsmanship, and tools at hand.