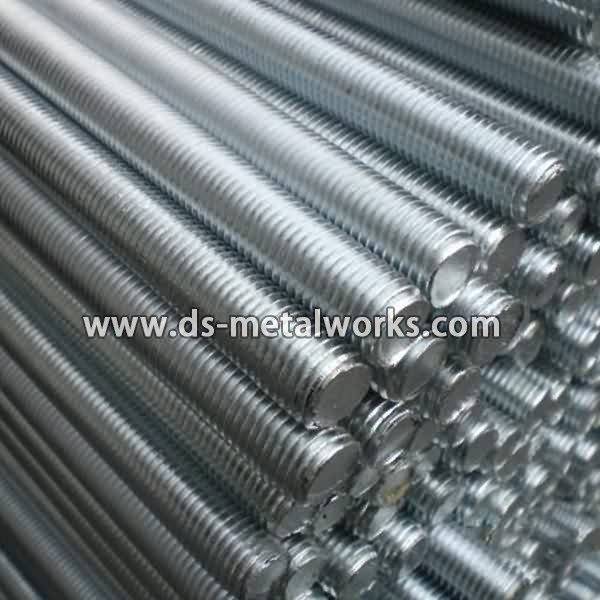
High Quality Industrial Factory Din975 Din976 Threaded Rods to Canada Importers
Short Description:
Din975 Din976 Threaded Rods Metric Thread Size: M6-M100 with various lengths Available Material or Grade: ISO 898-1 4.8, 5.8, 6.8, 8.8, 10.9, 12.9 Stainless Steel 304, 316 ASTM 193/320 B7, B7M, L7, L7M, B16, B8, B8M, B8T CL1&CL2 ASTM A453 660 1.1181 / C35E 1.1191 / C45E 1.7218 / 25CrMo4 1.7225 / 42CrMo4 1.7709 / 21CrMoV5-7 1.7711 / 40CrMoV4-6 1.7729 / 20CrMoVTiB4-10 1.4913 / X19CrMoNbVN11-1 1.4923 / X22CrMoV12-1 1.4980 / X6NiCrTiMoVB25-15-2) 1.4986 / X7CrNiMoBNb16-16 Inconel 625, Inconel ...
Product Detail
Product Tags
High Quality Industrial Factory Din975 Din976 Threaded Rods to Canada Importers Detail:
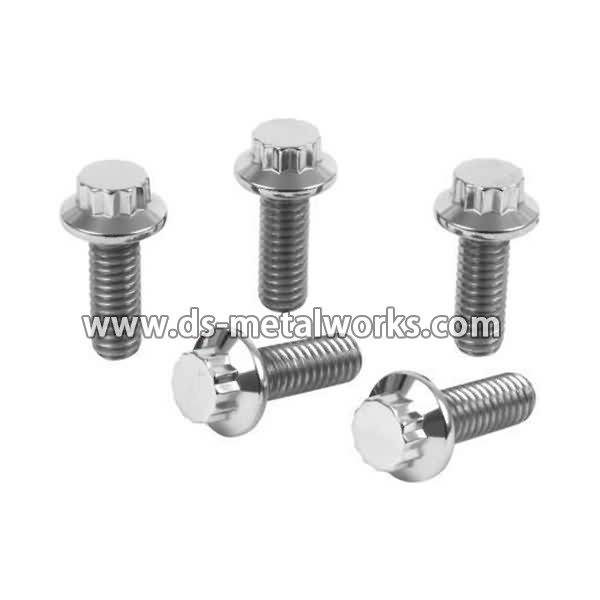
Din975 Din976 Threaded Rods
Metric Thread Size: M6-M100 with various lengths
Available Material or Grade:
ISO 898-1 4.8, 5.8, 6.8, 8.8, 10.9, 12.9
Stainless Steel 304, 316
ASTM 193/320 B7, B7M, L7, L7M, B16, B8, B8M, B8T CL1&CL2
ASTM A453 660
1.1181 / C35E
1.1191 / C45E
1.7218 / 25CrMo4
1.7225 / 42CrMo4
1.7709 / 21CrMoV5-7
1.7711 / 40CrMoV4-6
1.7729 / 20CrMoVTiB4-10
1.4913 / X19CrMoNbVN11-1
1.4923 / X22CrMoV12-1
1.4980 / X6NiCrTiMoVB25-15-2)
1.4986 / X7CrNiMoBNb16-16
Inconel 625, Inconel 718, Duplex, SuperDuplex
Finish: Plain, Black Oxide, Zinc Plated, Zinc Nickel Plated, Cadmium Plated, PTFE etc.
Packing: Bulk about 25 kgs each carton, 36 cartons each pallet
Advantage: High Quality and Strict Quality Control, Competitive Price,Timely Delivery; Technical Support, Supply Test Reports
Please feel free to contact us for more details.
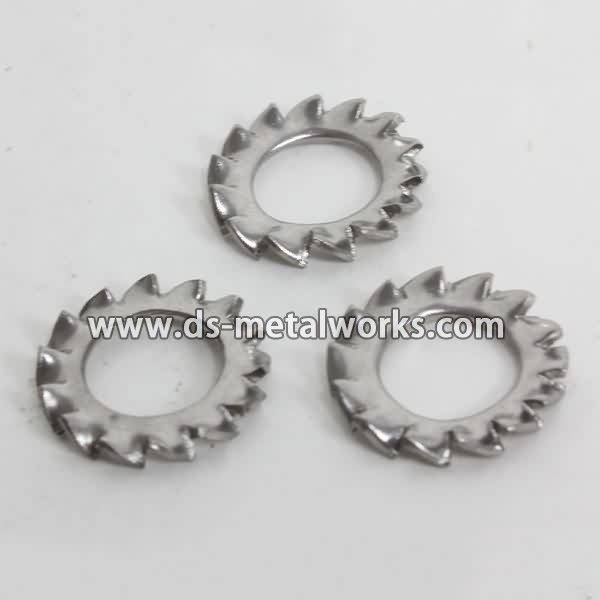
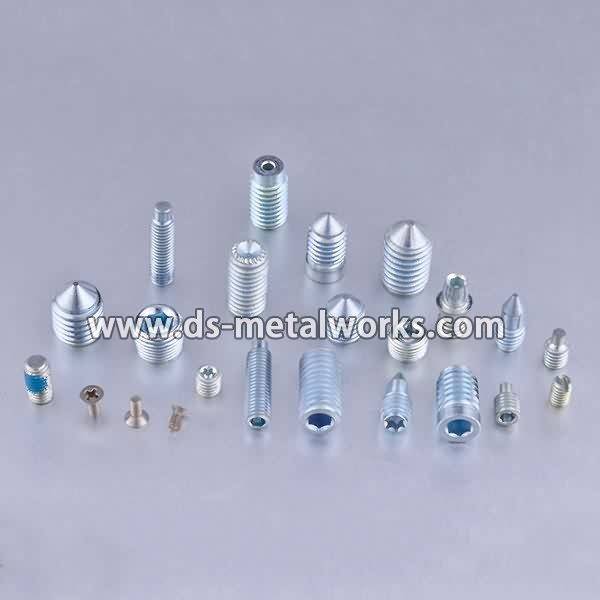
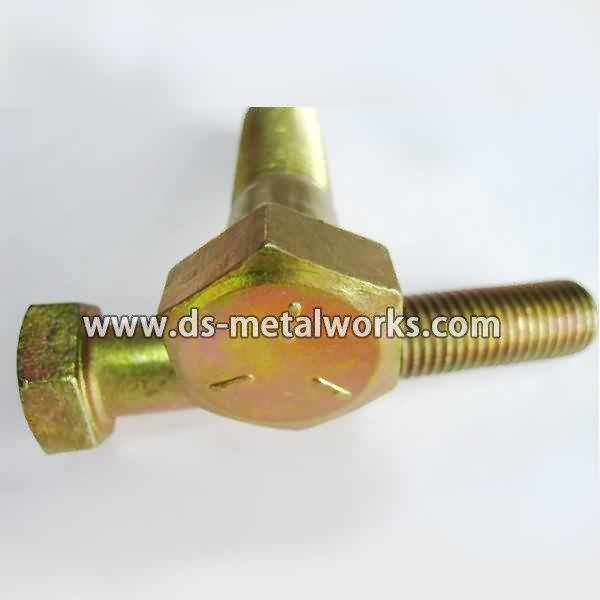
Product detail pictures:
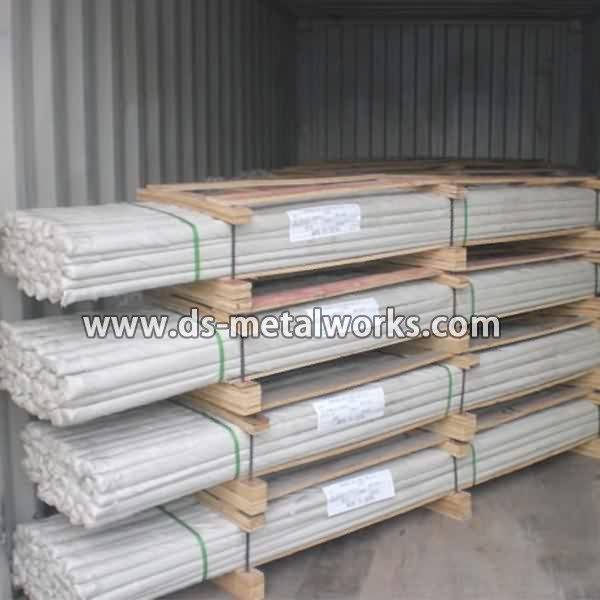
Our firm sticks to the basic principle of Quality is the life of your company, and status will be the soul of it for High Quality Industrial Factory Din975 Din976 Threaded Rods to Canada Importers, The product will supply to all over the world, such as: Mumbai, Israel, Cape Town, The quality of our merchandise is equal to OEM's quality, because our core parts are the same with OEM supplier. The above items have passed professional certification, and we not only can produce OEM-standard items but we also accept Customized Merchandise order.
https://www.homeownerseries.com
This is video #2 of a 3-part series. The videos are:
Part 1 = https://youtu.be/8xlJXrSK3ag?hd=1
Part 2 = https://youtu.be/BLDvTRZlyCo?hd=1
Part Overview = https://youtu.be/KCPlbiTcLc4?hd=1
To watch the Flush Valve Playlist = https://www.youtube.com/view_play_list?p=31C570921B83280C
Flush Valve
Parts Needed
Before this project is started a new flush valve kit will need to be purchased at a hardware or plumbing supply store. This kit should include the flush valve assembly, which is the overflow tube and seat, seals and lock nut, flapper valve with lift chain and a sponge gasket. Additionally, a supplemental sponge gasket may need to be purchased depending on the curvature of the connection between the tank and the base. The last items that need to be purchased are new tank mounting bolts. Generally, a tank will require two or three mounting bolts so purchase enough for your given toilet.
Tools Needed
The tools necessary for this project are an adjustable open-end wrench or socket wrench, a large sponge, a flat-head screwdriver, a pair of rib-joint pliers, a cement mixing tub, a small plastic container, and possibly a mini-hacksaw.
Replacement
Before beginning this repair shut off the water supply, remove the lid to the tank, and flush the toilet. Once the tank is mostly empty, sponge out the rest of the water draining it into the toilet’s bowl. With the tank empty, position a plastic container to collect water under the water supply hose and unscrew the hose from the base of the tank, having any water drain into the plastic container below. To remove the tank, its mounting bolts will need to first be unscrewed.
Using the flat head screwdriver to hold the head of the bolt, and an adjustable open-ended wrench to loosen the nut remove all of the tank mounting bolts. If the bolts are corroded and too difficult to unscrew, cut through them with a mini-hacksaw. When the bolts are free lift the tank off of the base and place it into the cement-mixing tub.
With the tank on its side peel off the sponge gasket reveling the lock nut. While holding onto the flush valve assembly inside the tank, unscrew the lock nut from the base of the tank using a pair of rib-joint pliers.
With the assembly disconnected from the tank unhook the chain from the flush handle, and remove the old flush valve assembly. Take the new flush valve assembly insuring that its seal is in place, and insert it into the tank of the toilet with the overflow tube at the ten o’clock position. Then place the external seal on the flush valve and hand-tighten the lock nut. Finally tighten the lock nut with rib-joint pliers and affix the sponge gasket over the lock nut. Reattach the flapper valve to the overflow tube and the chain to the flush lever.
Insert the tank mounting bolts with washers back through the openings in the base of the tank, once they are in place set the tank back on the base of the toilet lining up the mounting bolts with their corresponding openings in the toilet’s bowl. Hand tighten the lock nuts on the mounting bolts and finish off using the screwdriver and socket wrench to secure the bolts water tight with no movement between the tank and the base.
Now that the tank is re-installed the mounting bolts depending on personal preference, may be trimmed within a quarter inch from the lock nut, using a mini hacksaw. Reattach the water supply hose and turn on the water supply valve. The tank should begin to fill. As the tank fills inspect the joint between the base and the tank for any leaking. Once the tank is full make any adjustment to the overflow tube, flush valve and tank fill valve for optimum water level. With all adjustments complete test cycle the toilet and replace the toilet’s tank lid.
Departmental Procedures & Guidelines for Inspections, Certifications, Load Testing, Repairs & Painting of Fire Escapes
Inspections by Structural Engineers, Fire Escape Engineers or others acceptable to the Official:
In layman’s terms, the city official is looking for a registered structural engineer or others qualified and acceptable by the Fire/Code Official to do a Critical Examination in lieu of a Live Load Test (criteria submitted or discussed prior to inspection) and issues written verification and certification that all connections are free of internal rust or rot as well as all original hardware (square head bolts or rivet) are reinforced and or replaced in lieu of Live Load Test. All supports (thru-bolts or cemented) into the wall must be verified and certified in lieu of Live Load Test. A fire escape confidence test and tag must be submitted if fire escape passed. The report with photos identifying violations for repairs must include repair criteria submitted to the official for repair vendor to use as a guide during and with engineer oversight of permitted repairs. A Fire Escape Confidence Test and tags identifying certified condition are then submitted. Recommended cycle for live load testing is 20 yrs after total refurbishment or as required by official.
Repairs by Ornamental Ironworkers, Welding Companies or others acceptable to the Official:
In layman’s terms, the city official is looking for a qualified licensed repair vendor to do all work under repair permit (if required) with engineer oversight of repair criteria submitted for approval to the official in lieu of Live Load Test. All connections must be free of internal rust or rot, spot primed and sealed. All worn material repaired and or replaced. All supports into wall reinforced, repaired and certified in a Fire Escape Confidence Test. In lieu of Live Load Test, all square head bolts, rivets and or welded connections must be certified, reinforced and or replaced based on age or condition. All ladders and cantilevers must be balanced and drop 2-3 ft per second, hit the ground and stay down and must lead to a public way. All roof ladders must be secure. No full painting of any fire escape until all spot painted repairs are inspected and certified under engineer oversight and or city official permit sign-off. Full replacement is subject to permits and or possible code upgrade requirements.
Painting by EPA Licensed Renovators (if lead paint is present) or others acceptable to Official:
In layman’s terms, the city official is looking for a paint vendor (EPA Certified Renovator if required) to do all work as per EPA Guidelines due to the fact that all fire escapes older than 1978 are presumed to have lead (EPA) unless identified as no lead or low lead by a licensed lead inspector. Entire building will be notified with signage and all precautions shall be taken to collect paint chips at grade. No sandblasting or power assisted scraping without full fire escape encapsulation under EPA Guidelines. All major connection shall be sealed from water intrusion before during or after painting. All escapes should be spot painted every 3-5 yrs and fully painted every 5-10 yrs or as needed or ordered by a Fire/Code Official.
For more information please visit our website at https://fireescapeengineers.com or call 866-649-0333
Fire Escape Engineers is an approved member of the Fire Escape Services Network https://www.fireescpeservices.com and a founding member of the National Fire Escape Association (NFEA) https://www.nationalfireescapeassociation.org