Hot Sale for DIN933 Din609 ISO4017 JIS1180 Metric Hex Head Bolts for Armenia Manufacturers
Short Description:
Metric Size Hex Head Bolts Hex Cap Screws Hex Fit Bolts Standard: DIN931, DIN933, DIN960, DIN961, DIN558, DIN601, DIN609, DIN610 ISO4014, ISO4017, ISO8765, ISO8676,BS4190, BS3692, UNI5739, UNI5740, JIS1180 Thread Size: M5-M80 with various lengths Class: ISO 898-1 class 4.6, 4.8, 5.6, 5.8, 6.8, 8.8, 10.9, 12.9 Finish: Black Oxide, Zinc Plated, Hot Dip Galvanized, Dacromet, and so on Packing: Bulk about 25 kgs each carton, 36 cartons each pallet Advantage: High Quality and Strict Quality Contro...
Product Detail
Product Tags
Hot Sale for DIN933 Din609 ISO4017 JIS1180 Metric Hex Head Bolts for Armenia Manufacturers Detail:
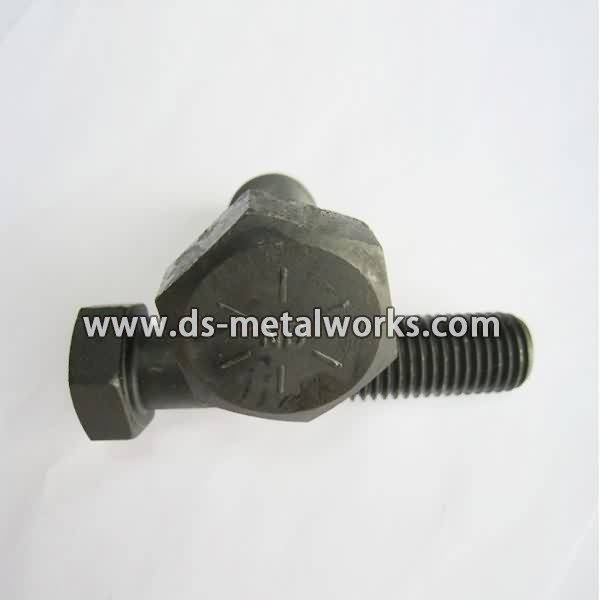
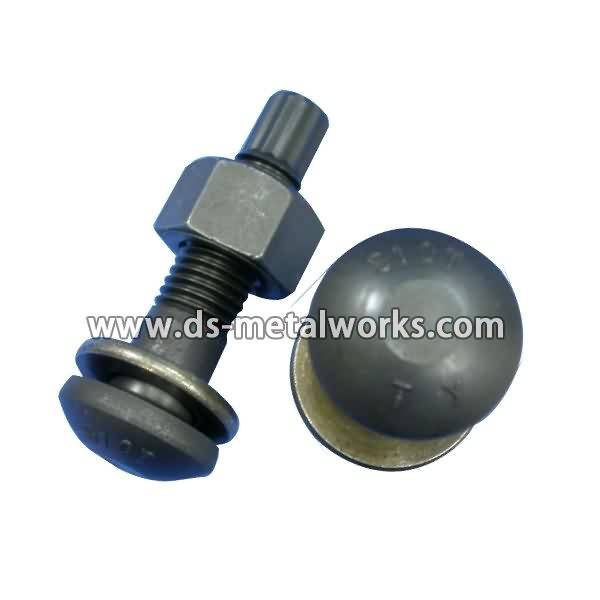
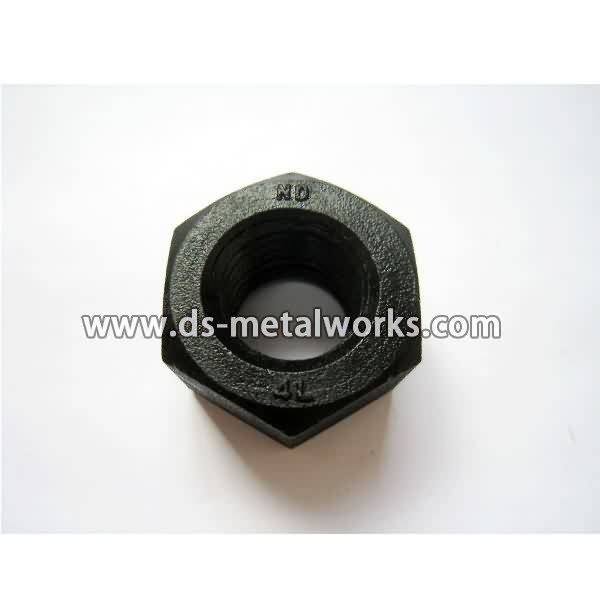
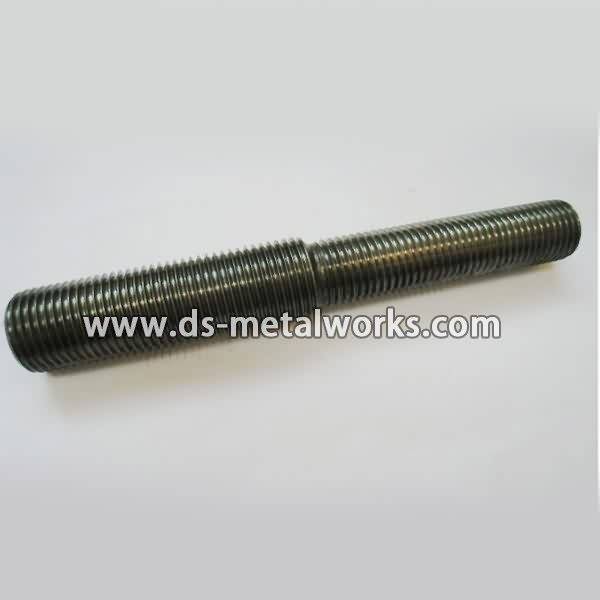
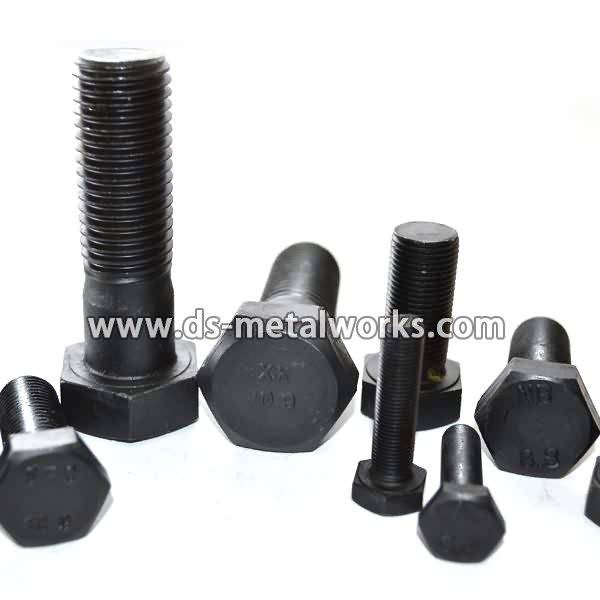
Metric Size Hex Head Bolts Hex Cap Screws Hex Fit Bolts
Standard: DIN931, DIN933, DIN960, DIN961, DIN558, DIN601, DIN609, DIN610
ISO4014, ISO4017, ISO8765, ISO8676,BS4190, BS3692, UNI5739, UNI5740, JIS1180
Thread Size: M5-M80 with various lengths
Class: ISO 898-1 class 4.6, 4.8, 5.6, 5.8, 6.8, 8.8, 10.9, 12.9
Finish: Black Oxide, Zinc Plated, Hot Dip Galvanized, Dacromet, and so on
Packing: Bulk about 25 kgs each carton, 36 cartons each pallet
Advantage: High Quality and Strict Quality Control, Competitive price,Timely delivery; Technical support, Supply Test Reports
Please feel free to contact us for more details.
Product detail pictures:

We emphasize development and introduce new products into the market every year for Hot Sale for DIN933 Din609 ISO4017 JIS1180 Metric Hex Head Bolts for Armenia Manufacturers, The product will supply to all over the world, such as: Belize, Serbia, Sao Paulo, We hope we can establish long-term cooperation with all of the customers, and hope we can improve competitiveness and achieve the win-win situation together with the customers. We sincerely welcome the customers from all over the world to contact us for anything you need!Welcome all customers both at home and abroad to visit our factory. We hope to have win-win business relationships with you, and create a better tomorrow.
In July of 2009, I had just arrived in Paris and went to go see the Eiffel tower. I sat down in the Champ de Mars and set up my tripod and camera to take a nice sunset timelapse of the tower. After the time-lapse had begun, I quickly noticed that a storm was moving in and figured that I would get a chance to capture a bolt of lightning hitting the tower. I figured I was safe with my tiny metal tripod on the grass….at least until the rain moved it.
I was able to capture a few bolts directly hitting the tower and had to run for cover when the skies opened up and there was an absolute downpour.
Production music courtesy of Epidemic Sound
Watch more Bathroom Repair videos: https://www.howcast.com/videos/394214-How-to-Fix-a-Toilet-Leak
The two most common reasons for toilet leakage are faulty supply lines and worn wax rings. Both can be fixed with common household tools and a little know-how.
Step 1: Soak up existing water
Soak up standing water around the toilet with a towel. Wait half an hour to determine whether the water is coming from beneath the toilet or from the water supply line on the bottom of your toilet tank.
Step 2: Remove old supply line
Replace the supply line if the water is leaking from your existing supply line. Turn the water off by closing the shutoff valve and flush the toilet to remove most of the water. Use a wrench to disconnect the hex nuts that connect the old supply line to the shutoff valve and to the toilet tank.
Step 3: Install new supply line
Attach the wide, conical end of a plastic replacement supply line into the shutoff valve and replace the hex nut. Then slide the brass compression nut over the tube, with the open end facing the toilet tank, followed by the plastic compression ring, tapered side up. Use your utility knife to cut the line to size and reattach the nut to the toilet tank, tightening it with your wrench.
Tip
You can also use a braided stainless steel supply line. They’re flexible and the connecting nuts are already attached, but they’re only available in set lengths.
Step 4: Remove hex nuts
Replace your wax ring if the leak is coming from under the toilet’s base. Turn off the water supply and flush the toilet to get rid of most of the water. Then remove the hex nuts from either side of the base.
Step 5: Remove the old wax ring
Lift the toilet free of the closet bolts, turn it over, and use the putty knife to scrape away the old wax ring. Make sure you scrape any residual wax from the flange, too.
Tip
You might want to use mineral spirits to thoroughly clean away the old wax. You want a clean surface to attach the new wax ring.
Step 6: Attach the new wax ring
Firmly press the new wax ring either onto the flange in the floor or onto the base of the toilet. Then place the toilet back onto the closet bolts, replace and hand-tighten the hex nuts, and sit on the toilet (with the lid closed, of course). Rock back and forth to spread the wax and close the seal. Finally, tighten the nuts with a wrench, being careful not to use too much torque and crack your toilet. Now your bathroom is leak free.
Did You Know?
According to the EPA, if Americans replaced old toilets with new, water-efficient models, it could save nearly 2 billion gallons of water per day.