OEM China High quality ASTM A563 DH Heavy Hex Nuts Wholesale to Senegal
Short Description:
ASTM A563 DH Heavy Hex Nuts Dimension Standard: ASME B18.2.2 Inch Size: 1/4”-4” Other Available Material Grade: ASTM A563 A, B, C, D, DH and so on. Finish: Plain, Black Oxide, Zinc Plated, Hot Dipped Galvanized, etc. Packing: Bulk about 25 kgs each carton, 36 cartons each pallet Advantage: High Quality, Competitive Price, Timely Delivery,Technical Support, Supply Test Reports Please feel free to contact us for more details.
Product Detail
Product Tags
OEM China High quality ASTM A563 DH Heavy Hex Nuts Wholesale to Senegal Detail:
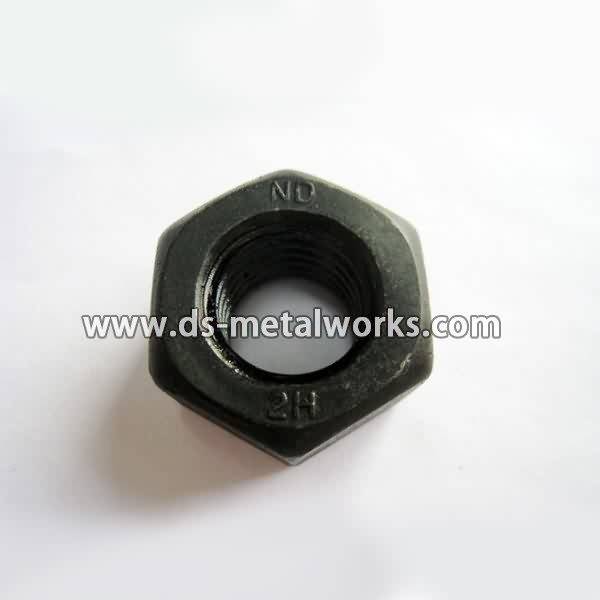
ASTM A563 DH Heavy Hex Nuts
Dimension Standard: ASME B18.2.2
Inch Size: 1/4”-4”
Other Available Material Grade:
ASTM A563 A, B, C, D, DH and so on.
Finish: Plain, Black Oxide, Zinc Plated, Hot Dipped Galvanized, etc.
Packing: Bulk about 25 kgs each carton, 36 cartons each pallet
Advantage: High Quality, Competitive Price, Timely Delivery,Technical Support, Supply Test Reports
Please feel free to contact us for more details.
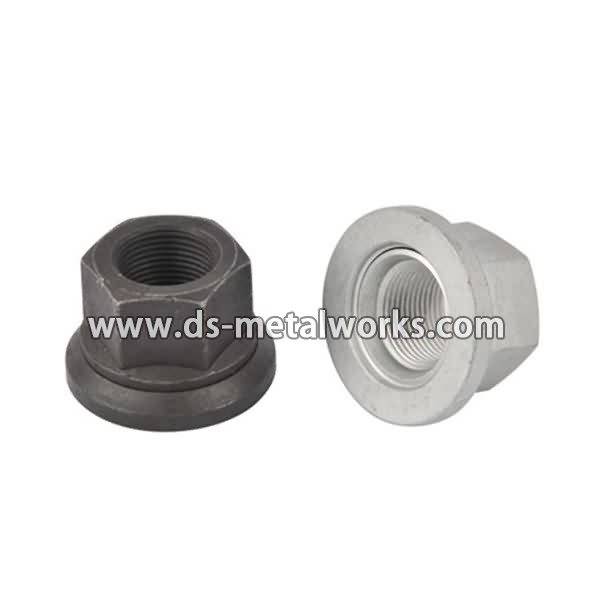
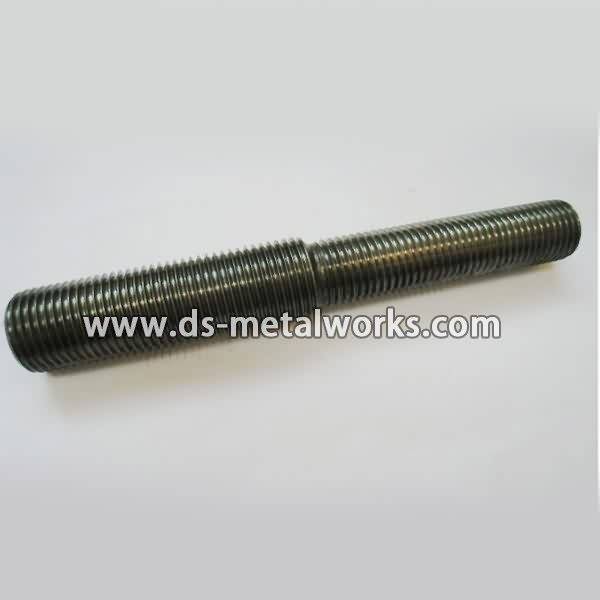
Product detail pictures:

With a positive and progressive attitude to customer's curiosity, our organization repeatedly improves our products top quality to meet the wants of consumers and further focuses on safety, reliability, environmental necessities, and innovation of OEM China High quality ASTM A563 DH Heavy Hex Nuts Wholesale to Senegal, The product will supply to all over the world, such as: Cologne, Anguilla, New York, Now the competition in this field is very fierce; but we will still offer best quality, reasonable price and most considerate service in an endeavor to achieve win-win goal. Change for the better! is our slogan, which means A better world is before us, so let's enjoy it! Change for the better! Are you ready?
Product page: https://mishimo.to/1Vy7EjF
Facebook: https://www.facebook.com/GoMishimoto
Twitter: https://www.Twitter.com/Mishimoto
Instagram: https://www.Instagram.com/Mishimoto
Mishimoto proudly announces the all-new Nissan 370Z, 2009+ / Infiniti G37, 2008+ (Coupe only) Oil Cooler Kit. Specially designed for your Nissan 370Z and Infiniti G37, the Mishimoto oil cooler is a direct fit and is beneficial to both manual and automatic applications. Enthusiasts who drive their high-performance cars on or off the track know the importance of keeping their oil temperatures low to prevent damage, or even seizure, of the engine. The Mishimoto Nissan 370Z/Infiniti G37 Oil Cooler Kit comes with a Lifetime Warranty, so you know quality is guaranteed!
Model Number: MMOC-370Z-09
Mishimoto 370Z Oil Cooler Kit Installation Instructions
PARTS LIST
3PC | Application Specific Mounting Brackets
1PC | 19 Row Oil Cooler
1PC | 4ft Stainless Steel Braided Hose w/-10AN Fittings
1PC | 5ft Stainless Steel Braided Hose w/-10AN Fittings
1PC | Oil Sandwich Plate M20, Silver
1PC | Stainless Steel Sandwich Plate Adapter, M20
2PC | Banjo Fitting w/ Bolt M20 x -10AN, Black
1PC | Mounting Hardware Set
TOOLS NEEDED
Jack & Jack Stands
Socket Wrench
Socket Extensions
Screwdriver
27mm Socket
10mm Socket and/or Wrench
Panel Tool
Teflon Tape
5mm Hex Key
Oil
Disclaimer
• Please dispose of any liquids properly.
• Allow vehicle to cool completely prior to attempting installation.
• Mishimoto Performance is not responsible for any vehicle damage
or personal injury due to installation errors, misuse, or removal of
MP products.
• MP always suggests that a trained professional install all MP products.
• Do not run the engine or drive the vehicle while overheating. Serious
damage may occur.
• Raise vehicle only on jack stands or on a vehicle lift.
• See specific instructions regarding sandwich plate installation on last page.
Note: Oil cooler systems must be checked for leaks during each
oil change.
INSTALLATION INSTRUCTIONS
01 | Preparing the vehicle for installation
1. Raise vehicle and support on jack stands.
2. Remove plastic clips and 10mm screws. Remove splash shield.
3. Remove bumper clips (pop clips).
4. Remove 10mm bolt from inner splash shield panel (both sides).
5. Remove front bumper.
02 | Preparing the Mishimoto oil cooler
kit for installation
1. Wrap plug in Teflon tape and insert into sandwich plate.
2. Install O-ring seal on sandwich plate.
3. Assemble and install banjo fittings to sandwich plate. Be sure that a
seal is on the top and bottom of the fitting.
4. Locate appropriate adaptor (no hash marks).
5. Remove oil filter and install sandwich plate to oil filter housing.
Next, install appropriate adaptor in center of the sandwich plate.
Tighten the adaptor in hold sandwich plate in place (27mm socket).
Lastly, tighten the banjo fittings using the same 27mm socket.
6. Attach Mishimoto lower bracket to oil cooler using 10mm bolts.
7. Attach Mishimoto upper bracket to oil cooler using 10mm bolts.
Leave loose until installation is complete.
8. Install threaded lines to oil cooler. Leave loose until installation is
complete.
03 | Installing Mishimoto oil cooler
1. Install threaded clips on vehicle.
2. Install oil cooler and bolt in brackets using the 10mm bolts.
Then, tighten upper bracket hardware and threaded lines.
3. Stainless oil lines will follow P/S lines over metal support beam.
4. Connect lines to banjo fittings.
5. Install new oil filter.
6. Start vehicle and check for leaks. Be sure to check oil levels and add
oil if necessary.
7. Reinstall front bumper with OEM pop clips and screws.
SANDWICH PLATE
01 | ASSEMBLING 1/8” NPT PLUGS
1. Inspect components to ensure that male and female port threads
and sealing surfaces are clean and dry and free of burrs, nicks, and
scratches, and/or foreign material.
2. Apply Teflon® tape (or sealant) 1.5-2 full turns in clockwise
direction when viewed from the pipe-thread end. Leave the first two
threads without any Teflon® to avoid contamination.
3. Screw plug into port until it is “finger tight.”
4. Wrench tighten the plug 2-3 full turns. (1/8”npt only)
5. Remove any excess Teflon® after tightening.
6. Notice that no Teflon® tape is inside the npt port area.