OEM China High quality Din938 Din939 Din940 Din835 Double End Studs Wholesale to Jordan
Short Description:
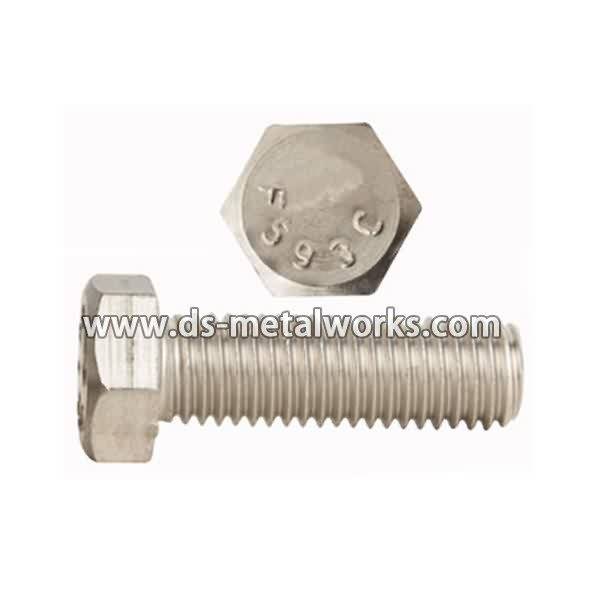
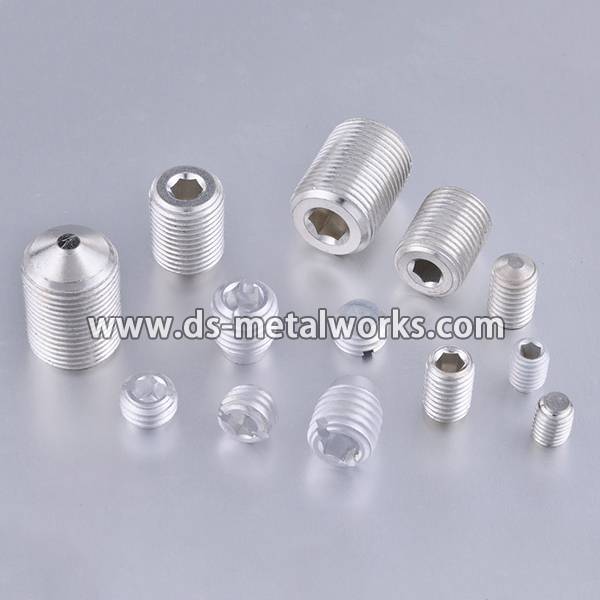
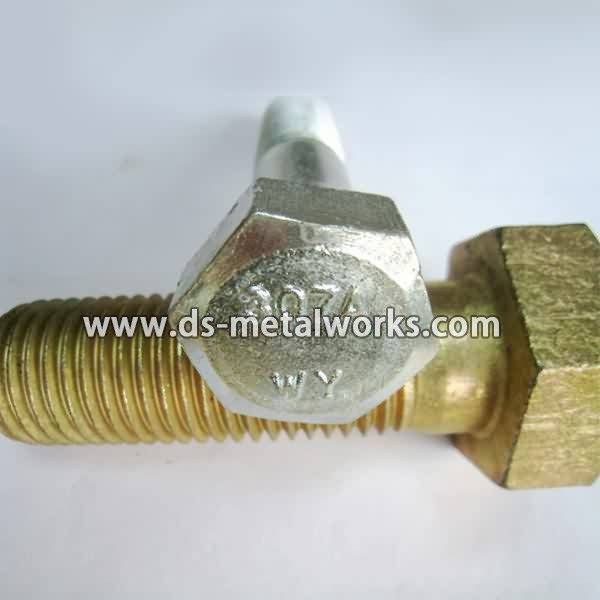
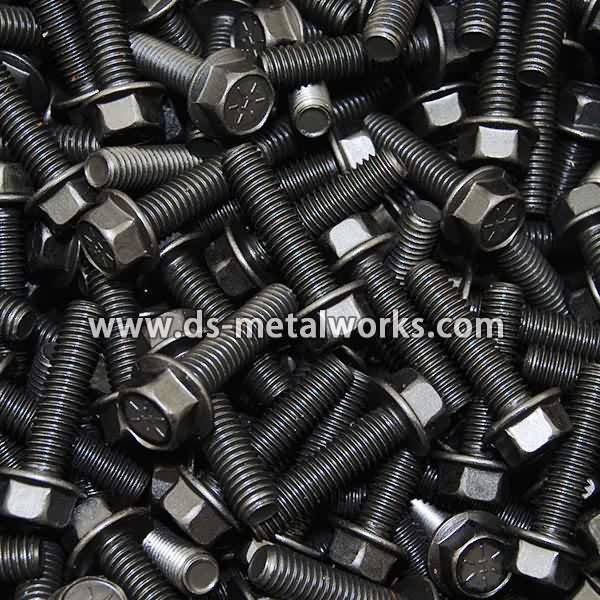
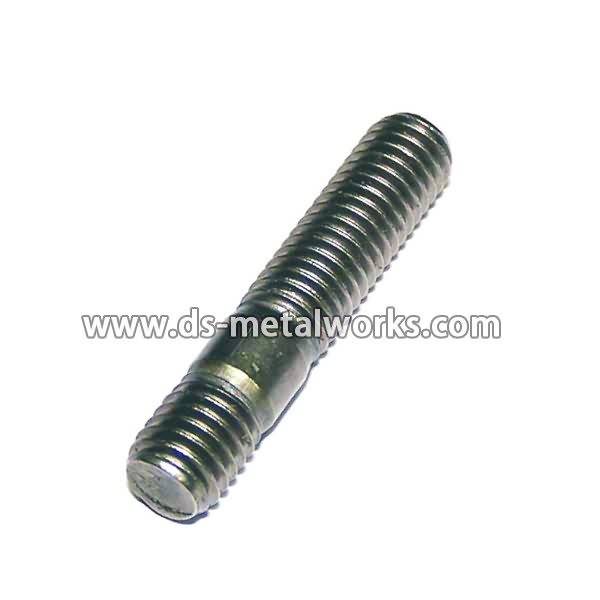
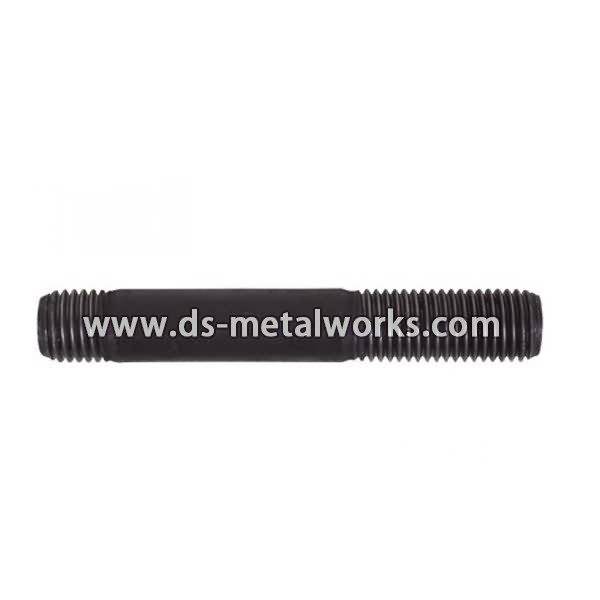
Din938 Din939 Din940 Din835 Double End Stud Bolts Standard: Din938 Din939 Din940 Din835 Metric Thread Size: M8-M100 with various lengths Available Material or Grade: ASTM 193/320 B7, B7M, L7, L7M, B16, B8, B8M, B8T CL1&CL2 ASTM 194 2H, 2HM, 4, 7, 7M, 8, 8M ASTM A453 660 ISO 898-1 5.8, 6.8, 8.8, 10.9, 12.9 1.1181 / C35E 1.1191 / C45E 1.7218 / 25CrMo4 1.7225 / 42CrMo4 1.7709 / 21CrMoV5-7 1.7711 / 40CrMoV4-6 1.7729 / 20CrMoVTiB4-10 1.4913 / X19CrMoNbVN11-1 1.4923 / X22CrMoV12-1 1.4980 / X6Ni...
Product Detail
Product Tags
OEM China High quality Din938 Din939 Din940 Din835 Double End Studs Wholesale to Jordan Detail:
Din938 Din939 Din940 Din835 Double End Stud Bolts
Standard: Din938 Din939 Din940 Din835
Metric Thread Size: M8-M100 with various lengths
Available Material or Grade:
ASTM 193/320 B7, B7M, L7, L7M, B16, B8, B8M, B8T CL1&CL2
ASTM 194 2H, 2HM, 4, 7, 7M, 8, 8M
ASTM A453 660
ISO 898-1 5.8, 6.8, 8.8, 10.9, 12.9
1.1181 / C35E
1.1191 / C45E
1.7218 / 25CrMo4
1.7225 / 42CrMo4
1.7709 / 21CrMoV5-7
1.7711 / 40CrMoV4-6
1.7729 / 20CrMoVTiB4-10
1.4913 / X19CrMoNbVN11-1
1.4923 / X22CrMoV12-1
1.4980 / X6NiCrTiMoVB25-15-2)
1.4986 / X7CrNiMoBNb16-16
Inconel 625, Inconel 718, Duplex, SuperDuplex
Finish: Plain, Black Oxide, Zinc Plated, Zinc Nickel Plated, Cadmium Plated, PTFE etc.
Packing: Bulk about 25 kgs each carton, 36 cartons each pallet
Advantage: High Quality and Strict Quality Control, Competitive Price,Timely Delivery; Technical Support, Supply Test Reports
Please feel free to contact us for more details.
Product detail pictures:
We're committed to furnishing easy,time-saving and money-saving one-stop purchasing support of consumer for OEM China High quality Din938 Din939 Din940 Din835 Double End Studs Wholesale to Jordan, The product will supply to all over the world, such as: Cyprus, Luxembourg, Nepal, Our tenet is integrity first, quality best. We have confidence in providing you with excellent service and ideal products. We sincerely hope we can establish win-win business cooperation with you in the future!
Broken plastic car parts repair with super glue. How to fix broken plastic parts in your car with this new superglue, DIY with Scotty Kilmer. Repair broken plastic parts on your car rather than replace them with this new glue. A new type of super glue and a fine powder makes for super strong repair on all kinds of plastic car parts. DIY car repair with Scotty Kilmer, an auto mechanic for the last 44 years.
⬇️Things I used in this video:
1. Q Bond Glue: https://amzn.to/2BLYTfk
2. Shop Towels: https://amzn.to/2jGDfkA
3. Disposable Gloves: https://amzn.to/2zSRuxO
4. Common Sense
5. Full HD Camera: https://amzn.to/2AvoEk7
6. My computer for editing / uploading: https://amzn.to/2i2sKYz
7. Video editing software: https://amzn.to/2jv5Fhf
8. Thumbnail software: https://amzn.to/2k7tz6C
Watch the full episode: https://www.youtube.com/watch?v=kUWK-faJlAk
This Old House landscape contractor Roger Cook works with a fencing contractor to install a vinyl privacy fence. (See below for a shopping list, tools, and steps.)
Click here to SUBSCRIBE to the official This Old House YouTube channel: https://www.youtube.com/subscription_center?add_user=thisoldhouse
Shopping List for Installing a Vinyl Privacy Fence:
- 4-foot semi-private vinyl fence and posts, used to make gate
- 6-foot privacy vinyl fence and posts, used to form the fence line
- 3/4-inch self-tapping screws, for attaching vinyl posts to aluminum I-beams
- Vinyl post caps
- Aluminum I-beams, used to fortify the gateposts
- Ready-mix concrete, for setting posts
- Pressure-treated 6×6, used to fortify bottom end of fence posts
- Wooden or metal stakes, for securing grade strings
- 2 1/2-inch deck screws and plastic caps, used to fasten the fence panels
- Gate hinges and hardware
Tools List for Installing a Vinyl Privacy Fence:
- Electric jackhammer, used to chop out asphalt driveway
- Mason line, used to establish straight layout lines
- Posthole digger
- Wheelbarrow, for mixing concrete
- Shovel, used to mix concrete and excavate dirt
- Steel bar, used to tamp down concrete
- Level, for plumbing up the posts
- Pointed brick trowel, used to smooth concrete
- Circular saw, used to cut pressure-treated 6×6
- Hammer, used to tap in stake
- Cordless drill, for driving screws
- Reciprocating saw, used to cut away the old fence
Steps for Installing a Vinyl Privacy Fence:
1. Use an electric jackhammer to cut away part of the asphalt driveway at the first gatepost location.
2. Stretch a taut mason line from the first post location to establish the position of the second post.
3. Use a posthole digger to excavate a 30-inch-deep posthole for each gatepost.
4. Slide an aluminum I-beam into each vinyl post and secure them with 3/4-inch self-tapping screws.
5. Pour one 80-pound bag of concrete into a wheelbarrow, add six pints of water, and mix well with a shovel.
6. Dump two full shovels of concrete into the first hole.
7. Set an aluminum-fortified vinyl gatepost in the hole and plumb it with a level.
8. Shovel more concrete around the post, filling the hole to within 3 inches of grade.
9. Tamp down the concrete with a steel bar, then smooth the concrete with a trowel.
10. Repeat Steps 6 through 9 to install the second gatepost
11. Set a vinyl post cap on top of each post, then allow the concrete to cure for 24 hours.
12. Use a reciprocating saw to cut away the old wooden fence.
13. Pull up and discard the old fence posts.
14. Starting at the high end of the property, use the posthole digger to excavate the first 30-inch-deep fence-post hole.
15. Cut a pressure-treated 6×6 to span from the bottom end of a fence post up to the lowest mortise.
16. Slip the 6×6 into the bottom end of the fence post, then stand the post in the hole.
17. Check the post for plumb, then fill around it with 12 inches of concrete.
18. Compact the concrete with a steel bar.
19. Stretch a mason line from the first fence post to the far end of the fence line. Tie off the string to a wooden or metal stake.
20. Dig the intermediate postholes along the fence line, as indicated by the mason line.
21. If your yard slopes down, stretch a grade string across the fence line, positioning it 6 inches above the ground.
22. Install a vinyl fence panel against the first fence post. Secure the panel by driving 2 1/2-inch deck screws through the post and into the horizontal rails.
23. Conceal each screwhead with a snap-closure plastic cap.
24. Install the next post to support the opposite end of the fence panel. Check to confirm that the lowest mortise is even with the grade string.
25. Secure the panel by screwing through the second post and into the rails.
26. Pour 12 inches of concrete around the post, then backfill with soil.
27. Repeat to install the remaining panels and posts.
28. Install a vinyl cap to the top of each fence post, then remove all the grade stakes and strings.
29. Fortify the vertical frame of the gate with pressure-treated 4x4s.
30. Screw the gate hinges through the vinyl posts and into the aluminum I-beam.
31. Then install the gate handle, latch, and cane bolt.
Follow This Old House and Ask This Old House:
Facebook: https://www.facebook.com/ThisOldHouse
Twitter: https://twitter.com/thisoldhouse
https://twitter.com/asktoh
Pinterest: https://www.pinterest.com/thisoldhouse/
G+: https://plus.google.com/+thisoldhouse/posts
Instagram: https://instagram.com/thisoldhouse
Tumblr: https://thisoldhouse.tumblr.com/