OEM Supplier for EN 14399-3 and 7 Structural Bolt Set for Proloading to Australia Importers
Short Description:
BS EN 14399-3 and 7 System HR Structural Bolt Set for Preloading DIN EN 14399-3 and 7 System HR Structural Bolt Set for Preloading Thread Size: M12-M36 with various length Grade: Bolt-10.9/8.8, Nut-10/8, Washer-300~370HV Finish: Black Oxide, Zinc Plating, Hot Dip Galvanized, Dacromet, and so on Packing: Bulk about 25 kgs each carton, 36 cartons each pallet Advantage: High Quality and Strict Quality Control, Competitive price,Timely delivery; Technical support, Supply Test Reports Please feel ...
Product Detail
Product Tags
OEM Supplier for EN 14399-3 and 7 Structural Bolt Set for Proloading to Australia Importers Detail:
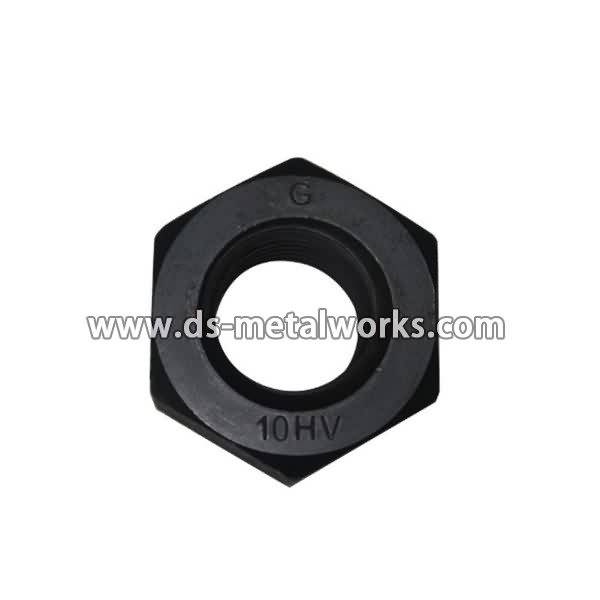
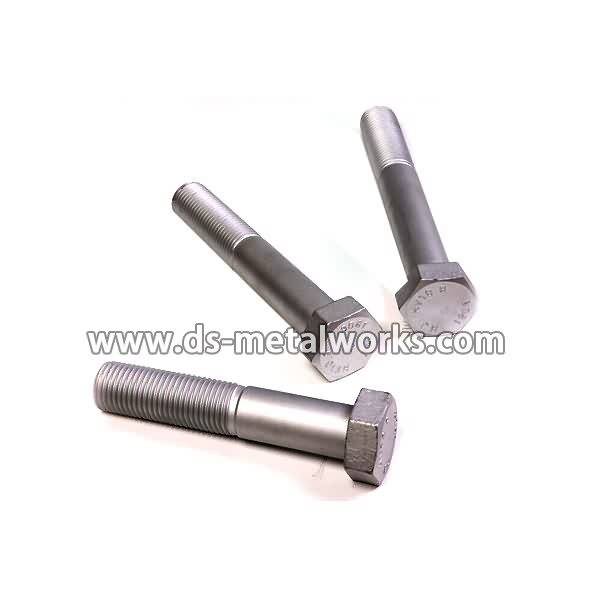
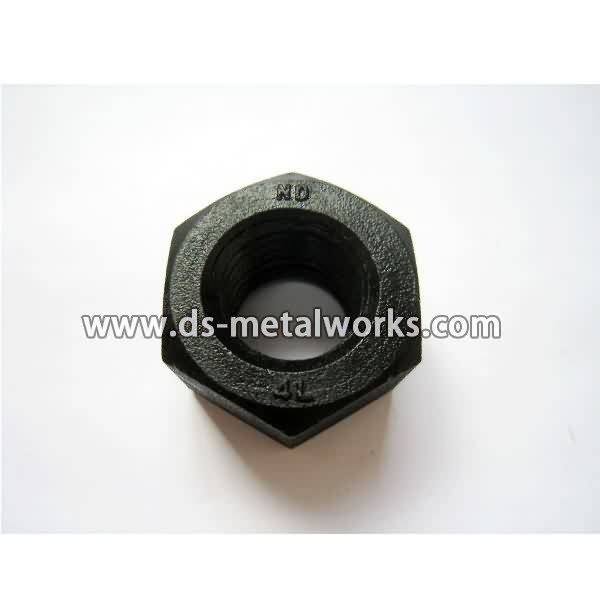
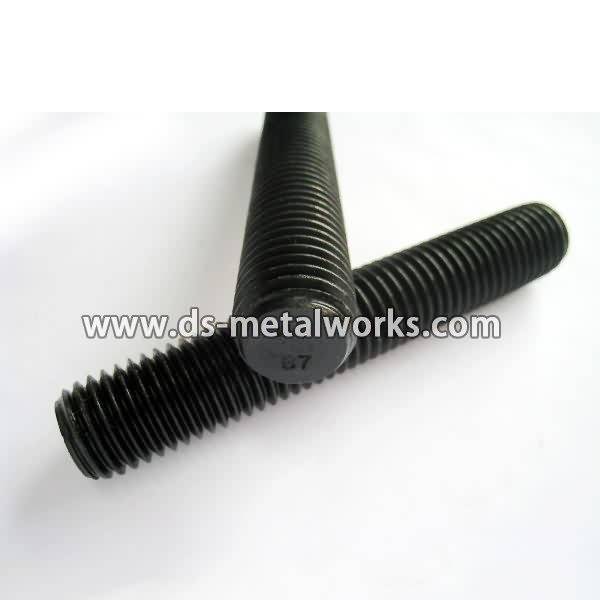
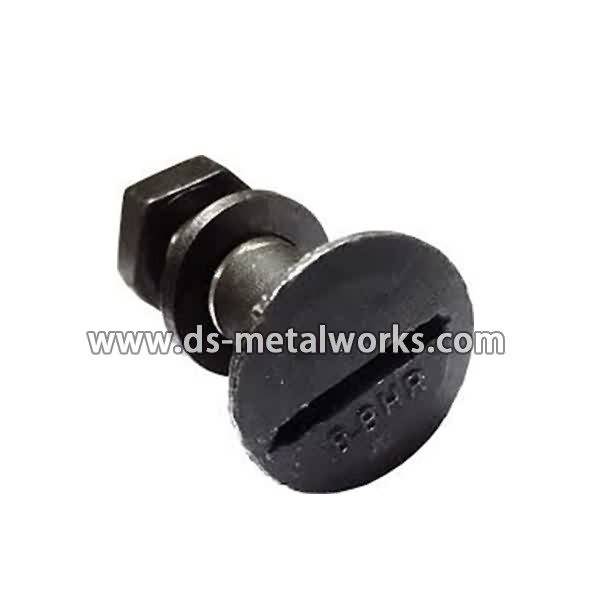
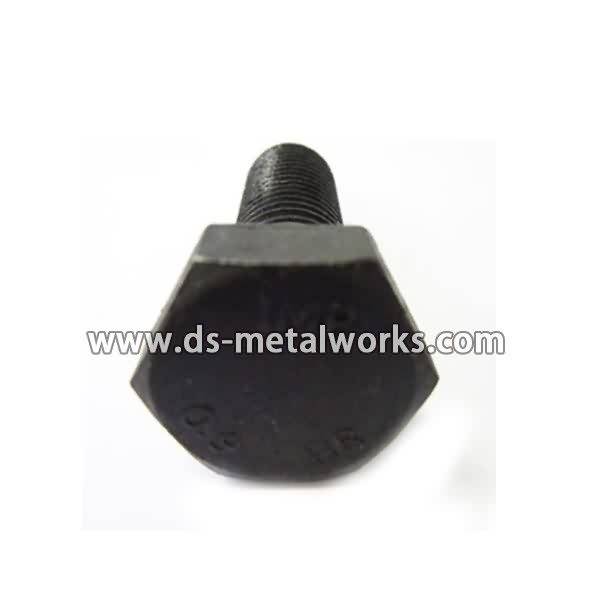
BS EN 14399-3 and 7 System HR Structural Bolt Set for Preloading
DIN EN 14399-3 and 7 System HR Structural Bolt Set for Preloading
Thread Size: M12-M36 with various length
Grade: Bolt-10.9/8.8, Nut-10/8, Washer-300~370HV
Finish: Black Oxide, Zinc Plating, Hot Dip Galvanized, Dacromet, and so on
Packing: Bulk about 25 kgs each carton, 36 cartons each pallet
Advantage: High Quality and Strict Quality Control, Competitive price,Timely delivery; Technical support, Supply Test Reports
Please feel free to contact us for more details.
Product detail pictures:
The key to our success is Good Product Quality, Reasonable Value and Efficient Service for OEM Supplier for EN 14399-3 and 7 Structural Bolt Set for Proloading to Australia Importers, The product will supply to all over the world, such as: Slovakia, Roman, Czech Republic, So far our merchandise have been exported to east Europe, the Middle East, Southeast, Africa and South America etc. We have now 13years experienced sales and purchase in Isuzu parts at home and abroad and the ownership of the modernized electronic Isuzu parts checking systems. We honor our core principal of Honesty in business, priority in service and will do our best to provide our customers with high quality items and excellent service.
I only recommend new Ford VCT Solenoids for replacement-
https://www.amazon.com/gp/product/B00K8BN8QO/ref=as_li_tl?ie=UTF8&camp=1789&creative=390957&creativeASIN=B00K8BN8QO&linkCode=as2&tag=fordt-20&linkId=MQLCPKTXT7WFCPZY
Here is my video on how to replace these solenoids-
BSG Automotive offers Auto Repair services in the greater Chicagoland area.
Website:
https://www.bsgautomotive.com
Facebook:
https://www.facebook.com/BSGautomotive
Check us out-
Facebook: https://www.facebook.com/FordTechMakuloco
Twitter: https://twitter.com/FordTechMak
Instagram: https://instagram.com/fordtechmakuloco/
My company YouTube Channel- BSG Automotive providing repair advice on makes and models other than Ford: https://www.youtube.com/c/BSGAutomotive1
***VISIT OUR SPONSORS***
https://www.traderadiators.com | https://www.grahamplumbersmerchant.co.uk | https://www.wilo.co.uk | https://www.adey.com | https://www.ideal-standard.co.uk
How to fix one radiator if it is not working. Includes the thermostatic radiator valve and lockshield. It also covers air in the radiator and sludge in the radiator.
Today, I’m going to give you a quick bit of advice about how to get your radiator working if only one’s working. Now I’ve seen a few other
videos on the Internet about how to do this, and some of them are plain wrong, and some of them could actually cause leaks in your house if you do it wrong. Here’s the radiator in question. All the other rads in the house are burning hot, the boiler’s on, the pump’s running, and the thermostat in the room’s calling for heat. But this one radiator here isn’t getting hot. We feel these pipes here. There’s no heat coming down here at all, and as I said, all the other radiators are hot in the house. So the first thing we do is check that the lock shield is open. All you need to do is remove the lock shield cap. You’ll find the lock shield valve bit here. Get a set of adjustables on there. Open that fully up. Turn that all the way you can anti-clockwise. Okay, keep going and keep going. Now you never now, now you might find that you’ve got heat coming into the radiator.
To get the earliest affirmative answers to whether there’s heat going into the radiator, instead of feeling the radiator itself at the bottom or the top, feel the two pipes going to it. One will be a flow pipe, and one’ll be a return pipe, and if now you’ve opened up your lock shield, and you feel one of these two pipes getting warm, then you know you’re getting flow. However, that might not have solved your problem. You could still have air in the radiators. The symptoms of air in your radiators are quite simple to describe. If you already have a hot flow and return going to the radiator, if you felt down the radiator, it should be warm at the bottom, and at the top it would be cold. This is always a sign of air being in the rads. But before you get mental trying to bleed all the air out of the radiators, I strongly recommend you turn the boiler and the pump off. Anyway, here’s how you bleed a rad. Right, so here’s how to bleed your radiator. Your boiler and your pump are turned off. Both radiator valves are open. Even though we haven’t looked at the TRV yet, so that could be stuck shut. We’ll look at that in a minute. Just get a little bit of cloth, get your radiator key in there. Open that. Fortunately, you can see we’ve got water there already. Just let that run for a few seconds. That’s great. Now usually when there’s air in there, obviously you have a lot of air coming out before you get to water. Obviously, if the radiator does have air in the top of it, you
will get air coming out. You’ll be able to hear it really easily. It’ll be a nice, slight hiss, and you can control easily the rate at which it comes out using this key. As soon as you get a bit of water come out, just tighten it up, wipe up any excess water that might have spilled on the floor, or something like that. And then you should feel the radiator at the top getting nice and hot. The next problem you can have is the fact that your TRV, or the control head for the radiator, is stuck shut. This is where I’ve seen a few of the other videos on the Internet telling you how to do this sort of thing have gone wrong.
Now, let’s just go over it very slowly, and if you follow our instructions, you should be able to get it working just fine again. If not, we’ll give you a quick guide on how to change a TRV. So here’s the thermostatic radiator valve in question. First thing you need to do is make sure it’s fully turned on. So at the moment, it’s on setting number five out of five. Next, you have to be able to remove the TRV head. Now there’s a few different ways to do this. This one here is just a screw-on collar. Some of the other ones, like by manufacturers like Danfoss have a black plastic lug that you have to pop a screwdriver into, pop that out, and then you just quarter-turn twist it, and it’ll lift off. But this one’s a collar-screw one. You put that there, and that means there we can reveal the head here. Now this one I know works. The way you can figure that one out is you just press this pin down like that. Some of them, the pin will be stuck down. On this particular type, the best way to do this is to, while it’s stuck down, just pressing it a little bit and see if that’ll bring it up. The best way to deal with these is to be gentle. Don’t hit them with a hammer. Now this particular model won’t have that problem but if you got a tradition pin-type TRV, if you hit it with a hammer, often the pin will just fly out and you’ll have a lovely fountain of water just come out. The best way to deal with the pin types, is to get a very small set of long-nosed pliers.