PriceList for Stainless Steel Set Screws to Bandung Factory
Short Description:
Stainless Steel Set Screws Grub Screws Metric Size: M1.4 – M52, Inch Size: 0# – 2″ Hexagon Socket(Allen), Torx Star, Square, Slotted Drive Types Flat Point, Cup Point, Cone Point, Dog Point Other Drive and Point Type are also available acc. to customer requirement Various Surface Finishes Various Material Grades are available Please feel free to contact us for more details
Product Detail
Product Tags
PriceList for Stainless Steel Set Screws to Bandung Factory Detail:
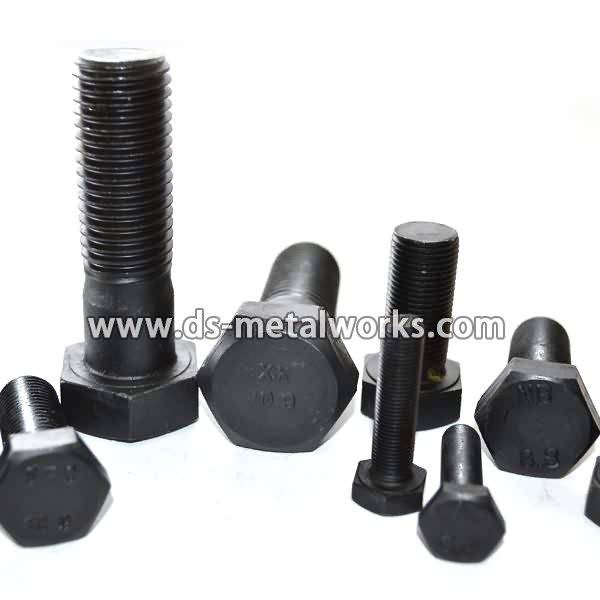
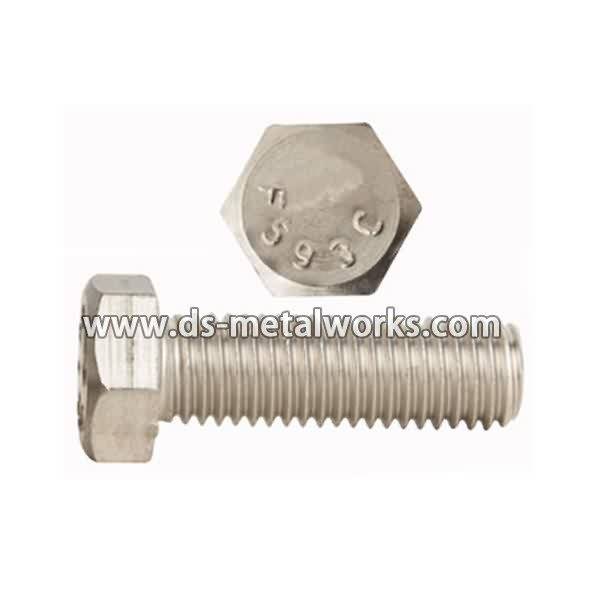
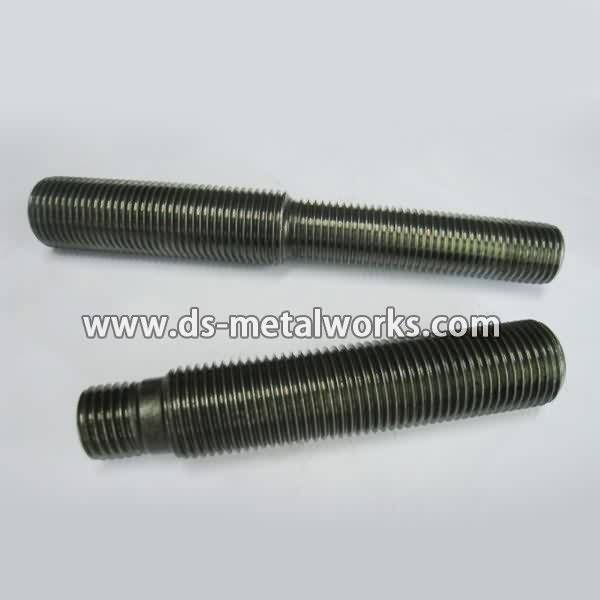
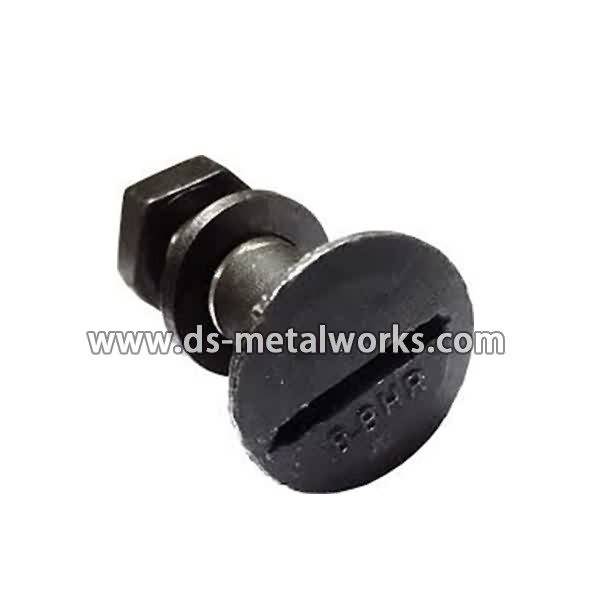
Stainless Steel Set Screws Grub Screws
Metric Size: M1.4 – M52, Inch Size: 0# – 2″
Hexagon Socket(Allen), Torx Star, Square, Slotted Drive Types
Flat Point, Cup Point, Cone Point, Dog Point
Other Drive and Point Type are also available acc. to customer requirement
Various Surface Finishes
Various Material Grades are available
Please feel free to contact us for more details
Product detail pictures:


We have advanced equipment. Our products are exported to the USA, the UK and so on, enjoying a good reputation among customers for PriceList for Stainless Steel Set Screws to Bandung Factory, The product will supply to all over the world, such as: Lebanon, Paraguay, Palestine, If you are for any reason unsure which product to select, do not hesitate to contact us and we will be delighted to advise and assist you. This way we will be providing you with all the knowledge needed to make the best choice. Our company strictly follows Survive by good quality, Develop by keeping good credit. operation policy. Welcome all the clients old and new to visit our company and talk about the business. We are looking for more and more customers to create the glorious future.
You probably are aware that the ongoing construction of the standard gauge railway will cost the government and by extension you the tax payer over 327B shillings.
Billed as the single largest infrastructure investment project in Kenya, you could be wondering what that money will go into.
In our second episode of ‘Rail To The Future’ series Faizal Ahmed takes a look at all the technical details that are involved in the construction of the railway right down to the last bolt, including reclaiming of 200m stretch of land from the Indian Ocean.
In this video I show you how to build your own beverage cooler mash/lauter tun (MLT) for homebrewing your own beer. The MLT is where you’ll mix hot water and malt to extract the sugars from the grain. You can use any type of cooler for this project, but your hardware will vary.
I chose to do a 5 gallon mash tun because I had one lying around but this is really as small as you would want to go for a 5 gallon batch of beer. Most people choose something in the 20qt (5 gal) to 50qt (12.5 gal) range. The larger end will accommodate larger gravity beers and most 10 gallon batches.
My rig, besides the mash tun itself, uses all stainless steel components as well as all silicone gaskets and tubing. DO NOT use conduit locknuts, parts labeled only as “steel,” or anything galvanized. These items are plated in zinc which will readily dissolve in the (slightly) acidic wort and can cause toxicity. Brass is generally regarded as fine for the laybrewer although the biggest concern here is the lead content. Look for “lead-free” brass which will have no more than 0.25% lead. Otherwise, soak all brass parts in two parts of white vinegar and one part of hydrogen peroxide for no more than 5 minutes to remove surface lead. If you’re still concerned, just go stainless. Yes, stainless steel parts are expensive, but they will last a lifetime!
My fittings are 1/2″ NPT while 3/8″ are probably more common as they are cheaper and can be found locally more easily. Understand that the hardware requirements will vary and your options for assembly are endless. I highly suggest you plan your build before you go shopping and plan on making a run to the hardware store when things don’t work out. When I went to order my parts, they were out of FNPT hose barbs so I was forced to buy a coupler and use a MNPT hose barb instead. It’s common with a 2 piece ball valve to need to shim it away from the cooler with another locknut or washers if your handle cannot fully close. These can be made of whatever material you wish as they will not touch the liquid.
Be sure to use an NPS (straight threaded) locknut as I did if you wish to thread it all the way onto the pipe nipple (heads up, very few places will have them). Also, you can save here by not using a barb on the inside and putting the braid directly over the inside of the nipple. However, I chose to use the barb to remove the braid for easy removal for cleaning and drying (no need to remove the hose clamp). The barb was only $4 (although I did have to spend another $3.50 for the coupler in my scenario) so I’m not losing sleep over it.
Be sure to test for leaks when I recommend you do as you’ll only waste time later if you run into one. If you do encounter a leak, make sure you’ve wrapped the half of the pipe nipple that threads into the ball valve. I also wrapped the center of the nipple to ensure a smooth, tight surface for the gasket to hug up against. If you don’t have a flat surface for the gasket to sit, pack your threads with Teflon tape until you do. Always make sure you wrap your Teflon tape counterclockwise with the threads or it will bunch up and come off when you thread something onto it. Lastly, make sure you’re putting enough compression on the gasket. I found it’s unnecessary to bend the washer to conform it to the side of the cooler so long as your gasket is thick enough and you have good compression on it.
I used an awl to help get the silicone tubing on the elbow. This stuff is thick so don’t worry too much about gouging it. Once it’s on there, I don’t plan on taking mine off.
Supplies and prices:
All metal parts are 316 stainless steel and ½” NPT unless specified otherwise. All prices include NYS tax where applicable. All quantities are (1) unless otherwise specified.
14.95 Ball valve — 3 piece
3.50 Coupler
4.00 5/8″ outlet hose barb
4.75 90 degree street elbow
3.92 “F” camlock adapter
5.62 “B” camlock coupler
7.17 3ft — ½” ID x ¾” OD silicone tubing
2.49 1 ½” pipe nipple (304 SS)
1.99 ¾” ID x 1 ½” OD silicone gasket
3.75 NPS locknut (304 SS)
1.99 15/16″ ID x 1 ½” OD (shim) washer (304 SS)
9.65 ¾” female NPT x 18″ SS water heater connector
1.95 9/16″ x 1 ¼” SS hose clamp
10.00 5 gallon Rubbermaid beverage cooler (used)
xx.xx Teflon tape & spray paint
$74.73 TOTAL
Suppliers:
https://www.proflowdynamics.com (click “Camlocks for Homebrewers”)
https://www.bargainfittings.com
https://www.brewhardware.com
Find the project here:
https://www.homebrewtalk.com/f51/how-build-best-mash-tun-beverage-cooler-343994/
To learn to get started brewing your own beer visit:
https://www.homebrewtalk.com/