Super Purchasing for DIN6915 10HV Structural nuts to Sao Paulo Factories
Short Description:
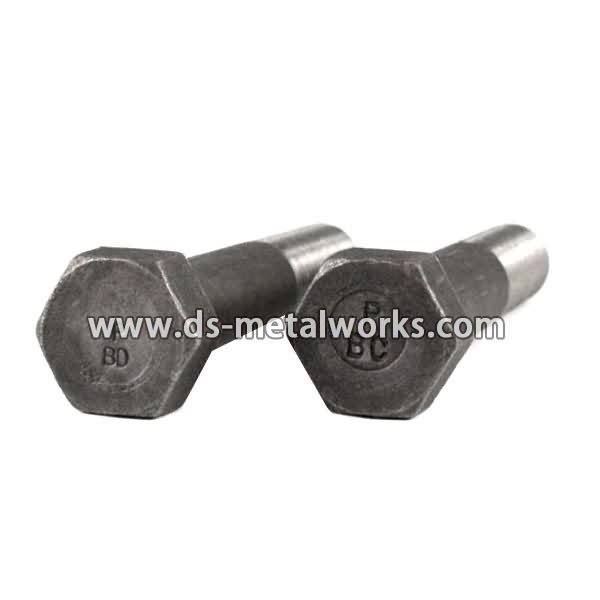
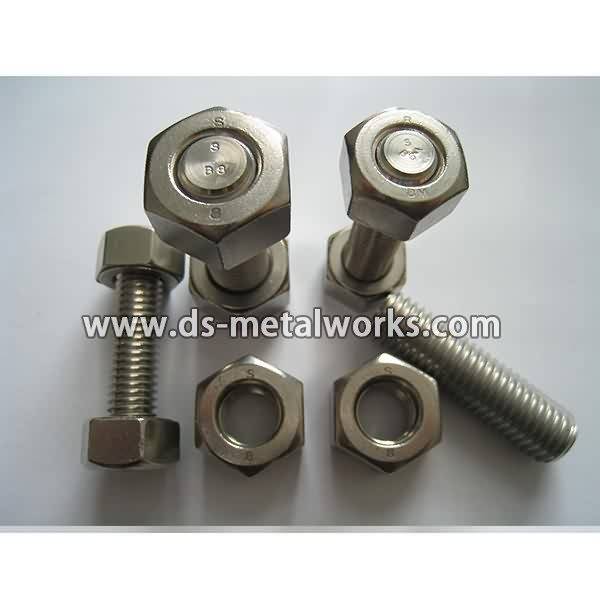
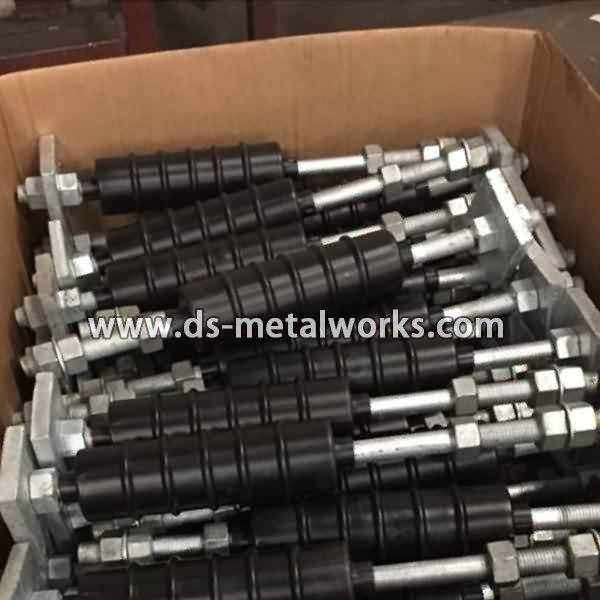
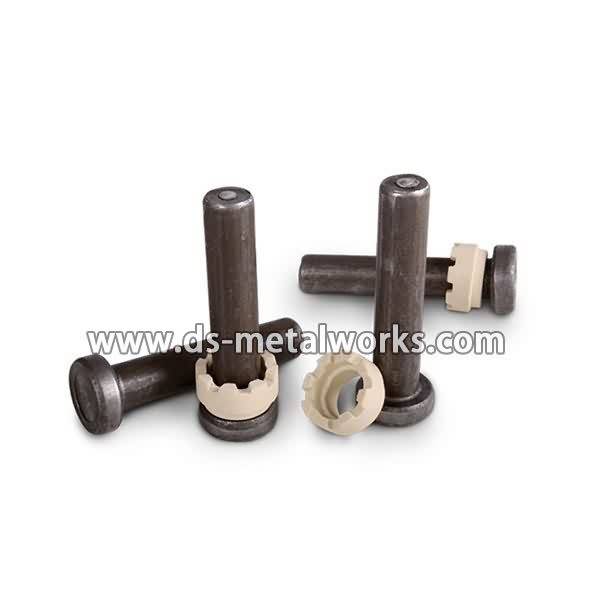
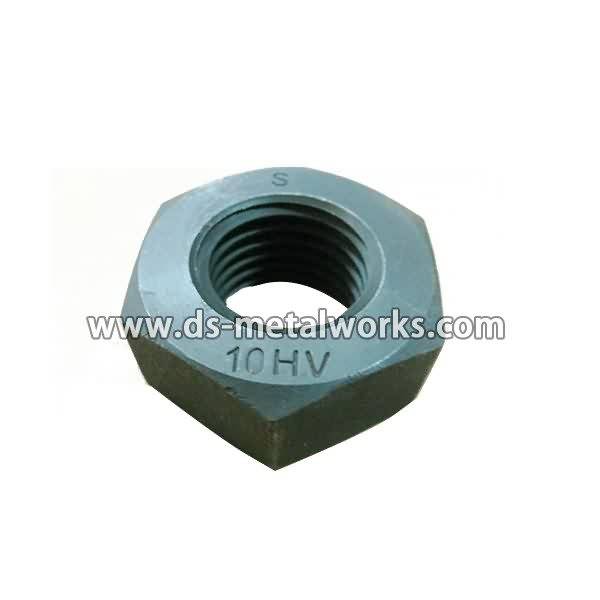
Din6915 10V Hex Nuts for High-Strength Structural bolting Dimension Standard: DIN6915 Metric Size: M12-M36 Material Grade: ISO 898-2 class 10 Finish: Plain, Black Oxide, Zinc Plated, Hot Dipped Galvanized, etc. Packing: Bulk about 25 kgs each carton, 36 cartons each pallet Advantage: High Quality, Competitive Price, Timely Delivery,Technical Support, Supply Test Reports Please feel free to contact us for more details.
Product Detail
Product Tags
Super Purchasing for DIN6915 10HV Structural nuts to Sao Paulo Factories Detail:
Din6915 10V Hex Nuts for High-Strength Structural bolting
Dimension Standard: DIN6915
Metric Size: M12-M36
Material Grade: ISO 898-2 class 10
Finish: Plain, Black Oxide, Zinc Plated, Hot Dipped Galvanized, etc.
Packing: Bulk about 25 kgs each carton, 36 cartons each pallet
Advantage: High Quality, Competitive Price, Timely Delivery,Technical Support, Supply Test Reports
Please feel free to contact us for more details.
Product detail pictures:
Dedicated to strict quality management and thoughtful client services, our experienced staff customers are generally available to discuss your demands and guarantee full client pleasure for Super Purchasing for DIN6915 10HV Structural nuts to Sao Paulo Factories, The product will supply to all over the world, such as: Qatar, Mombasa, Buenos Aires, Many products fully conform to the most rigorous of international guidelines and with our first-rate delivery service you will have them delivered at any time and in any place. And because Kayo deals in the entire spectrum of protective equipment, our customers don't need to waste time shopping around.
https://www.etrailer.com/tv-hitch-install-2010-Chevy-Traverse.aspx
Videos are provided as a guide only. Refer to manufacturer
installation instructions and specs for complete information.
Today on this 2010 Chevrolet Traverse we are going to install part number 75528 from Draw-Tite. This is also going to apply to Hidden Hitch part number 87435. Our next steps involved is to take this panel that is at the bottom of the bumper in the center and we are going to remove it. All you do is twist the two knobs to unlock it and you can pull it apart. The cover that was right here is going to have to stay off because it was not made for this hitch. Our next step is going to be lower the exhaust. We are going to spray down the rubber hangers with some lubricant and we are going to push them off to the side that way we can lower our exhaust. 00:34
There is going to be one on this side and there is going to be one hidden behind the bumper cover over here. Now we can show you where the hitch mounts up on to the vehicle. These two threaded holes at the bottom of the frame, the hitch is going to attach there and on this vehicle on the bumper structure there is two unthreaded holes right here that we are going to use. Back over on the driver side of the vehicle it is going to be the same two threaded holes as it was on the passenger side. Even though this is a brand new vehicle this is a good idea to run a bolt up and down in the threads just to make sure everything is cleaned out. 01:15
Of course on older vehicles you have to more to clean out some more rust and grime that forms inside. The kit comes with two different types of bolts. It has a standard American bolt and it also comes with a metric bolt. The metric bolts are going to be the ones that go into the bottom of the frame and the standard American thread bolts are going to be installed into the bumper structure itself. So just so you do not get these confused the standard thread will not fit into the metric thread. You only get two of these and four of these for the threaded holes in the frame. At this point we can start installing the hitch onto the vehicle. We will take one part of the hitch and rest it on the muffler and then we will thread in the bolts on the other side. To install this we are going to be using a conical tooth washer and metric bolt. Our driver side is done. We will repeat the same process back over on the passenger side. When we run our bolts in we are going to leave them a little loose so we can move the hitch around so it will help us line up the bolts in the center of the bumper structure. To install the hard wiring back to the bumper structure we are going to be using this part, this is called a handle nut. Basically you take the handle of this nut and form it the way you want it to reach inside the frame and we will thread our bolt inside of here. 02:33
You can take it and basically bend it any way you want so you have it over the hole. Since we have got our handle in here lets get started with that, we are also going to install the spacer between the hitch and the bumper structure and we are going to install our standard American bolt into the handle nut. Once you have it started you can take the handle and push it up out of the way. Now we are going to go on the other side of the receiver and repeat the same process. We will tighten down the bolts by hand and then we will torque the bolts down as specified in the instructions. Now we will torque down the bolts for the bumper structure. We have got our driver side torqued down we will do the same thing for the passenger side. Lets move on and reattach the exhaust. We have got the vehicle off the lift now. Lets give you a couple of measurements on the hitch itself to help you a ball mount or any other hitch accessories. From the top of the receiver opening down to the ground on this particular vehicle is 18-3/ 4 inches. The center of the hitch pin hole to the outside edge of the bumper is 7 inches. With that, that will finish our install of part number 75528 from Draw-Tite.