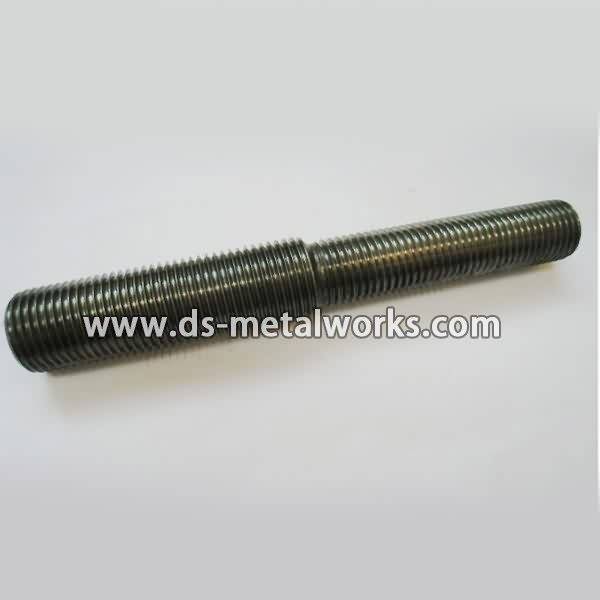
Wholesale Distributors for DIN125A Flat Washers for Algeria Manufacturer
Short Description:
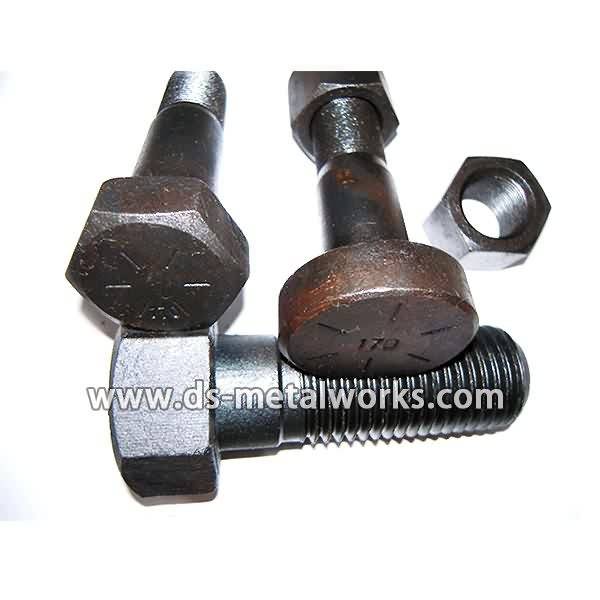
DIN125A Flat Washers Size: M4-M160 Various Material Steel and Grade are available. Finish: Black Oxide, Zinc Plated, Hot Dip Galvanized, Dacromet, and so on Packing: Bulk about 25 kgs each carton, 36 cartons each pallet Advantage: High Quality and Strict Quality Control, Competitive price,Timely delivery; Technical support, Supply Test Reports Please feel free to contact us for more details.
Product Detail
Product Tags
Wholesale Distributors for DIN125A Flat Washers for Algeria Manufacturer Detail:
DIN125A Flat Washers
Size: M4-M160
Various Material Steel and Grade are available.
Finish: Black Oxide, Zinc Plated, Hot Dip Galvanized, Dacromet, and so on
Packing: Bulk about 25 kgs each carton, 36 cartons each pallet
Advantage: High Quality and Strict Quality Control, Competitive price,Timely delivery; Technical support, Supply Test Reports
Please feel free to contact us for more details.
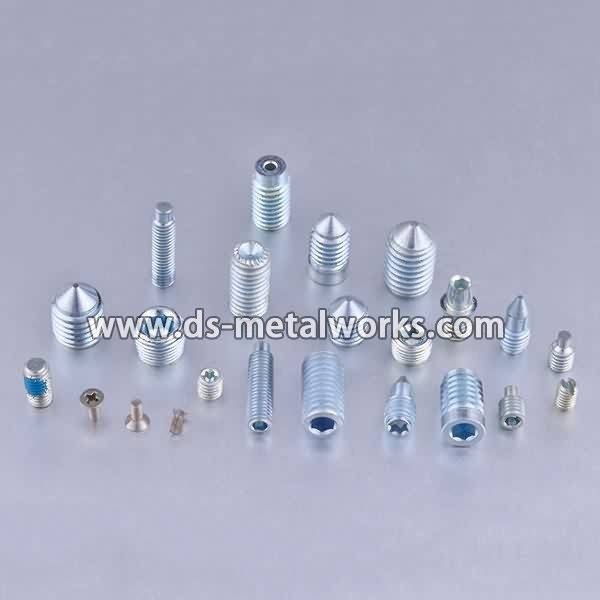
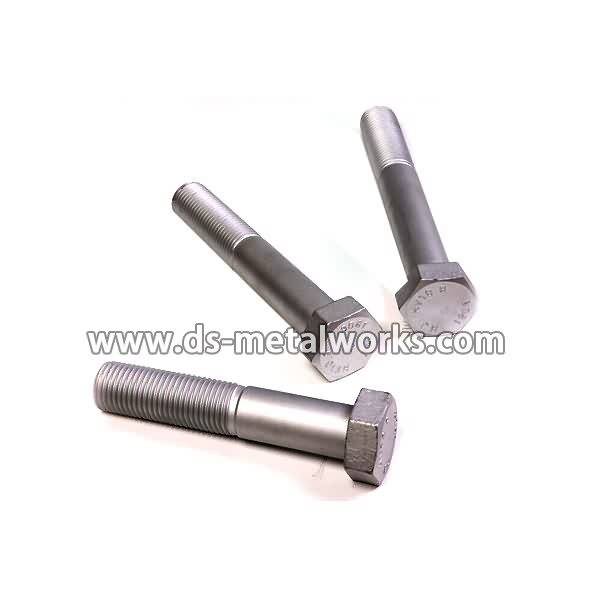
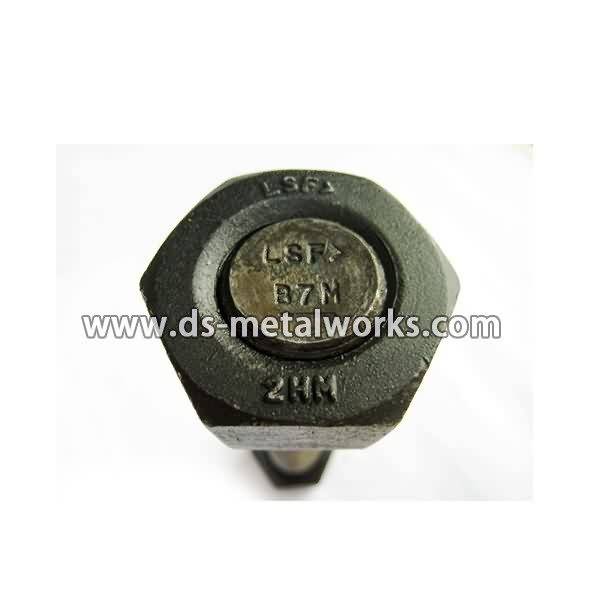
Product detail pictures:

Our mission is to become an innovative supplier of high-tech digital and communication devices by providing value added design, world-class manufacturing, and service capabilities for Wholesale Distributors for DIN125A Flat Washers for Algeria Manufacturer, The product will supply to all over the world, such as: Lesotho, Suriname, United Arab emirates, With the spirit of credit first, development through innovation, sincere cooperation and joint growth, our company is striving to create a brilliant future with you, so as to become a most valuable platform for exporting our goods in China!
How to hack flashlight batteries and a fire brick, into a desktop arc reaction chamber. …For hobby metal melting, and for science!
Some quick links to a few of the materials I used:
[✓] Lantern battery: https://amzn.to/2cgnKxN
[✓] Forstner Bit: https://amzn.to/2c1Ja3V
[✓] 3/8 Drill bit: https://amzn.to/2cgl6rL
Endcard Links:
Micro Welder: https://goo.gl/ZmccT9
Laser Blowgun: https://goo.gl/lu3o0M
Magic Mud: https://goo.gl/5dtyXP
Matchbox Rockets: https://goo.gl/jguunj
See What Else I’m Up To:
Instagram: https://goo.gl/C0Q1YU
Facebook: https://bit.ly/FBTheKingOfRandom
Business Inquiries: For sponsorship requests or business opportunities please contact me directly: https://www.youtube.com/thekingofrandom/about
WARNING:
Risk of electric shock, fire hazards, and toxic fumes depending on what material you’re working with. Dust from refractory brick should never be inhaled, as it can damage lungs and cause long term respiratory challenges. This project can reach temperatures in excess of 3,000ºF (1,648ºC) which is well beyond the melting point of hobbyists. Caution, care and expert planning are required to mitigate risks. Have fun, but always think ahead, and remember that every project you try is at your own risk.
Music By: Scott & Brendo (“Photographs” – Instrumental) https://bit.ly/ScottBrendoiTunes
Project Inspired By:
This project was originally inspired by Theo Grey and his book, “Mad Science”. After seeing the concept, I couldn’t find any information anywhere on the internet or in libraries about arc furnace experiments, so I set out on my own to achieve these results.
Project History & More Info:
If you’re wondering where you can get fire brick locally, try a quick Google search for “refractory materials” in your city. I called a couple of companies near me and asked if they’d sell to the general public. All of them said yes.
If you can’t find anything locally, try searching major hardwares stores online. They usually have inventory online that they don’t carry in the stores.
The insulating fire bricks I got were the 3” x 4.5” x 9” Alumina-Silicate Brick variety. I got a box of 10 for $33, effectively making them around $3.30 each. I went one step further and designed the furnace so that 2 of them could be made from one brick, cutting the cost in half, making each furnace a pro-rated $1.65 each!
They’re extremely lightweight, and capable of withstanding the temperatures used in steel working, but soft enough you can cut and carve them with kitchen utensils if you need to.
In reading and studying history a bit, I learned that some of the earliest forms of light were made using carbon arc lighting. Large amounts of electricity were pumped through carbon rods, making a bright arc and providing light.
To scavenge carbon electrodes, I took a lesson from NurdRage (youtube.com/NurdRage) a couple of years ago I saw his video on what could be scavenged from a carbon-zinc lantern battery (https://bit.ly/IBNurdRageBattery). It’s useful to know what common everyday materials are made of, and these heavy duty batteries are containers packed with carbon rods, zinc metal, and manganese dioxide. I tucked the information in the back of my mind until now.
In this project I tried melting the zinc casings from the lantern batteries, and casting them into a small ingot, formed with a mini muffin tray. Be cautious of the zinc oxide fumes produced. I haven’t personally suffered any ill effects from working with it, but some people claim it can give flu like symptoms, or a fever if inhaled in large quantities.
Zinc has a relatively low melting point 787.2°F (419.5°C), so the Arc Furnace is able to melt each casing into liquid zinc in around 5-10 seconds. That’s amazing!
I don’t have an exact purpose for the zinc yet, but it’s an easy metal to work with, easy to cast, and great to have on hand for a future projects. It’s also one of the main metals used for making a simple carbon-zinc battery.
The black stuff pulled out of the battery casings is manganese dioxide. It’s a useful chemical for experiments with hydrogen peroxide, so it’s worth hanging onto.
Although I haven’t verified it, I believe any stick welder can be used to power the mini arc furnace, and for most hobbyists, that would definitely be the easier and safer way to go. I just don’t own a welder, so I used the one I made instead. You can see how to make it here: https://goo.gl/H0FWxE
The longest I’ve run the unit continuously is around 3-4 minutes, and the electrodes get so hot at that point they can seriously burn your hands, or melt your gloves. I wouldn’t recommend running it any longer than that.
Shift into Higher Gear with these Assets for Cyclists
Multi Function Bike Tool with Patch Kit & Tire Levers: https://amzn.to/1M9tnYa
Bicycle Horn and Microphone Combo: https://amzn.to/1Jax8ry
Mini Chain Brute Chain Tool: https://amzn.to/1KomfaU
LED Bike Wheel Lights: https://amzn.to/1LfbW9U
Zinn & the Art of Road Bike Maintenance: Repair and Maintenance Guide: https://amzn.to/1QDMkUh
The Bike Deconstructed: A Grand Tour of the Modern Bicycle: https://amzn.to/1if77ls
Watch more Bicycle Repair & Maintenance videos: https://www.howcast.com/videos/504322-How-to-Adjust-a-Bike-BScrew-Bicycle-Repair
Shift it all the way down to the highest gear. Now it’s in cross gears right now. You don’t want to ride in cross gears at all. Basically that means the chain is flexed from one side to the complete other side.
So we’ll shift up into the highest gear to see if our cable worked right. It worked right.
Now you want to make sure you’re adjusting the high limit screw. So if I adjust it too much, again, it’s going to rub and make a lot of noise. If I adjust it too little, then when I go to shift to the highest gear. Doesn’t work. Let’s see. So if I adjust it too little then when I go from the low gear to the high gear, it has the potential to fall off. Which this one is not doing at all. There we go.
So if I adjust it improperly, and I go from the smallest gear to the highest gear, then it has the potential of falling all the way off. So you want to make sure that that is adjusted properly so it will prevent it from doing that.
Great. Now that your lowest gear here, the largest cog, the limit screw is adjusted, you want to adjust your B screw. So basically what that is, is it’s pushing against your derailleur hanger, it basically sits right on the derailleur hanger and it pushes your derailleur, like that, basically.
So the purpose of this is that you can put different sized cogs according to whatever the manufacturer specifications are. So to adjust the B screw using a phillips head and you tighten it to make your derailleur go out, like that. Loosen it to go down. And basically, what you want to have is, from this jockey wheel right here, this small little plastic cog, should be about two to three millimeters away from the teeth of the largest cog or the lowest gear.
So if your B screw is too tight, basically it’s going to have your jockey wheel, your highest jockey wheel here too far away from the largest cog. That’s what it’s looking like right here.
Now, if it’s too loose, what’s going to happen is the jockey wheel, is gonna, these metal, these plastic teeth here, are going to hit against the metal teeth and make a lot of sound. And t’s also not going to shift as well.
So when you’re adjusting the screw, you want to make sure that your jockey wheel teeth are the proper specification away from the largest cog here, the teeth, so they’re not hitting and also so they’re not too far apart. Most manufacturers tell you it’s usually around two or three millimeters between the plastic teeth and the metal teeth.
So that’s how to adjust your derailleurs and keep your chain running smoothly.