12 Years Manufacturer EN 14399-3 and 7 Structural Bolt Set for Proloading to Serbia Manufacturer
Short Description:
BS EN 14399-3 and 7 System HR Structural Bolt Set for Preloading DIN EN 14399-3 and 7 System HR Structural Bolt Set for Preloading Thread Size: M12-M36 with various length Grade: Bolt-10.9/8.8, Nut-10/8, Washer-300~370HV Finish: Black Oxide, Zinc Plating, Hot Dip Galvanized, Dacromet, and so on Packing: Bulk about 25 kgs each carton, 36 cartons each pallet Advantage: High Quality and Strict Quality Control, Competitive price,Timely delivery; Technical support, Supply Test Reports Please feel ...
Product Detail
Product Tags
12 Years Manufacturer EN 14399-3 and 7 Structural Bolt Set for Proloading to Serbia Manufacturer Detail:
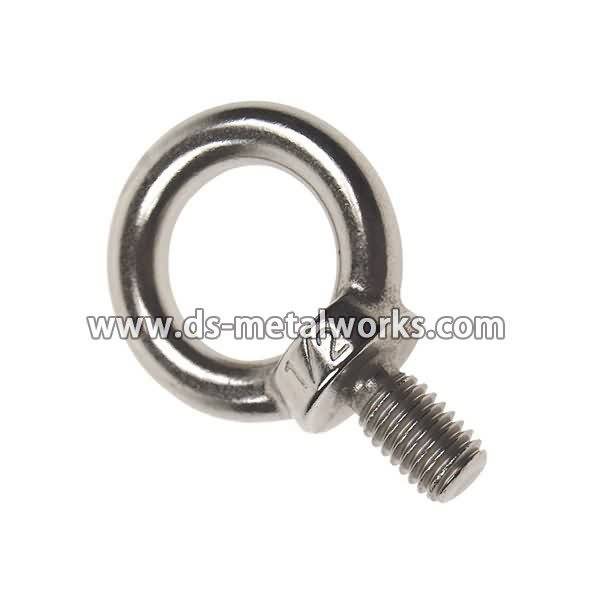
BS EN 14399-3 and 7 System HR Structural Bolt Set for Preloading
DIN EN 14399-3 and 7 System HR Structural Bolt Set for Preloading
Thread Size: M12-M36 with various length
Grade: Bolt-10.9/8.8, Nut-10/8, Washer-300~370HV
Finish: Black Oxide, Zinc Plating, Hot Dip Galvanized, Dacromet, and so on
Packing: Bulk about 25 kgs each carton, 36 cartons each pallet
Advantage: High Quality and Strict Quality Control, Competitive price,Timely delivery; Technical support, Supply Test Reports
Please feel free to contact us for more details.
Product detail pictures:


To be a result of ours specialty and service consciousness, our enterprise has won an excellent status between buyers all around the globe for 12 Years Manufacturer EN 14399-3 and 7 Structural Bolt Set for Proloading to Serbia Manufacturer, The product will supply to all over the world, such as: Greece, Algeria, Rio de Janeiro, With a team of experienced and knowledgeable personnel, our market covers South America, the USA, the Mid East, and North Africa. Many customers have become our friends after good cooperation with us. If you have the requirement for any of our goods, make sure you contact us now. We're looking forward to hearing from you soon.
Devansh Steels an Manufacturers, suppliers of anchor fasteners, anchor bolts, basin screws, high tensile fasteners, Precision fasteners, anti theft nuts, shear Nuts, wheel bolts, truck wheel nuts, high tensile bolts, Hex Bolt, long bolts,U Bolts, high tensile nuts, Castle Nut, Slotted Nut, Flanged Nut, Hexagonal Nuts, Square Caged Nut, Check Nut, square weld nut, Domed Cap Nuts, Acorn Nut, Square Nut, threaded rods, mild steel thread bars, threaded studs, conical washers,Punch Washers, Crinkle Washers, Spring Washer, Plain Washer, Flat Washer, Tooth Lock Washers, ID Hex Washers, Crank Washers, Tab Washer, Taper Washer, roofing bolts for coal mines,Square Bevel Washer, Ring Washers, Hardened Washer, square washer,dome washer, ms screws, Hex Coach Screw, Square Coach Screws, Rack Bolt Screws, Machine Screws,Self Drilling Screws, wooden screws, Heavy Duty Hook Anchors,Wedge Anchors, Thru Anchors, Wedge ,Hit Anchors, Pin Type Anchors, Zebra Anchor, Heavy Duty Fix Shell Anchors, TAM Anchors, Sleeve Anchors,Ceili Drive Anchor, Safety Sleeve Anchor from india punjab ludhiana, www.boltsnutsanchorfastener.com, mobile +919356622111, +919357722111, devansh_steels@yahoo.com , we are suppying our fasteners products in Delhi, Gurgaon, Noida, Bangalore, Cochin, Ernakulam, Coimbatore, Pune, chennai, Mumbai, uttar pradesh india
Just bought a Ryobi circular saw (product CSB144LZK) and am showing how to install the blade. The operator’s guide didn’t label the pieces or show installation pictures, so I found it a bit difficult the first time I went to install the blade.