API Flange Stud Bolts Price - EN14399-3 and 7 System HR Structural nuts – Dingshen Metalworks
Short Description:
EN14399-3 and 7 System HV Structural nuts for High-Strength Structural bolting Dimension Standard: EN14399-3 and 7 Metric Size: M12-M36 Material Grade: ISO 898-2 class 8, 10 Finish: Plain, Black Oxide, Zinc Plated, Hot Dipped Galvanized, etc. Packing: Bulk about 25 kgs each carton, 36 cartons each pallet Advantage: High Quality, Competitive Price, Timely Delivery,Technical Support, Supply Test Reports Please feel free to contact us for more details.
Product Detail
Product Tags
API Flange Stud Bolts Price - EN14399-3 and 7 System HR Structural nuts – Dingshen Metalworks Detail:
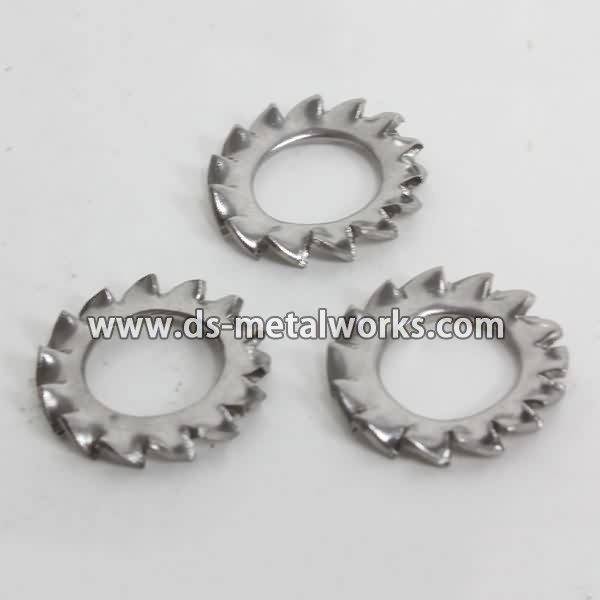
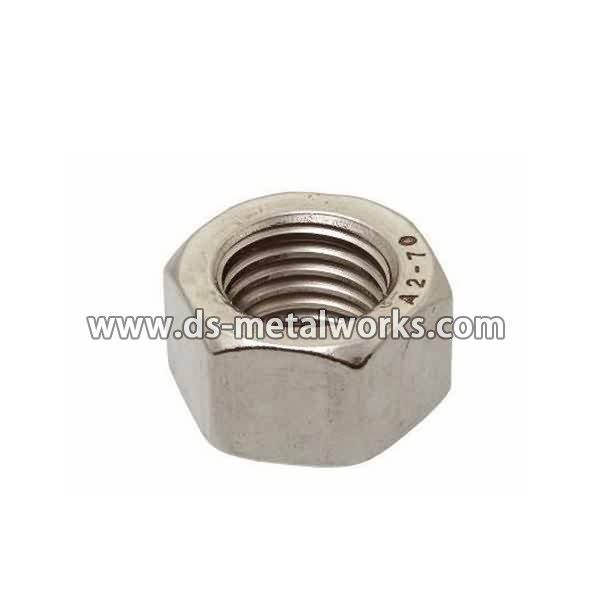
EN14399-3 and 7 System HV Structural nuts for High-Strength Structural bolting
Dimension Standard: EN14399-3 and 7
Metric Size: M12-M36
Material Grade: ISO 898-2 class 8, 10
Finish: Plain, Black Oxide, Zinc Plated, Hot Dipped Galvanized, etc.
Packing: Bulk about 25 kgs each carton, 36 cartons each pallet
Advantage: High Quality, Competitive Price, Timely Delivery,Technical Support, Supply Test Reports
Please feel free to contact us for more details.
Product detail pictures:

Our business aims to operating faithfully, serving to all of our clients , and working in new technology and new machine continuously for API Flange Stud Bolts Price - EN14399-3 and 7 System HR Structural nuts – Dingshen Metalworks, The product will supply to all over the world, such as: Somalia, New Orleans, Czech republic, For anyone who is keen on any of our goods right after you view our product list, please really feel absolutely free to get in touch with us for inquiries. You are able to send us emails and contact us for consultation and we shall respond to you as soon as we can. If it's easy, you may locate out our address in our web-site and come to our business for far more information of our products by your self. We are always ready to construct extended and steady co-operation relations with any possible customers in the related fields.
FREE HD MOTOCROSS Maintenance Videos
https://www.MXWrencher.com
This is the very first Episode from MXWrencher.com You know that you’re suppossed to set your sag properly on your rear suspension, but do you know exactly why and how to do it? Admittedly, I owned a bike one time, for almost 4 years, without taking the time to set the sag. That will never happen again, after Corvin explained it all to me in this video. Enjoy! Michael Chriswell – “Dirt Bike Mike”
Please remember to give the thumbs up if you have enjoyed.
Playlist for this build https://www.youtube.com/playlist?list=PL228F2710E76F6D78
This is the final part of the series showing the assembly of the Front Bumper, Beadlock wheels and mounting all, including, the body to the chassis.
Assemble the light buckets first and then mount to the bumper, (you can choose which size and style to use as well as the type of stone guard.) Now add the alli panels. This is all slotted to the front of the truck in the same way we did for the rock sliders. You can adjust its position once the body is on.
For the wheels take your time as there are 60 screws! Use a good 1.5mm Hex drive with make this much easier. Make sure to seat the bead in the wheel well, so when tightening the Beadlock in captures the bead. Off up the ring and add screws in a star pattern and tighten just onto the ring, NOT all the way. Once all are in work around again and tighten down. Turn them over and repeat. Make sure you have the right ring on the correct side or they will rub on the steering knuckles.
There are a few body posts with the kit and I’ve shown suggested position for the Honcho body. With the wheel hex add the grub screws before adding to the output drives. When installing the pins in these use the spur to turn the flat and stop the pin falling out. Adding the wheels is simple with flanged nuts and centre caps. Make sure you cut a good straight thread in these when you thread on for the first time — this will make removing and putting back on simpler. When reinstalling make sure you don’t cross thread them, (TIP turn backwards until you feel the thread then turn back to screw them on.)
The body mounts using body clips. The rears are a little difficult due to the spare wheel, just compress the tyre so you can get your hands in.
Now just need a battery and it’s time to test and set up the ESC.
PARTS AT https://www.rc-bitz.com
NEXT series will be various modification, upgrades and hopups for the SCX10 Axial chassis, either on my CF100 Kustom or the Honcho. Please comment suggestions and I will do my best to help e.g. LED’s, scale accessories, winch, dig unit, BEC, wheel weights, star cut foams, Powerstroke ProLine shocks etc.