Bottom price for ASTM A320 L7 Tap End Studs Double End Studs for Tanzania Factories
Short Description:
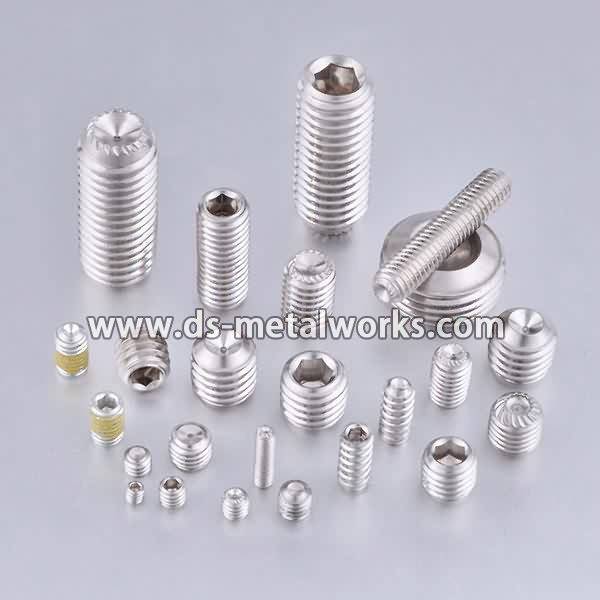
ASTM A320/A320M L7 Tap End Studs Double End Studs Standard: IFI-136, ASME B16.5 Inch Size: 1/4”-2.1/2” with various lengths Metric Size: M6-M64 with various lengths Other Available Grade: ASTM A193/A193M B7, B7M, B16 B8 Class 1 & 2, B8M Class 1 & 2, ASTM A320/A320M L7, L7M, L43, B8 Class 1 & 2, B8M Class 1 & 2, and so on. Finish: Plain, Black Oxide, Zinc Plated, Zinc Nickel Plated, Cadmium Plated, PTFE etc. Packing: Bulk about 25 kgs each carton, 36 cartons each pallet Advanta...
Product Detail
Product Tags
Bottom price for ASTM A320 L7 Tap End Studs Double End Studs for Tanzania Factories Detail:
ASTM A320/A320M L7 Tap End Studs Double End Studs
Standard: IFI-136, ASME B16.5
Inch Size: 1/4”-2.1/2” with various lengths
Metric Size: M6-M64 with various lengths
Other Available Grade:
ASTM A193/A193M B7, B7M, B16 B8 Class 1 & 2, B8M Class 1 & 2,
ASTM A320/A320M L7, L7M, L43, B8 Class 1 & 2, B8M Class 1 & 2, and so on.
Finish: Plain, Black Oxide, Zinc Plated, Zinc Nickel Plated, Cadmium Plated, PTFE etc.
Packing: Bulk about 25 kgs each carton, 36 cartons each pallet
Advantage: High Quality and Strict Quality Control, Competitive Price,Timely Delivery; Technical Support, Supply Test Reports
Please feel free to contact us for more details.
Product detail pictures:


No matter new customer or old customer, We believe in long term and trusted relationship for Bottom price for ASTM A320 L7 Tap End Studs Double End Studs for Tanzania Factories, The product will supply to all over the world, such as: Turkey, Turkey, Mongolia, Our items have national accreditation requirements for qualified, high quality products, affordable value, was welcomed by people today all over the world. Our goods will continue to enhance within the order and look forward to cooperation with you, Should any of these products be of interest to you, please letus know. We are going to be content to offer you a quotation up on receipt of your detailed needs.
website:https://www.jhmindustry.com/
Shanghai Jian & Mei Industry and Trade Co., Ltd. is the company which manufacture and export fasteners and metal hardware, founded in 2006, with import-export authority. Now, 80% products export to all over the world and 20% sell in domestic market.