Factory Cheap ASTM A307 Grade A Hex Cap Screws to Slovakia Manufacturer
Short Description:
ASTM A307 Grade A Hex Bolts Hex Cap Screws Standard: ASME B18.2.1 (Various types of configuration are also available) Thread Size: 1/4”-4” with various lengths Grade: ASTM A307 Grade A Finish: Black Oxide, Zinc Plated, Hot Dip Galvanized, Dacromet, and so on Packing: Bulk about 25 kgs each carton, 36 cartons each pallet Advantage: High Quality and Strict Quality Control, Competitive Price,Timely Delivery; Technical Support, Supply Test Reports Please feel free to contact us for more details.
Product Detail
Product Tags
Factory Cheap ASTM A307 Grade A Hex Cap Screws to Slovakia Manufacturer Detail:
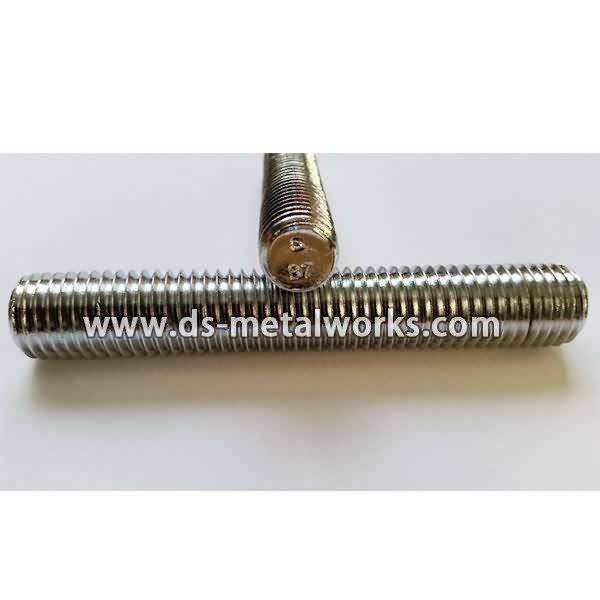
ASTM A307 Grade A Hex Bolts Hex Cap Screws
Standard: ASME B18.2.1
(Various types of configuration are also available)
Thread Size: 1/4”-4” with various lengths
Grade: ASTM A307 Grade A
Finish: Black Oxide, Zinc Plated, Hot Dip Galvanized, Dacromet, and so on
Packing: Bulk about 25 kgs each carton, 36 cartons each pallet
Advantage: High Quality and Strict Quality Control, Competitive Price,Timely Delivery; Technical Support, Supply Test Reports
Please feel free to contact us for more details.
Product detail pictures:

As for competitive charges, we believe that you will be searching far and wide for anything that can beat us. We will state with absolute certainty that for such excellent at such charges we have been the lowest around for Factory Cheap ASTM A307 Grade A Hex Cap Screws to Slovakia Manufacturer, The product will supply to all over the world, such as: Manchester, Estonia, Moldova, Besides there are also experienced production and management , advanced production equipment to assure our quality and delivery time , our company pursues the principle of good faith, high-quality and high-efficiency. We guarantee that our company will try our best to reduce customer purchase cost, shorten the period of purchase, stable solutions quality, increase customers' satisfaction and achieve win-win situation .
Learn about deck building techniques for installling wood deck railing posts with advanced post anchor systems. See and installation for building a deck railing that combines beauty, strength and longevity is now easy. No more rot, no maintenance, no worries.
Learn about deck building, how to design and build decks to make your backyard look great.
https://www.ideas-for-deck-designs.com/
Ahorra tiempo y esfuerzo a la hora de colocar las varillas roscadas. Con este adaptador nunca había sido más fácil y rápido colocarlas.