Factory making ASTM F912 F912M Alloy Steel Socket Set Screws Export to Czech Republic
Short Description:
ASTM F912 F912M Alloy Steel Socket Set Screws Grub Screws Metric Size: M1.4 – M52, Inch Size: 0# – 2″ Hexagon Socket(Allen), Torx Star, Square, Slotted Drive Types Flat Point, Cup Point, Cone Point, Dog Point Other Drive and Point Type are also available acc. to customer requirement Various Surface Finishes Various Material Grades are available Please feel free to contact us for more details
Product Detail
Product Tags
Factory making ASTM F912 F912M Alloy Steel Socket Set Screws Export to Czech Republic Detail:
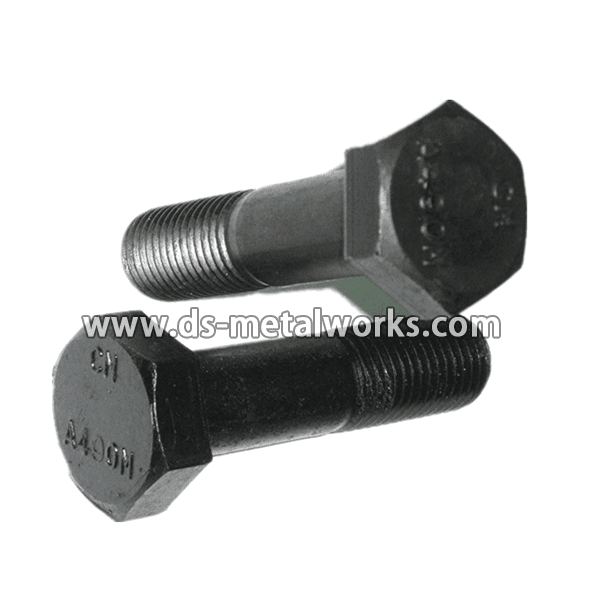
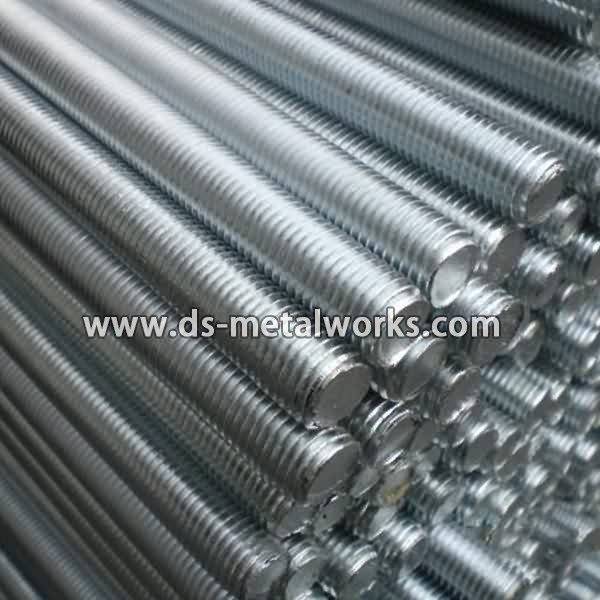
ASTM F912 F912M Alloy Steel Socket Set Screws Grub Screws
Metric Size: M1.4 – M52, Inch Size: 0# – 2″
Hexagon Socket(Allen), Torx Star, Square, Slotted Drive Types
Flat Point, Cup Point, Cone Point, Dog Point
Other Drive and Point Type are also available acc. to customer requirement
Various Surface Finishes
Various Material Grades are available
Please feel free to contact us for more details
Product detail pictures:


To be a result of ours specialty and service consciousness, our enterprise has won an excellent status between buyers all around the globe for Factory making ASTM F912 F912M Alloy Steel Socket Set Screws Export to Czech Republic, The product will supply to all over the world, such as: Portugal, Angola, Senegal, Faced with the vitality of the global wave of economic integration, we've been confident with our high-quality items and sincerely service to all our customers and wish we can cooperate with you to create a brilliant future.
Two window washers in California have been rescued after dangling from a high-rise building after their work platform tilted. Officials say the metal scaffolding slipped but the workers didn’t fall because they were wearing safety harnesses. (Aug. 7)