factory Outlets for DIN912 ISO4762 AMSE B18.3 Hexagon Socket Head Cap Screws to Ireland Factories
Short Description:
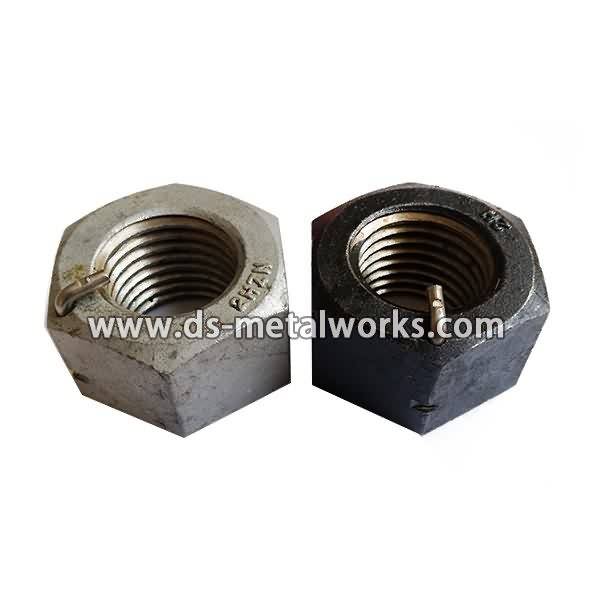
Hexagon Socket Head Cap Screws Standard: DIN912, ISO4762, AMSE B18.3, DIN7984 Metric Thread Size: M5-M80 with various lengths Inch Thread Size: 1/4”-3” with various lengths Class: ISO 898-1 8.8, 10.9, 12.9; ASTM A574; ASTM A193 B7, B7M, A320 L7, L7M. Finish: Plain, Black Oxide, Zinc Plated, Dacromet, and so on Packing: Bulk about 25 kgs each carton, 36 cartons each pallet Advantage: High Quality and Strict Quality Control, Competitive price,Timely delivery; Technical support, Supply Test Repo...
Product Detail
Product Tags
factory Outlets for DIN912 ISO4762 AMSE B18.3 Hexagon Socket Head Cap Screws to Ireland Factories Detail:
Hexagon Socket Head Cap Screws
Standard: DIN912, ISO4762, AMSE B18.3, DIN7984
Metric Thread Size: M5-M80 with various lengths
Inch Thread Size: 1/4”-3” with various lengths
Class: ISO 898-1 8.8, 10.9, 12.9; ASTM A574; ASTM A193 B7, B7M, A320 L7, L7M.
Finish: Plain, Black Oxide, Zinc Plated, Dacromet, and so on
Packing: Bulk about 25 kgs each carton, 36 cartons each pallet
Advantage: High Quality and Strict Quality Control, Competitive price,Timely delivery; Technical support, Supply Test Reports
Please feel free to contact us for more details.
Product detail pictures:

During the past few years, our business absorbed and digested state-of-the-art technologies the two at home and abroad. Meanwhile, our firm staffs a group of experts devoted to your development of factory Outlets for DIN912 ISO4762 AMSE B18.3 Hexagon Socket Head Cap Screws to Ireland Factories, The product will supply to all over the world, such as: Madagascar, Malta, Hongkong, Our products are mainly exported to Southeast Asia, the Middle East, North America and Europe. Our quality is surely guaranteed. If you are interested in any of our products or would like to discuss a custom order, please feel free to contact us. We are looking forward to forming successful business relationships with new clients around the world in the near future.
Installing a new door can update a weathered door, give your home a more contemporary look and improve the safety and security of your home. For this project you will need a new pre hung door, drill and driver bits, hammer and nail set, screwdrivers, reciprocating saw, pry bar, caulk, level, square, tape measure, utility knife, nails, screws, shims, foam insulation, putty knife and shop towels. Before you get started, measure the width, height and depth of your door you have now. Your new door should be ½” less in height and ¾” less in width of the rough opening.
Getting started, remove any installation that surrounds the door. Remove the door from the hinges using a hammer and nail set, the hinges from the jam with a screwdriver and the screws from the sill and the jam. Remove the door frame. You may need to pry the installation off, so use your pry bar to do so.
The sill is where the door will sit. Make sure that it is square and level. Make any adjustments with shims. Also make sure that the door swings open without any force. Measure the bottom of the sill to the bottom of the door and check it against your flooring. Next apply caulk to the sill. With the help of a friend, gently lift the door into place and use shims to hold it in place. Adjust the frame so it is level.
Next drive screws into the hinges. Check to make sure that the shims are keeping the frame level. Typically a 1/8″ gap should surround the door. Once the door is in place, apply light expanding installation foam between the gaps. Remove any excess foam once it’s dried with a putty knife. Reattach the trim. If your door requires a stain, remove the door from the hinges and apply the stain. When your stain is dry, rehang your door. Add a fashionable knob and deadbolt, and enjoy your new door. Learn how to install a deadbolt lock in this video: https://www.youtube.com/watch?v=kW_SOu-AZyw
Subscribe to Lowe’s YouTube for great how to videos and home improvement tips: https://www.youtube.com/subscription_center?add_user=lowes
Or head to our channel: https://www.youtube.com/Lowes