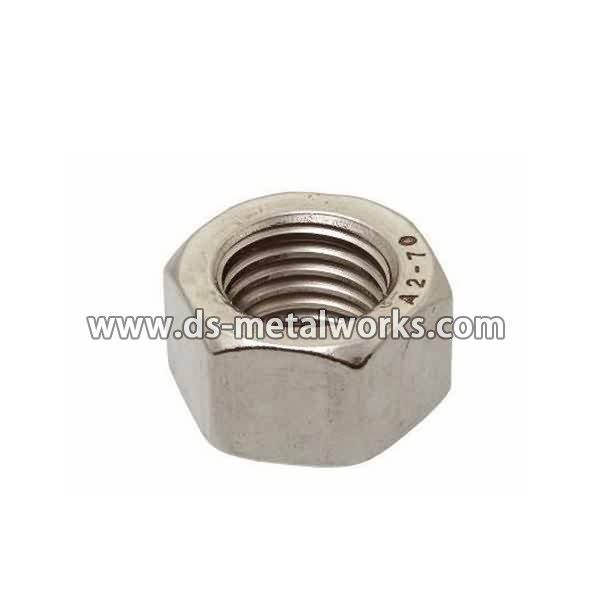
Newly Arrival DIN 981, DIN 1805 Round Slotted Shaft Lock Nuts for Russia Manufacturers
Short Description:
Round Slotted Shaft Lock Nuts (Nylon Insert) Standard: DIN 981, DIN 1805 Metric Size: M10-M100 Various Material Grade Are Available. Finish: Plain, Black Oxide, Zinc Plated, etc. Packing: Bulk about 25 kgs each carton, 36 cartons each pallet Advantage: High Quality and Strict Quality Control, Competitive Price,Timely Delivery; Technical Support, Supply Test Reports Please feel free to contact us for more details.
Product Detail
Product Tags
Newly Arrival DIN 981, DIN 1805 Round Slotted Shaft Lock Nuts for Russia Manufacturers Detail:
Round Slotted Shaft Lock Nuts (Nylon Insert)
Standard: DIN 981, DIN 1805
Metric Size: M10-M100
Various Material Grade Are Available.
Finish: Plain, Black Oxide, Zinc Plated, etc.
Packing: Bulk about 25 kgs each carton, 36 cartons each pallet
Advantage: High Quality and Strict Quality Control, Competitive Price,Timely Delivery; Technical Support, Supply Test Reports
Please feel free to contact us for more details.
Product detail pictures:


We support our purchasers with ideal high-quality merchandise and significant level company. Becoming the specialist manufacturer in this sector, we now have received loaded practical encounter in producing and managing for Newly Arrival DIN 981, DIN 1805 Round Slotted Shaft Lock Nuts for Russia Manufacturers, The product will supply to all over the world, such as: Auckland, Mexico, Portland, Upon today, we have customers from all over the world, including USA, Russia, Spain, Italy, Singapore, Malaysia, Thailand, Poland, Iran and Iraq. The mission of our company is to provide the highest quality products with best price. We are looking forward to doing business with you.
This is a basic video showing an oil & filter change on my VW Polo 9N 1.2 2005. It is a basic video intended to help novices etc. This method of oil change is very similar on most of the later VW Polo models, Skoda Fabia, and Seat Ibiza’s as well as the Golf – though there might me slight differences.
I show how to extract the oil two different ways, 1- Using an oil extraction pump 2- Draining it the traditional way through the sump plug. This job is actually very easy, especially if you have a oil extraction pump.
Personally I use the oil extraction pump to change the oil. It has various pros
PROS
1. Less mess (debatable)
2. No need to to get on the floor & get dirty
3. No chance of stripping the oil sump threads
4. This is the way VW dealers change oil (as recommended in Elsawin)
5. No need to buy sump plug washers
CONS
1. Doesn’t completely remove as much oil as the traditional method (but I believe with regular oil changes this point is nullified)
2. May not remove metal filings from bottom of the sump
3. A good quality pump can be expensive