professional factory provide Din2510 Double End Studs with Reduced Shank with Hexagon Nuts Wholesale to Saudi Arabia
Short Description:
Din2510 Double End Studs with Reduced Shank with Hexagon Nuts Standard: Din 2510 Form L, Z, K, ZU/KU, GP, GQ, GR, GS, HP, HQ,NF, TF, AF/AFO, BF/BFO Metric Thread Size: M12-M100 with various lengths Available Material or Grade: ASTM 193/320 B7, B7M, L7, L7M, B16, B8, B8M, B8T CL1&CL2 ASTM 194 2H, 2HM, 4, 7, 7M, 8, 8M ASTM A453 660 ISO 898-1 5.8, 6.8, 8.8, 10.9, 12.9 1.1181 / C35E 1.1191 / C45E 1.7218 / 25CrMo4 1.7225 / 42CrMo4 1.7709 / 21CrMoV5-7 1.7711 / 40CrMoV4-6 1.7729 / 20CrMoVTiB4-10...
Product Detail
Product Tags
professional factory provide Din2510 Double End Studs with Reduced Shank with Hexagon Nuts Wholesale to Saudi Arabia Detail:
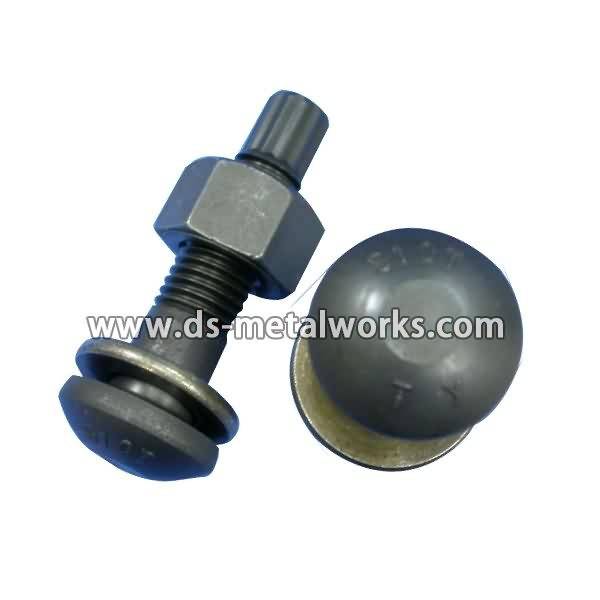
Din2510 Double End Studs with Reduced Shank with Hexagon Nuts
Standard: Din 2510 Form L, Z, K, ZU/KU, GP, GQ, GR, GS, HP, HQ,NF, TF, AF/AFO, BF/BFO
Metric Thread Size: M12-M100 with various lengths
Available Material or Grade:
ASTM 193/320 B7, B7M, L7, L7M, B16, B8, B8M, B8T CL1&CL2
ASTM 194 2H, 2HM, 4, 7, 7M, 8, 8M
ASTM A453 660
ISO 898-1 5.8, 6.8, 8.8, 10.9, 12.9
1.1181 / C35E
1.1191 / C45E
1.7218 / 25CrMo4
1.7225 / 42CrMo4
1.7709 / 21CrMoV5-7
1.7711 / 40CrMoV4-6
1.7729 / 20CrMoVTiB4-10
1.4913 / X19CrMoNbVN11-1
1.4923 / X22CrMoV12-1
1.4980 / X6NiCrTiMoVB25-15-2)
1.4986 / X7CrNiMoBNb16-16
Inconel 625, Inconel 718, Duplex, SuperDuplex
Finish: Plain, Black Oxide, Zinc Plated, Zinc Nickel Plated, Cadmium Plated, PTFE etc.
Packing: Bulk about 25 kgs each carton, 36 cartons each pallet
Advantage: High Quality and Strict Quality Control, Competitive Price,Timely Delivery; Technical Support, Supply Test Reports
Please feel free to contact us for more details.
Product detail pictures:


We intention to see quality disfigurement within the creation and supply the ideal support to domestic and overseas buyers wholeheartedly for professional factory provide Din2510 Double End Studs with Reduced Shank with Hexagon Nuts Wholesale to Saudi Arabia, The product will supply to all over the world, such as: Greek, Colombia, Sudan, We offer the great variety of products in this field. Besides, customized orders are also available. What's more, you will enjoy our excellent services. In one word, your satisfaction is guaranteed. Welcome to visit our company! For more information, please come to our website.If any further inquiries, please feel free to contact us.
Nelson Stud Welder