Structural Washers Price - DIN 981, DIN 1805 Round Slotted Shaft Lock Nuts – Dingshen Metalworks
Short Description:
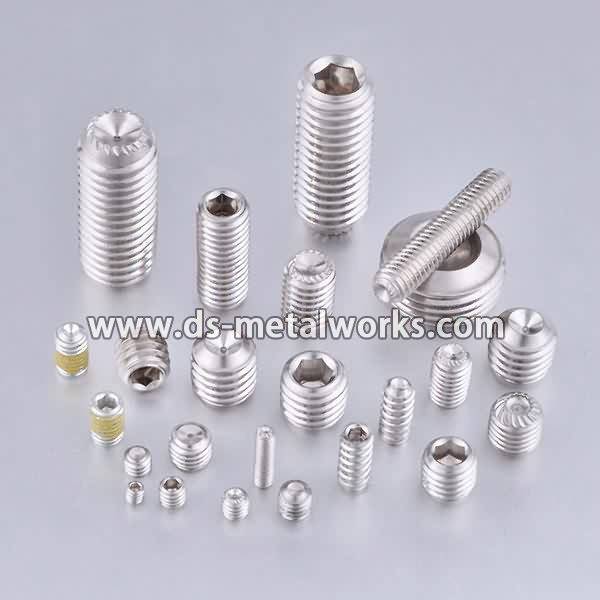
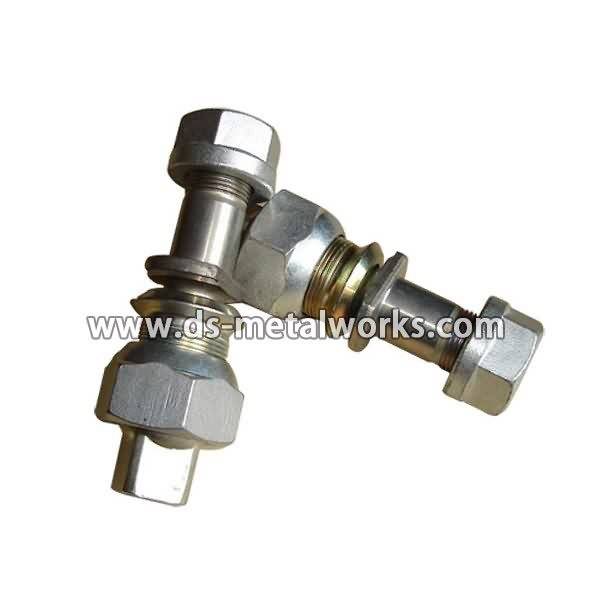
Round Slotted Shaft Lock Nuts (Nylon Insert) Standard: DIN 981, DIN 1805 Metric Size: M10-M100 Various Material Grade Are Available. Finish: Plain, Black Oxide, Zinc Plated, etc. Packing: Bulk about 25 kgs each carton, 36 cartons each pallet Advantage: High Quality and Strict Quality Control, Competitive Price,Timely Delivery; Technical Support, Supply Test Reports Please feel free to contact us for more details.
Product Detail
Product Tags
Structural Washers Price - DIN 981, DIN 1805 Round Slotted Shaft Lock Nuts – Dingshen Metalworks Detail:
Round Slotted Shaft Lock Nuts (Nylon Insert)
Standard: DIN 981, DIN 1805
Metric Size: M10-M100
Various Material Grade Are Available.
Finish: Plain, Black Oxide, Zinc Plated, etc.
Packing: Bulk about 25 kgs each carton, 36 cartons each pallet
Advantage: High Quality and Strict Quality Control, Competitive Price,Timely Delivery; Technical Support, Supply Test Reports
Please feel free to contact us for more details.
Product detail pictures:


Our mission is to become an innovative supplier of high-tech digital and communication devices by providing value added design, world-class manufacturing, and service capabilities for Structural Washers Price - DIN 981, DIN 1805 Round Slotted Shaft Lock Nuts – Dingshen Metalworks, The product will supply to all over the world, such as: South Korea, Lahore, Durban, We've got constructed strong and long co-operation relationship with an enormous quantity of companies within this business in Kenya and overseas. Immediate and professional after-sale service supplied by our consultant group has happy our buyers. Thorough Info and parameters from the merchandise will probably be sent for you for any thorough acknowledge. Free samples may be delivered and company check out to our corporation. n Kenya for negotiation is constantly welcome. Hope to get inquiries type you and construct a long-term co-operation partnership.
This video shows the wall production stages in Tachydomi SA factory.
More information: https://www.tachydomi.gr/en/
The production stages are the following: Plotting, Moulding and electric/water installation, placing reinforcement(ironing), concrete filling, vibration and formation of double wall and finally temporary wall storing.