Manufacturer for Brass Tip Socket Set Screws for New Orleans Manufacturers
Short Description:
Brass Tip Socket Set Screws Metric Size: M1.4-M52, Inch Size: 0# – 2″ Various Drive and Point Types Various Surface Finishes Other Material Grades are available Please feel free to contact us for more details
Product Detail
Product Tags
Manufacturer for Brass Tip Socket Set Screws for New Orleans Manufacturers Detail:
Brass Tip Socket Set Screws
Metric Size: M1.4-M52, Inch Size: 0# – 2″
Various Drive and Point Types
Various Surface Finishes
Other Material Grades are available
Please feel free to contact us for more details
Product detail pictures:

We also provide item sourcing and flight consolidation solutions. We have now our very own manufacturing facility and sourcing place of work. We could provide you with nearly every kind of merchandise associated to our merchandise variety for Manufacturer for Brass Tip Socket Set Screws for New Orleans Manufacturers, The product will supply to all over the world, such as: Lithuania, Malaysia, Germany, With strong technical strength and advanced production equipment, and SMS people purposefully , qualified, dedicated spirit of enterprise. Enterprises took the lead through the ISO 9001:2008 international quality management system certification, CE certification EU ; CCC.SGS.CQC other related product certification. We look forward to reactivating our company connection.
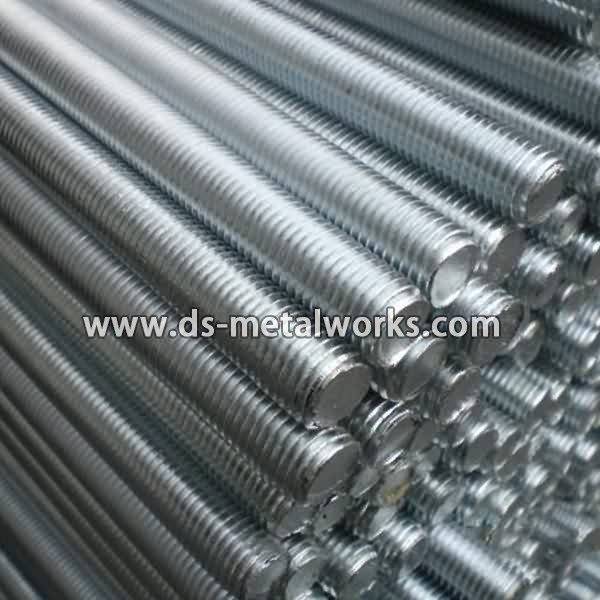
LIGHTNING BOLT AND SUPPLY, INC PROVIDES STAINLESS STEEL ALL THREAD RODS.
https://lightningboltandsupply.com/stainless-steel/all-thread-rod.html
Stainless steel threaded rods are commonly found whenever there is an industrial project or an active construction site. Stainless steel is often used to avoid corrosion and staining on items. Combined into an alloy, stainless steel brings together the properties of low carbon grades along with different percentages of chromium and nickel.
https://lightningboltandsupply.com/
Lightning Bolt has been servicing the industrial needs since 1994. We provide any type of industrial fasteners, bolts, and nuts. Call Now: 1-888-390-BOLT
Some of the products include: b7 bolts,astm a193 grade b7,ss bolts,astm a193,stainless steel all thread,grade 8 bolts,grade 8 bolt,grade 5 bolt,grade 5 bolts,stainless steel bolts,titanium fasteners,titanium bolts,stainless steel threaded rod,metric fasteners,astm b16,all thread,allen head screws,anchor bolt,anchor bolts,flat washers,hex head cap screw,stainless steel fasteners,threaded studs,titanium screws